Of all the gear you'll carry, nothing—and I mean nothing—is more important than what you put on your feet. Choosing the right hiking boots can be the difference between a fantastic day on the trail and a miserable, blister-filled ordeal.
The whole process really boils down to three things: matching your footwear to the kind of hiking you'll be doing, knowing a bit about the materials, and most critically, nailing the fit. Let's walk through it.
Finding Your Footing Before You Start
Before you get lost in the world of lug patterns and lacing systems, it helps to take a step back. Hiking footwear isn't a one-size-fits-all game. Think of your boots or shoes as the foundation for your entire hiking system—they directly impact how far you can comfortably go and how much fun you'll have getting there.
With more people hitting the trails than ever, the options have exploded. The global hiking boots market was valued at a staggering $18.09 billion in 2021, and it's only growing. That’s a lot of boots to choose from.
The Three Core Types of Hiking Footwear
To cut through the noise, it's helpful to think about hiking footwear in three main buckets. Each has its place, and figuring out which one is right for you is the first real step.
To make this easier, here's a quick breakdown of the main categories and what they're built for.
Quick Guide to Hiking Footwear Types
| Footwear Type | Best For | Key Feature |
|---|---|---|
| Trail Running Shoes | Day hikes, fastpacking, well-maintained trails | Lightweight, flexible, and highly breathable |
| Hiking Shoes | Moderate day hikes, light backpacking | A solid middle ground of support and agility |
| Hiking & Backpacking Boots | Multi-day treks, rugged terrain, heavy packs | Maximum ankle support and durable construction |
Each of these categories has a specific purpose. A trail runner is perfect for a quick jaunt on a smooth path but won't offer the support you need with a 40-pound pack. Conversely, a heavy-duty backpacking boot would be overkill for a casual walk in the park.
Your feet are your most important asset on the trail. A great pair of boots can make a tough hike feel manageable, while a poor pair can turn a simple walk into a painful ordeal.
It’s also worth remembering that the boots are only part of the equation. Strong, healthy feet are the real key to comfortable hiking. Taking some time for understanding foot health and common ailments can help you prevent issues before they ever start.
Matching Your Boots to the Trail Ahead
I’ve seen it a hundred times: someone wearing heavy-duty mountaineering boots on a simple, flat forest path. It’s the single biggest mistake people make. That burly boot that's perfect for carrying a 40-pound pack over a rocky mountain pass becomes a clunky, frustrating anchor on a quick five-mile loop.
On the flip side, trying to tackle a technical, scree-covered ridge in a pair of lightweight trail runners is a recipe for bruised feet and twisted ankles.
The secret is to be brutally honest with yourself about the kind of hiking you actually do, not the epic adventures you dream about. This all boils down to three things: the terrain you'll be on, how long you'll be out there, and how much weight you're hauling.
Light and Fast Day Hikes
Let's be real—most of our time on the trail is spent on day trips at local state parks or well-maintained national park loops. For these outings, comfort and speed are far more important than bomb-proof durability.
This is the playground for trail running shoes and low-cut hiking shoes. They’re light, they're flexible, and you can practically wear them straight out of the box with no break-in time. Since you’re probably just carrying a light daypack with the essentials, you simply don’t need the rigid ankle support of a full-on boot.
Think about it like this:
- Saturday morning hike? If you're hitting a familiar, packed-earth trail for a couple of hours, a breathable trail runner is your best friend.
- A day trip with some rocky bits? A low-cut hiking shoe gives you a little more protection from sharp rocks and roots, striking a nice balance between agility and support.
Moderate Hikes and Weekend Backpacking
The moment you start carrying more gear for an overnight trip or stepping onto more rugged ground, your footwear has to level up. This is where mid-cut hiking boots earn their keep. They wrap up and over the ankle, offering crucial support that a shoe just can't match.
Tossing a heavier pack on your back completely changes your center of gravity, making an ankle roll a very real possibility. The stiffer soles found in these boots also do a much better job of shielding your feet from sharp rocks, which goes a long way in fighting foot fatigue after hours on the trail.
If you're planning something like a demanding Kimberley Trail Tour, carefully matching your boot to that specific terrain and trip length is absolutely critical.
Key Takeaway: It's a simple formula: the more weight you carry, the more support you need. A boot's stiffness and ankle height are designed to directly counteract the stress a heavy pack puts on your feet and joints.
Demanding Treks and Heavy Loads
For the serious stuff—we're talking multi-day backpacking trips in wild mountain ranges or navigating off-trail—a true backpacking boot is non-negotiable. These are the tanks of the footwear world, built to take a beating and keep you stable.
They feature high cuts for maximum ankle stability, incredibly stiff soles to protect your feet on relentless, rocky terrain, and tough uppers made from full-grain leather or durable synthetics.
Yes, they're heavier. And yes, they absolutely require a proper break-in period. But they provide the unwavering support you need to safely carry a pack weighing 30 pounds or more. These boots are an essential piece of equipment, right up there with the rest of your core https://findtoptrends.com/blog/a-few-of-my-hiking-must-haves.
Getting to Know Your Boot: Materials and Construction
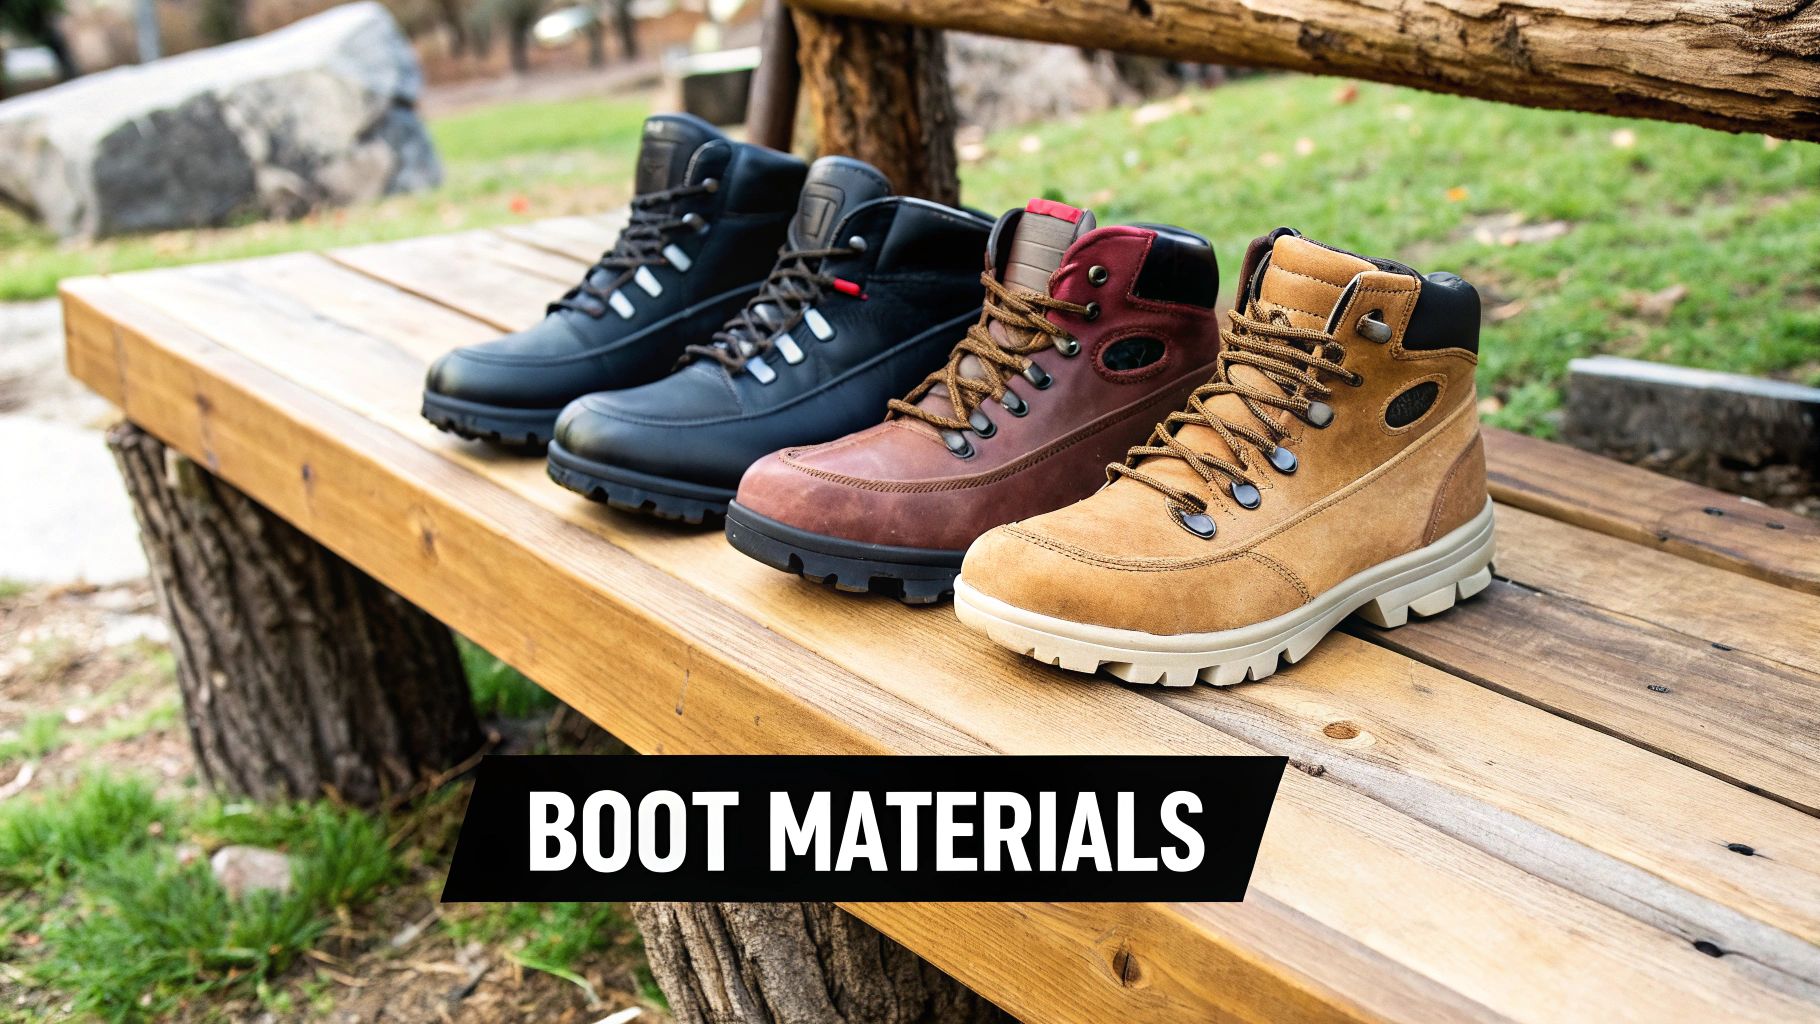
To really get the hang of picking the right hiking boot, it helps to know what you're looking at. When you can decipher the tech specs on a product tag, you can make a much smarter choice that goes beyond just marketing hype. Every part of a boot has a job, and the materials used have a massive impact on everything from comfort and durability to how heavy they feel on your feet.
Let's break it down, starting from the top.
The Upper: Your First Line of Defense
The upper is everything on the boot that sits above the sole. Think of it as the boot's shell, protecting you from rocks, water, and all the sticks and grit the trail throws your way. The material here is a big deal—it dictates how breathable the boot is, how long it takes to break in, and how well it keeps water out.
You'll generally run into three main types of uppers:
- Full-Grain Leather: This is the old-school, classic choice for good reason. It’s tough as nails, resists scrapes and scuffs, and is naturally water-resistant. The downside? It's heavy, doesn't breathe all that well, and definitely needs a solid break-in period before it feels like your own.
- Split-Grain Leather & Synthetics: A popular modern combo. These boots mix leather with materials like nylon mesh, creating something that’s lighter and breathes better right out of the box. They're way more comfortable on day one but won't stand up to the same level of abuse as a full-grain leather boot.
- Full Synthetics: Made entirely from materials like polyester or nylon, these are the lightest boots you can get. They break in almost instantly and often come with a lower price tag. They also dry out much faster than leather, but you'll notice they show wear and tear sooner, especially around the seams.
The Foundation: Midsoles and Outsoles
Moving down, we get to the midsole. This is the layer that provides cushioning, soaks up impact, and gives the boot its overall stiffness. It’s what keeps your feet from feeling beat up after a long day on the trail. Most are made from either EVA (ethylene vinyl acetate) or polyurethane. EVA feels light and spongy, while polyurethane is firmer and way more durable—that's why you see it in heavy-duty backpacking and mountaineering boots.
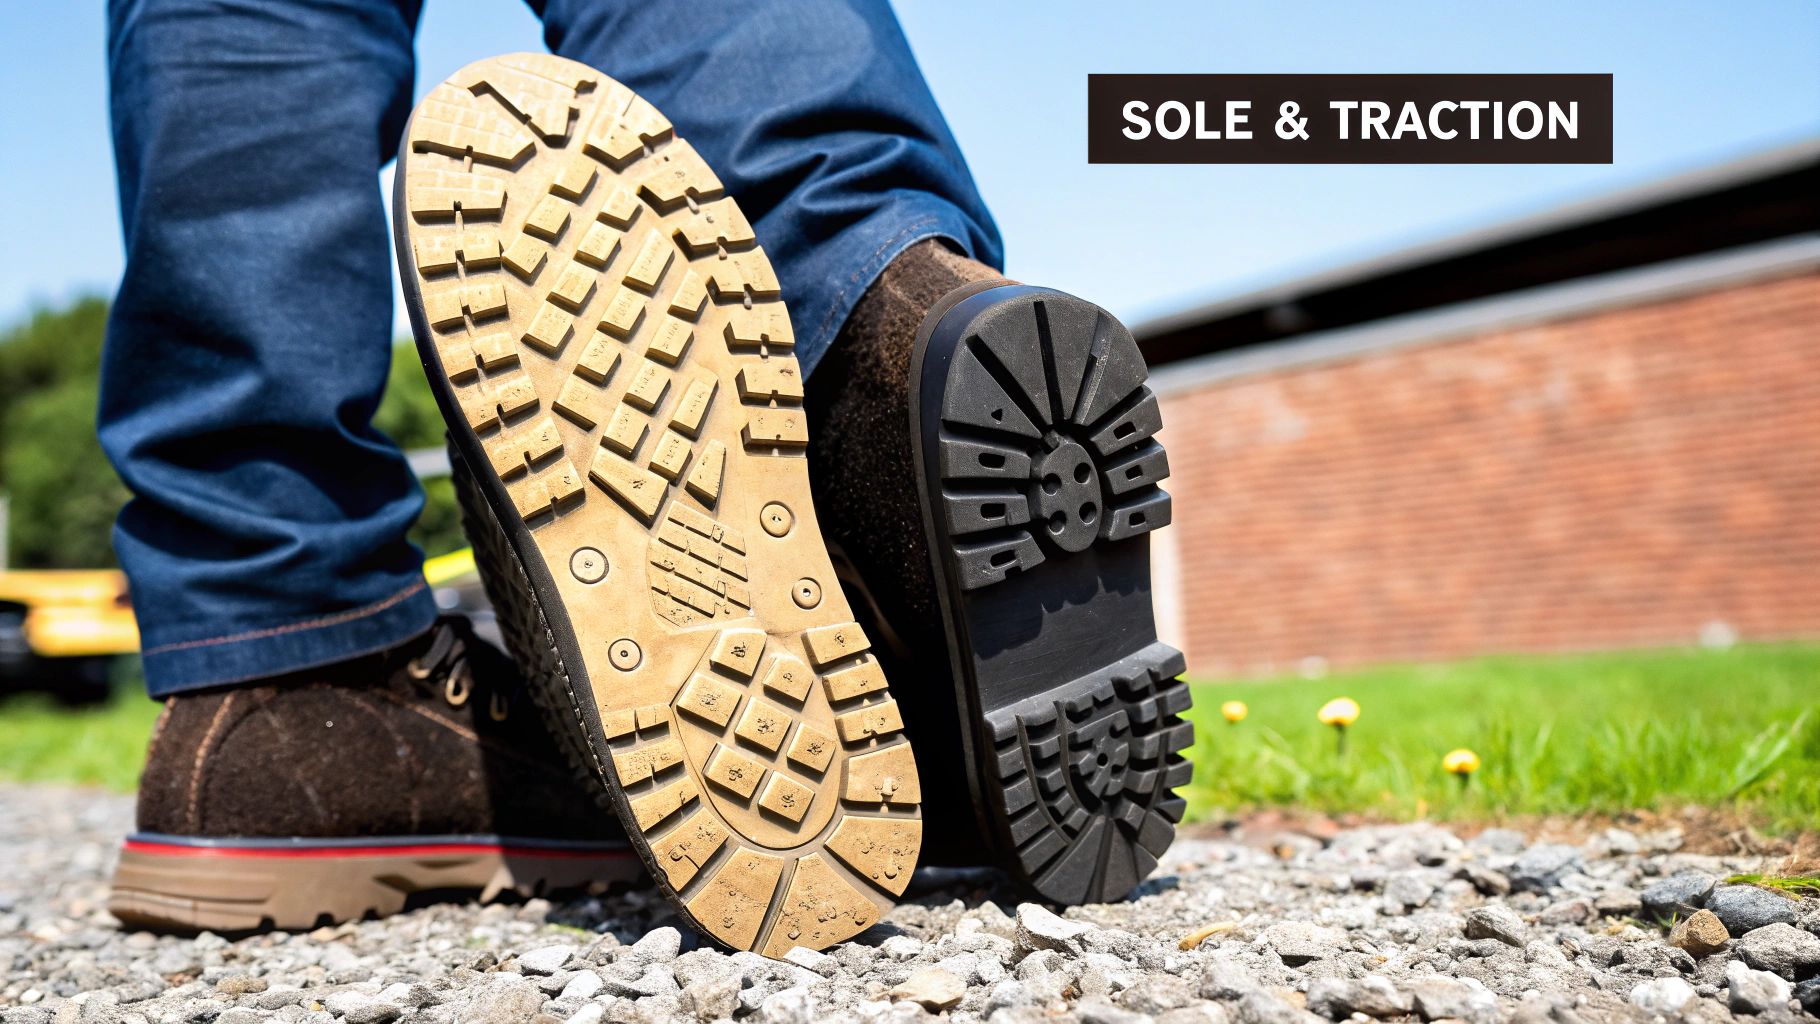
The outsole is the rubber part that actually touches the ground. Just like tires on a car, the tread here is designed for specific jobs. Deep, aggressive lugs are your best friend for digging into soft dirt and mud. On the other hand, stickier rubber with more surface contact gives you better grip when you're scrambling over rock. The key is to match the outsole to the kind of terrain you'll be spending most of your time on. If you're not sure what that looks like, check out our guide on how to find your best hiking trail.
You might also hear about the shank. This is a stiff little insert, often 3-5 mm thick, that sits between the midsole and outsole. It’s what gives the boot its backbone, adding stiffness to support your foot and protecting it from getting bruised by sharp rocks underfoot.
Keeping Dry and Looking Ahead
Lots of boots today come with a waterproof, breathable membrane. Gore-Tex (GTX) is the brand name you’ll see most often. These high-tech liners are brilliant at keeping your feet dry from the outside—think rain, puddles, and stream crossings—while still letting sweat vapor escape so you don't feel clammy. They’re a lifesaver in wet climates, but they can make your feet run a little hot in dry, desert conditions.
The world of hiking footwear is always moving forward, too. Brands are constantly experimenting with new tech, from carbon-reinforced midsoles for better support to AI-driven tools that help you find the perfect fit. As hikers demand more specialized gear, this push toward high-performance, premium boots is a trend that's here to stay.
Nailing the Perfect In-Store Fit
Alright, let's talk about what is, without a doubt, the most critical part of this entire process. You can spend weeks geeking out over materials, tread patterns, and brand reviews, but none of that matters if the boots don't fit your feet. A poor fit is a surefire way to get blisters, hotspots, and an all-around miserable experience on the trail.
Getting this right isn't just about finding the right size. It's about following a specific process. Simple things, like what time of day you shop and the socks you wear, can make all the difference between trail-day bliss and agonizing pain.
Setting Yourself Up for Success
Before you even step foot in a store, a little bit of prep work will pay off big time. Your feet naturally swell throughout the day, especially after you've been on them for a few hours.
- Shop in the afternoon or evening. This is a classic tip for a reason. Trying on boots when your feet are at their largest gives you a much more accurate feel for how they'll perform a few miles into a hike.
- Bring your actual hiking socks. Don't just wear any old athletic socks. The specific thickness and material of the socks you'll be hiking in can completely change how a boot fits. A cushioned merino wool sock is a world away from a thin cotton one.
- Don't forget your insoles. If you rely on custom orthotics or aftermarket insoles for things like high arches or plantar fasciitis, bring them with you. The factory insoles are designed to be removed, and you need to test the boot with the support system you’ll actually be using.
The In-Store Test Drive
Once you're in the store, it's time to take some boots for a spin. Don't be shy about this part—spend as much time as you need walking around. Any good outfitter will have knowledgeable staff and maybe even a small ramp or stairs to simulate trail conditions.
The first thing I always do is pull the factory insole out of the boot and stand on it. You want to see about a thumb's width (roughly half an inch) of space between the end of your longest toe and the end of the insole. That extra room is crucial; it stops your toes from slamming into the front of the boot every time you head downhill.
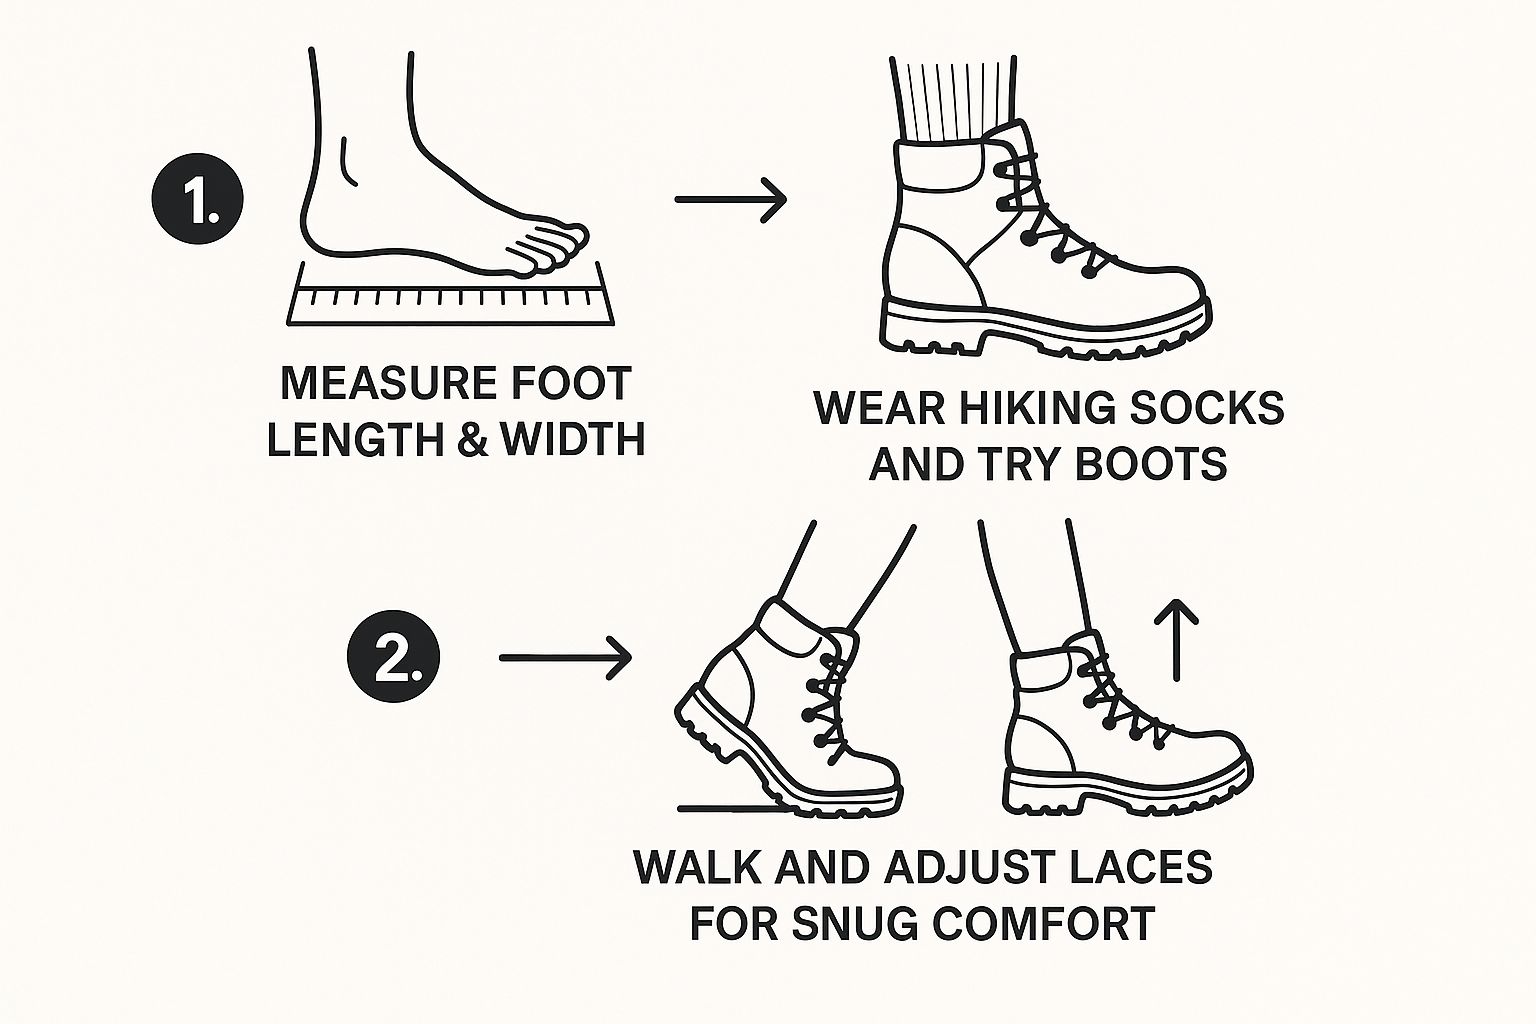
As you can see, the process moves from simple measurements to feeling how the boot performs in motion, ensuring comfort at every point.
Next, slide the insole back in, put on the boots, and lace them up snugly. You don't want to cut off your circulation, but you want your heel to feel locked into the back of the boot.
To help you remember all the key checkpoints during your fitting, here’s a quick-glance checklist. Print it out or pull it up on your phone at the store.
Boot Fitting Checklist
| Check | What to Look For | Why It Matters |
|---|---|---|
| Length Test | About a half-inch of space between your longest toe and the boot's end. | Prevents "toe bang" and black toenails on descents. |
| Heel Lock | Heel feels secure with minimal to no lifting when you walk. | A slipping heel is the number one cause of blisters. |
| Width & Volume | Snug but not tight across the ball of your foot; no major pressure points. | Ensures proper circulation and prevents hot spots. |
| Incline Test | Walk up a ramp or stairs; check for significant heel lift. | Simulates uphill hiking to test for blister-causing friction. |
| Decline Test | Walk down a ramp; ensure toes do not slide forward and hit the front. | Tests for that dreaded "toe bang" that can ruin a hike. |
Taking the time to run through these simple tests can save you a world of hurt later on.
Now, walk around the store. A lot. If they have an incline ramp or some stairs, use them. As you walk uphill, be very aware of heel lift. A tiny bit of movement is fine, but if your heel is clearly slipping up and down with each step, that's a recipe for raw, blistered skin.
When you head back downhill, notice what your toes are doing. They absolutely should not be jamming into the front of the boot. If they are, you need a bigger size or just a different boot. This "toe bang" is a classic rookie mistake, and it's incredibly painful on a long descent.
A poorly fitted boot isn't just an inconvenience; it can cause real problems like blisters, twisted ankles, or even long-term foot pain. It's no surprise that hikers' preferences have led to a wide variety of boot styles, with distinct low, mid, and high-cut designs for different levels of support. Market data actually shows that versatile mid-cut boots are the most popular, accounting for a huge portion of sales. If you're interested in the numbers, you can find more insights into hiking footwear market trends.
Breaking In Your Boots and Long-Term Care
https://www.youtube.com/embed/3SD7ltcWLeg
So, you’ve navigated the maze of options, survived the in-store fitting, and finally brought home what feels like the perfect pair of hiking boots. Great! But hold on. The single biggest mistake you can make right now is lacing them up and heading straight for the trail.
Tossing your brand-new boots into a ten-mile hike is a guaranteed recipe for blisters, hot spots, and a whole lot of regret.
The break-in period is non-negotiable. It’s not just about comfort—it's about slowly molding the boots until they become an extension of your feet. This critical process gives stiff materials, especially leather, the time they need to soften and conform to your foot's unique contours. It’s your chance to uncover any potential friction points before you're miles from your car.
Your Break-In Game Plan
Patience is the name of the game here. Seriously, don't even think about hitting the dirt yet.
Start by wearing your new boots around the house for an hour or two at a time. Do some chores, walk up and down the stairs, or just lounge on the couch. This is your first—and best—opportunity to spot any major fit issues while you can still take them back.
After a few days of indoor testing, it's time to venture outside.
- Start with Pavement and Parks: Begin with short walks, maybe a mile or two, on flat surfaces like your neighborhood sidewalk or a paved park path. This introduces more dynamic movement without the added stress of uneven ground.
- Move to Gentle Local Trails: Once they feel good on pavement, find a well-maintained local trail for a short hike. Think of this as the final dress rehearsal. It adds gentle inclines and varied surfaces to see how your feet and the boots really work together.
The whole point of breaking in your boots is to make them feel like a part of you. A perfectly broken-in boot should feel supportive, not restrictive, and it should move with your foot, not against it.
Keeping Your Boots in Trail Shape for the Long Haul
Your boots are a serious investment. With the right care, a good pair can last for hundreds, if not thousands, of miles. For demanding adventures like Tasmania multi-day hikes, having boots that are not only broken-in but also well-maintained is absolutely essential.
Make a habit of giving them a little attention after every single hike.
Just take a few minutes to knock off any caked-on mud and pull out the insoles to let everything air out properly. This simple step prevents moisture from building up, which can break down materials and cause some pretty funky smells.
For a more comprehensive look at extending the life of your equipment, check out our guide on how to maintain your gear. It’s packed with practical tips for more than just your footwear. Remember, regularly cleaning and re-waterproofing your boots (if they're the waterproof kind) is key to making sure they’re ready to go when you are.
A Few Final Questions You Might Have
Even with all the details on fit, materials, and terrain covered, a few common questions always seem to surface. It makes sense—choosing the right hiking boot is a big commitment. Let's tackle some of the most frequent things people ask so you can make your final decision with total confidence.
What Should I Plan on Spending for Good Hiking Boots?
You’ll see prices all over the map, from about $100 for a basic pair to well over $400 for serious mountaineering boots. The key is to ignore the idea that a higher price tag automatically means it's a better boot for you.
The right budget really comes down to how you hike.
- Casual Day Hikes: If you're sticking to well-groomed local trails, a solid boot in the $100-$150 range will serve you just fine.
- Regular Hikers & Backpackers: Most people find their perfect match somewhere between $150 and $250. This is the sweet spot where you get a great mix of durable materials, dependable waterproofing, and solid support that will last.
- Serious Adventurers: Once you cross the $250+ mark, you're getting into boots built for the toughest conditions. Think multi-day treks, rugged landscapes, and heavy packs.
Is It Worth Getting Waterproof Hiking Boots?
This is probably the most common question I get, and the honest answer is: it depends on where you're hiking. In wet climates, places with lots of stream crossings, or snowy trails, a waterproof membrane like Gore-Tex is your best friend. It’s what keeps your feet dry and comfortable.
But there's a trade-off: breathability. In hot, dry climates like the desert Southwest, a waterproof boot can trap heat and sweat, making your feet miserable. Non-waterproof boots, on the other hand, breathe much better and dry out surprisingly fast if they do get wet.
My Two Cents: If your local trails are mostly dry and warm, go for a non-waterproof, breathable boot. You'll appreciate it. But if you live somewhere with famously unpredictable weather, waterproofing is a feature you'll be thankful for time and time again.
Why Not Just Hike in Trail Running Shoes?
You absolutely can! In fact, it's a popular move for a lot of hikers, including long-distance thru-hikers. Trail runners are incredibly lightweight, comfortable right away, and offer a ton of agility on the trail. They're an excellent pick for day hikes, fastpacking, or any trip on a well-maintained path.
Just know they aren’t a one-for-one substitute for boots in every situation. Trail runners provide very little ankle support and don't have the same rigid protection underfoot to shield you from sharp rocks. If you’re hauling a heavy pack across jagged, unstable terrain, the robust ankle support and stiff sole of a true hiking boot become essential for preventing injury and keeping your feet from getting worn out. It's all about picking the right tool for the job.
Ready to find the perfect gear for your next adventure? At FindTopTrends, we curate the best outdoor and travel essentials to keep you comfortable and prepared on the trail. Explore our collection and get trail-ready today!


