


No products in the cart.

Picking out your first (or next) pair of trekking poles doesn't have to be overwhelming. Honestly, it all comes down to a few key things. The best way to start? Think about the kind of hiking you actually do, and from there, we can drill down into the nitty-gritty of materials, locking systems, and grips. Getting this right means you’ll end up with poles that are a perfect match for your adventures.
Getting Started: Why Trekking Poles Are a Game-Changer
Before we get into the specs, let's talk about why these details even matter. Trekking poles are so much more than fancy walking sticks; they’re a legitimate piece of performance gear that can make your time on the trail safer and a whole lot more fun. I like to think of them as an investment in my trail-body's long-term health.
The right pair seriously changes your hiking game. They give you the kind of support that can dramatically reduce the wear and tear on your joints over a long day. In fact, studies have shown they can take up to 25% of the impact force off your knees, which is a lifesaver on those long, steep downhill slogs.
That extra stability also does wonders for your confidence when the trail gets tricky.
- Better Balance: Think about navigating a slick river crossing, a patch of loose gravel, or a narrow ridgeline. Poles give you two extra points of contact, making you feel much more planted and secure.
- Go Farther, Feel Better: By getting your arms and shoulders into the action, you spread the workload across your whole body. Your legs don't get tired as quickly, which means you can cover more ground.
- A Handy Trail Tool: I've used my poles to check the depth of a muddy puddle, push thorny branches out of the way, and even discourage an overly curious squirrel. They're surprisingly versatile.
It’s no surprise this gear has become so popular. The global trekking poles market was valued at around USD 0.75 billion in 2023 and is only expected to grow. It seems like everyone is catching on to the benefits.
A quick pro-tip: As you're dialing in your gear, remember that pairing your poles with the best walking boots you can find is just as important. Your feet are your foundation, after all.
Ultimately, choosing trekking poles is all about matching the gear to your personal hiking style. To round out your kit, you might want to check out some of our other hiking must-haves for your next adventure. This guide will help you sort through the key features, so let's dive in and find your perfect pair.
Picking Your Pole Material: Aluminum vs. Carbon Fiber
When you get down to it, the material of your trekking poles is one of the biggest decisions you'll make. It’s what separates a trusty trail companion from a piece of gear that just doesn’t feel right. This choice impacts everything—durability, weight, and, of course, the price.
The main event is a classic showdown: aluminum versus carbon fiber. Each has its own personality, and understanding their quirks will help you pick the right tool for the job. Think of it like choosing a vehicle; you wouldn't take a sports car off-roading, right? Same idea here.
The Case for Aluminum: The Trail Workhorse
Aluminum poles are the tried-and-true workhorses of the hiking world. Made from tough aluminum alloys, their biggest claim to fame is durability. When they meet their breaking point, they’re designed to bend, not snap.
This is a huge deal if you’re heading into rugged or remote terrain. Imagine being miles from anywhere when a pole just snaps in half—that’s a serious issue. A bent aluminum pole, on the other hand, can often be coaxed back into a usable shape to get you safely off the mountain.
They’re also much kinder to your wallet, making them a fantastic choice for anyone new to trekking poles or for hikers who are notoriously tough on their gear. If your hikes involve a lot of rock scrambling and unforgiving landscapes, aluminum is a friend you can count on.
Real-World Scenario: You're navigating a tricky boulder field and your pole gets jammed hard between two rocks. An aluminum pole will likely take on a new, creative bend, but you can probably straighten it out enough to keep going. A carbon fiber pole in that same jam has a much higher chance of cracking or splintering.
The Allure of Carbon Fiber: The Ultralight Athlete
On the other end of the spectrum, you have carbon fiber—the lighter, high-performance option. Its superpower is its incredibly low weight. This means a lower swing weight, which is the effort it takes to swing the pole forward with every step you take.
It might not sound like much, but after thousands of steps over a long day, that small energy saving really adds up. It means less fatigue in your arms and shoulders, which is why thru-hikers, ultralight backpackers, and fast-packers are such big fans.
Carbon fiber is also better at absorbing vibrations, which makes for a more comfortable feel on hard-packed trails or long descents. But, this premium performance comes with a couple of catches.
These poles are more expensive, and unlike aluminum, carbon fiber is brittle. Under a sudden, sharp force—like if you fall on it or it gets caught just right—it’s more likely to crack or shatter completely.
A Head-to-Head Comparison
Let's put them side-by-side to make the choice a little clearer:
| Feature | Aluminum | Carbon Fiber |
|---|---|---|
| Durability | Bends under stress; less likely to fail completely. | Brittle; can snap or crack under sharp impact. |
| Weight | Heavier, increasing swing weight. | Ultralight, reducing fatigue over long distances. |
| Cost | More budget-friendly. | Higher initial investment. |
| Vibration | More vibration is transferred to the user. | Excellent at dampening vibrations. |
The numbers don't lie. Data shows that carbon fiber poles are typically 20-30% lighter than their aluminum counterparts, but they can also cost 15-25% more. You can dig into more trekking pole trends on the Verified Market Reports website. This price-to-weight trade-off is often the final puzzle piece for hikers. It all comes down to what you value most out on the trail.
Don't Get Let Down: Finding a Locking Mechanism That Holds Up

Picture this: you're carefully making your way down a steep, slick section of trail, leaning hard on your poles, when one suddenly gives way and collapses. It’s more than just a frustrating moment—it’s a genuine safety hazard. The small part responsible for preventing this very scenario is the locking mechanism, and it's one of the most important things to get right when you're picking out new poles.
The lock is what keeps the telescoping sections of your pole from sliding into each other. When you dig into the options, you’ll find it really boils down to two main types: external lever locks and internal twist locks. Both are designed to do the same job, but they behave very differently out in the real world.
The Rock-Solid Reliability of External Lever Locks
Most seasoned hikers you meet will be using poles with external lever locks, and for good reason. Sometimes called "flick-locks," they work with a simple clamp on the outside of the pole. You just flip the lever open to adjust the length, then snap it shut to lock it down. It’s an elegant, almost foolproof design.
The biggest win here is just how reliable and easy they are to use. A quick glance is all it takes to see if the lock is secure. Adjustments are a breeze, even if you’re wearing bulky winter gloves. Best of all, if the clamp ever starts to feel a little loose, you can usually tighten it right there on the trail with a multi-tool or sometimes even just a dime. This on-the-fly serviceability makes them the go-to choice for backpackers and anyone who needs their gear to perform without question.
The Simpler (But Finickier) Internal Twist Locks
Internal twist locks have a much cleaner look because the whole mechanism is tucked away inside the pole shafts. To adjust them, you just twist the sections to tighten or loosen the lock. You'll often find this style on older or more budget-oriented poles.
While they work, they do have some quirks. Over time, trail dust and moisture can get inside the mechanism, which can cause it to jam up or, worse, slip when you put your weight on it. They can also be a real pain to operate with numb fingers or thick gloves. On the plus side, their smooth profile means they’re less likely to get snagged on overgrown bushes.
For the vast majority of hikers, the external lever lock is the hands-down winner. Its dependable operation and easy field maintenance give you a peace of mind that’s invaluable when you're deep in the backcountry.
Dialing in the Perfect Length
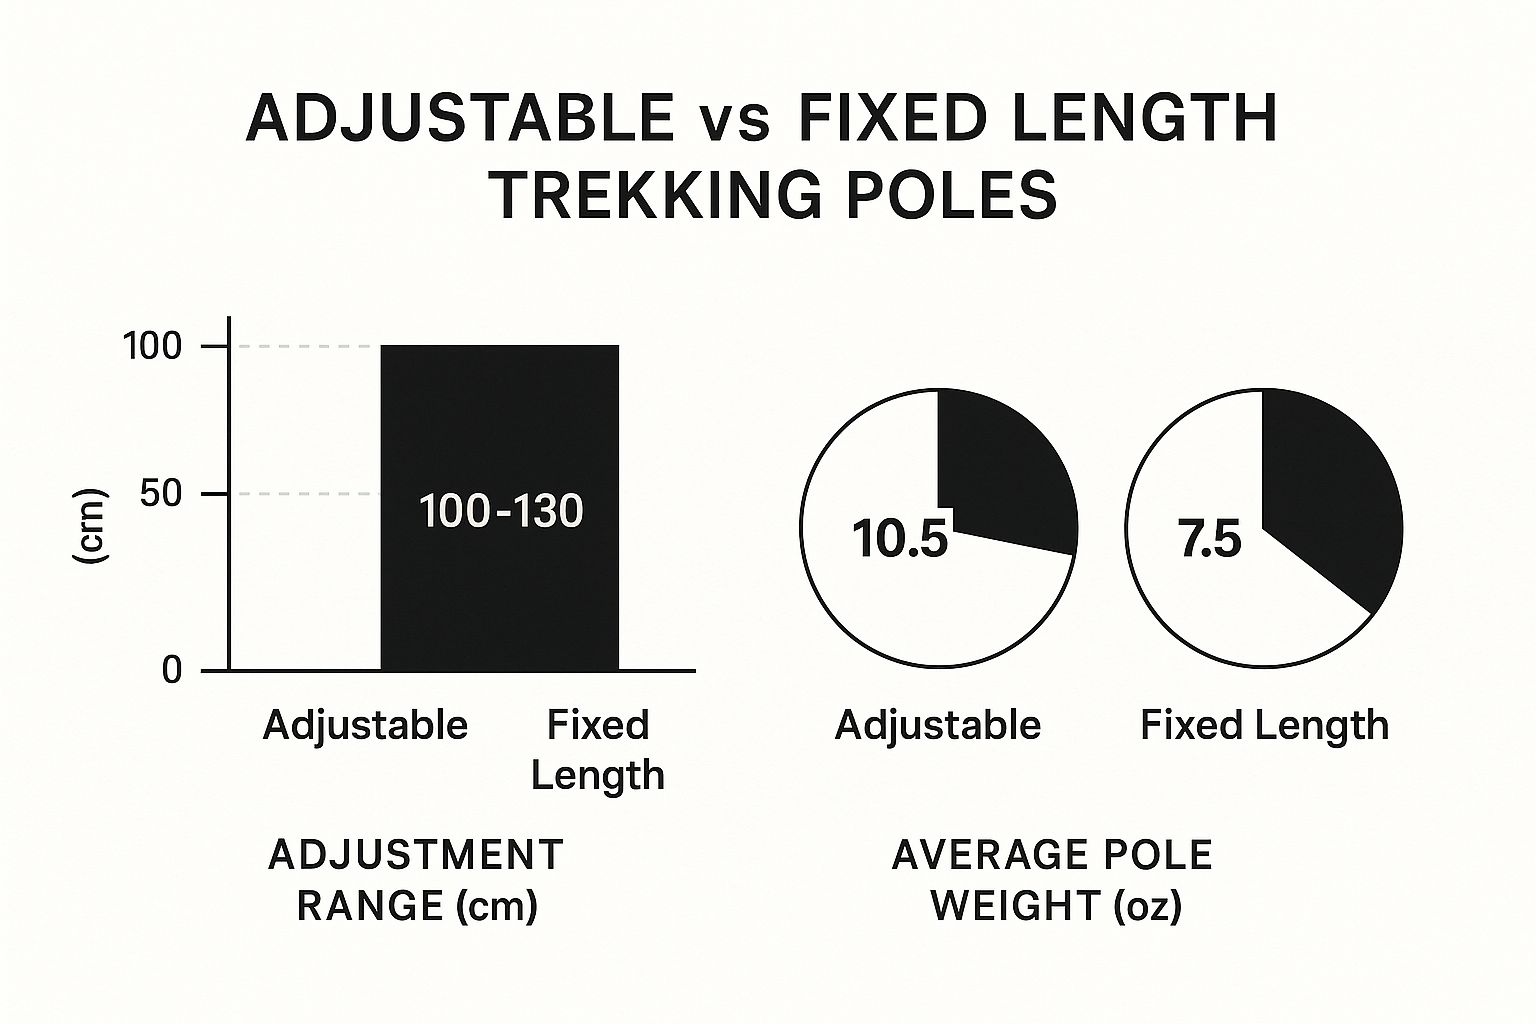
Beyond how the poles lock, you need to think about how much you'll be adjusting them. Most telescoping poles offer a ton of range, which is absolutely key for adapting to the terrain as you hike. Getting the length right isn't just about feeling comfortable; it’s about moving efficiently and preventing strain.
Here’s a quick guide to setting your pole length:
- On Flat Ground: Stand up straight and hold your pole. Your elbow should be bent at a clean 90-degree angle with the pole tip on the ground.
- Going Uphill: You’ll want to shorten your poles by about 5-10 cm. This lets you plant them higher up the slope and pull yourself forward.
- Going Downhill: Do the opposite and lengthen them by 5-10 cm. This gives you a longer reach for better stability and helps take a lot of the impact off your knees.
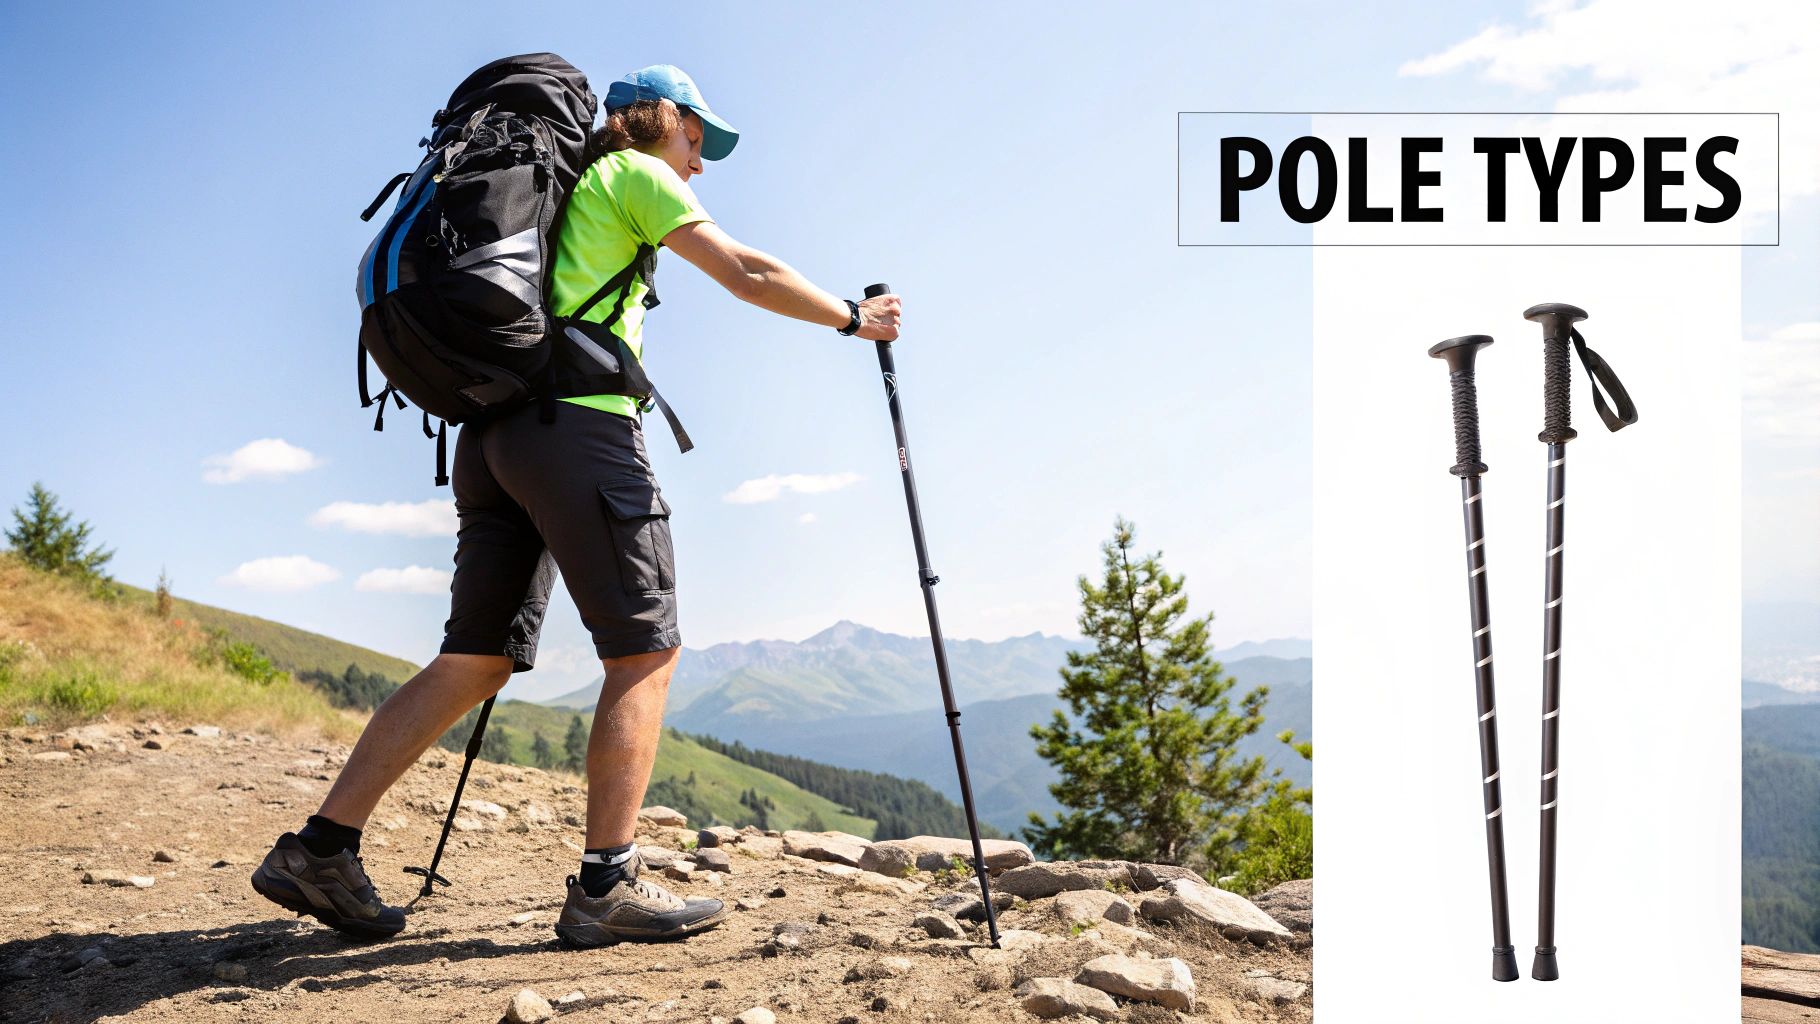
You might also see some ultralight trail runners using fixed-length poles. These are super-light, non-adjustable poles, usually made from carbon fiber. They shave off every possible gram but give up all versatility in the process, making them a highly specialized tool for a very specific type of user.
Choosing Grips and Straps for All-Day Comfort
Your hands are your main point of contact with your poles, so getting the grip and strap system right is absolutely critical for all-day comfort. A bad grip can lead to nasty blisters and hand fatigue, quickly turning a dream hike into a painful slog.
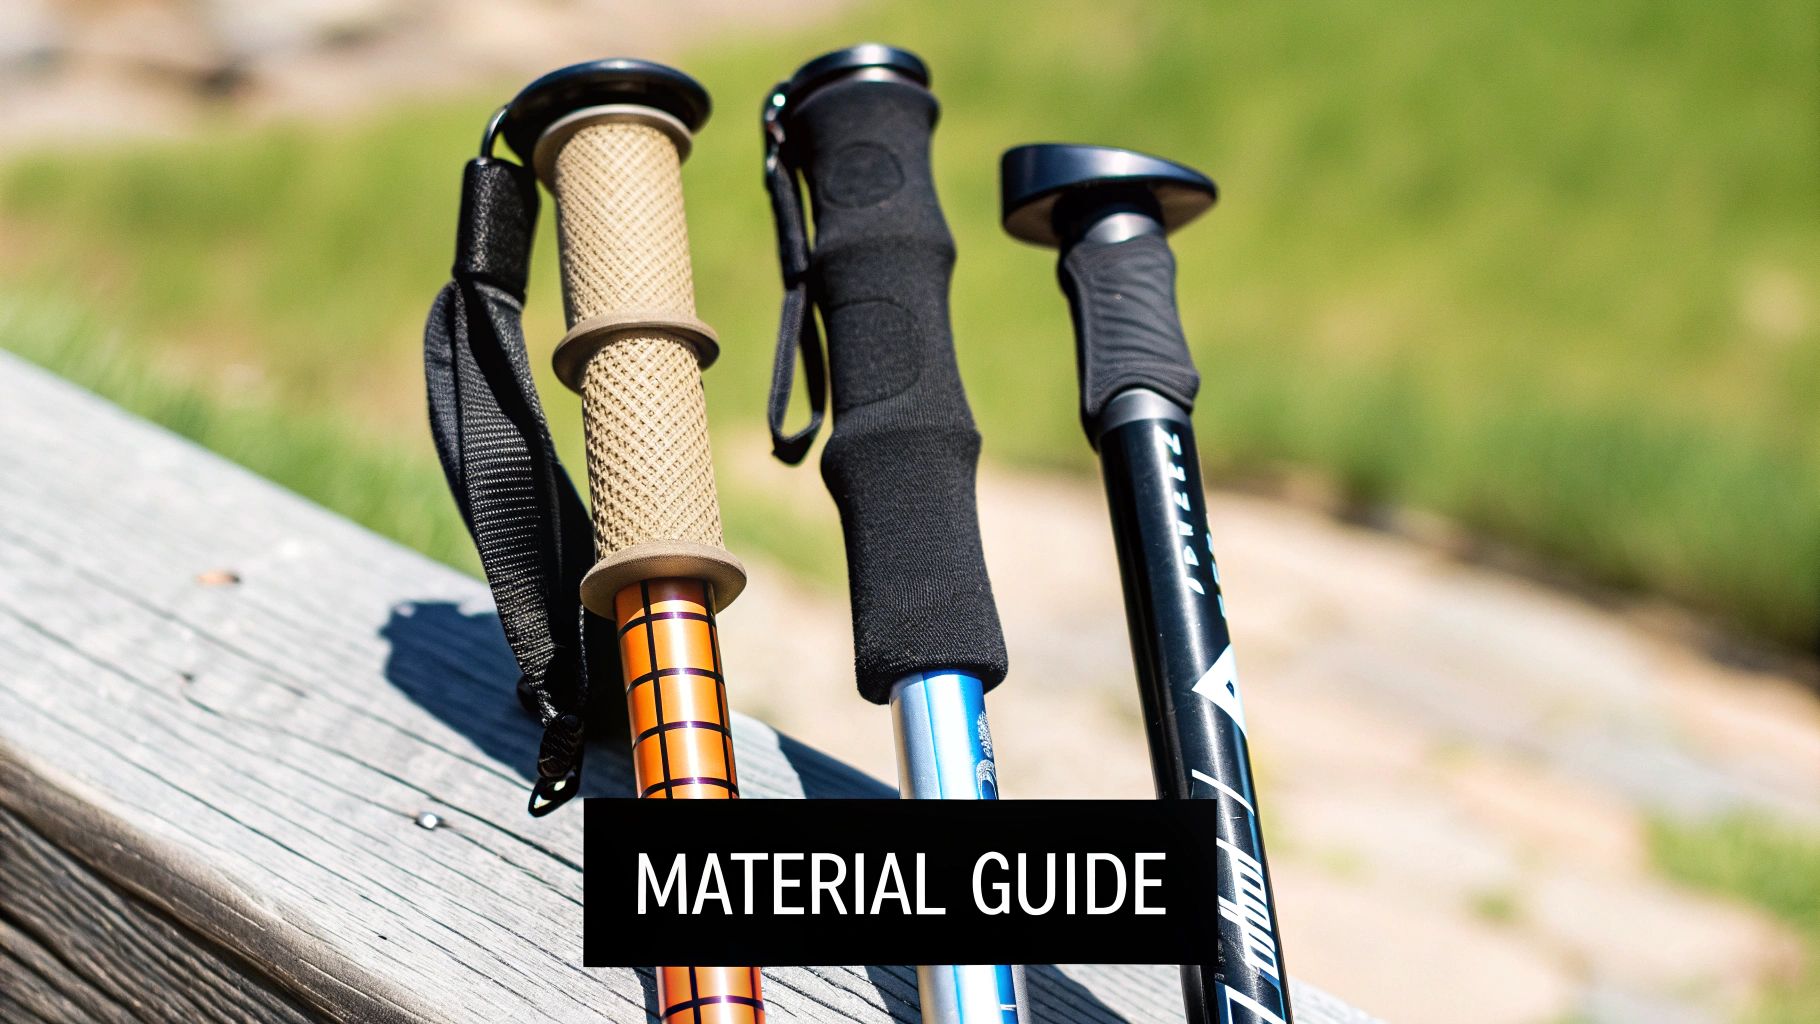
The decision really boils down to three main materials: cork, foam, and rubber. Each one shines in different conditions, so what works for a summer hike in the desert won't be the best choice for a snowy mountain ascent.
It's a small detail, but it has a massive impact. It’s no surprise that 15-20% of seasoned hikers put ergonomic grips at the top of their must-have list. They know from experience that a poor fit kills endurance. If you're curious about the bigger picture, you can get more details on trekking pole market trends and see how user feedback shapes modern pole design.
Finding Your Perfect Grip Material
Let's break down the options. Each material has its own personality and is suited for different kinds of adventures.
Cork has long been the gold standard for thru-hikers and serious backpackers, and for good reason. It naturally wicks moisture away from sweaty palms, does a fantastic job of dampening trail vibrations, and—my favorite part—it slowly molds to the unique shape of your hand over time. It’s like breaking in a perfect pair of leather boots. This personalized fit is a game-changer on multi-day treks, though you'll usually pay a bit more for it.
Foam grips, often made from EVA (ethylene-vinyl acetate), feel soft and comfortable right from the get-go. Their biggest selling point is how well they absorb sweat, which makes them a go-to choice for hiking in hot, humid weather. No one likes a slippery grip. While foam won't customize itself to your hand like cork, it's typically more affordable and delivers great out-of-the-box comfort.
Rubber is the odd one out for most three-season hiking. Its real strength is insulation. This makes it the clear winner for cold-weather pursuits like snowshoeing or mountaineering when you’ll be wearing heavy gloves. But try using rubber grips on a warm day? They don't absorb a drop of sweat, which is a recipe for chafing and blisters.
To make it even clearer, here's a quick side-by-side look at how these materials stack up.
Grip Material Comparison: Cork vs. Foam vs. Rubber
| Grip Material | Best For | Pros | Cons |
|---|---|---|---|
| Cork | Long-distance hiking, varied conditions | Molds to hand, wicks moisture, dampens vibration, durable | Higher price, can feel hard initially |
| Foam (EVA) | Hot weather hiking, budget-conscious hikers | Soft feel, excellent moisture absorption, lightweight, affordable | Less durable than cork, doesn't mold to hand |
| Rubber | Cold weather, snowsports (when wearing gloves) | Excellent insulation, very durable, great grip with gloves | Gets slippery with sweat, can cause chafing on bare hands |
Ultimately, the right grip material really depends on where and when you'll be hiking.
Your hands will thank you for choosing a grip material that matches the climate. Cork excels in varied conditions, foam is a hero in the heat, and rubber is strictly for the cold.
Why Wrist Straps Are Not Just for Show
I see so many new hikers letting their wrist straps dangle uselessly or, even worse, putting their hands through them the wrong way. This is a huge missed opportunity. Those straps aren't just there to keep you from dropping a pole down a ravine. Their primary job is to transfer your pushing force from your hands and fingers to your much stronger arm and shoulder muscles.
Here’s how to do it right: slide your hand up through the bottom of the loop, so the strap rests snugly against the back of your wrist as you grab the pole grip.
This simple technique lets you push down on the strap itself, using your body weight to propel you forward without needing a death grip on the handle. Trust me, after a few miles, this makes a world of difference in reducing hand and forearm fatigue.
Most quality poles come with padded, moisture-wicking straps that you can easily adjust for a perfect fit, with or without gloves. Take a minute to get this right before you hit the trail—it’s one of the easiest ways to unlock the full potential of your trekking poles.
Getting Dialed In: Tips, Baskets, and Shock Absorption
https://www.youtube.com/embed/NN60N8n7sao
It’s easy to get caught up in the big stuff like pole materials and grip types, but the smaller components often make the biggest difference out on the trail. I'm talking about the baskets, tips, and shock absorbers.
These are the parts that truly adapt your poles to the terrain you're on. Think of them like the tires on your truck—you wouldn't take summer tires into a blizzard, and the same logic applies here. Getting these details right is what separates a good day from a frustrating one.
Match Your Baskets to the Ground Beneath You
Those little plastic discs near the bottom of your poles? They’re called baskets, and they have one crucial job: to stop your poles from plunging into soft ground. Most trekking poles come with a standard, small set, but you really need to swap them out depending on the season and trail conditions.
- Snow Baskets: These are your go-to for winter. They're significantly wider and look a bit like a snowflake, designed to provide flotation and keep your poles on top of deep snow. Without them, your poles would sink right in, making them pretty useless.
- Mud Baskets: A great middle-ground option. They're bigger than the standard baskets but not quite as wide as snow baskets. They give you just enough surface area to keep from sinking into sloppy mud, boggy ground, or even soft sand.
All About Pole Tips
The tip is where the rubber—or, more accurately, the metal—meets the road. Almost every pole you'll find today comes with carbide tips. Carbide is a super-hard metal that bites into rock, dirt, and even ice, giving you a solid, secure plant every time. They're tough and built for the abuse of natural trails.
But you don't always want that aggressive metal point. For pavement, hard-packed trails, or delicate ecosystems, you'll need rubber tip protectors. These simple caps slide over the carbide tip to protect it from wearing down on hard surfaces. They also offer a quieter, more stable grip on asphalt and prevent you from leaving scratch marks on rocks, which is a big deal for Leave No Trace ethics.
The real debate among hikers often comes down to one thing: shock absorption. This feature is a small spring mechanism built into the pole to dampen the impact that travels up your arm, especially on long downhills.
The Shock Absorption Question: To Cushion or Not to Cushion?
So, is shock absorption a must-have? Honestly, it's all about personal preference and your body's needs.
If you have sensitive wrists, elbows, or shoulders, that little bit of cushioning can be a game-changer. It takes the edge off the constant jarring, which really adds up over a 10-mile day.
On the flip side, many minimalist and ultralight hikers avoid it. The mechanism adds a little weight, can feel slightly "spongy" to some, and introduces another moving part that could potentially break down. If you want pure, direct feedback from the trail and the lightest pole possible, you’ll probably want to skip it.
Ultimately, if joint comfort is your top priority, look for poles with shock absorption. If weight and simplicity are more important, go without. It's a bit like trail food; what works is personal. Some people find that unexpected combinations, like the ingredients in this 7-layer salad recipe, provide the perfect mix of energy and satisfaction.
Bringing It All Together and Hitting the Trail
Alright, we’ve covered a lot of ground—from materials and locking systems to the feel of different grips. Now it’s time to put all those pieces together and pick the right poles for you. Ultimately, the best choice boils down to your personal hiking style and what you’re willing to spend.
Think honestly about the kind of hiking you do. Are you mostly out for a few hours on a Saturday on well-groomed local trails? Or are you planning to spend weeks on end tackling seriously rugged terrain? The answer changes everything.
Matching Poles to Your Hikes
Let's break it down into a couple of common scenarios:
-
The Weekend Warrior: If you're a day hiker or enjoy casual weekend trips, you can’t go wrong with a reliable pair of aluminum poles. They offer fantastic durability and value. Look for a pair with external lever locks, and you'll have a workhorse companion for years without breaking the bank.
-
The Long-Distance Hiker: For thru-hikers and serious backpackers, every single ounce matters. This is where investing in carbon fiber really pays off. They might cost more, but the weight savings will make a massive difference in your energy levels after days and weeks on the trail.
Here's the bottom line: A higher price tag usually gets you lighter materials like carbon fiber, more comfortable grips like cork, and beefier locking mechanisms. But don't think you have to spend a fortune. There are some fantastic mid-range aluminum poles that borrow premium features and offer incredible performance for the price.
Once you’ve made your choice, don’t just throw your new poles in the trunk and head for the mountains. Get acquainted with them first. Take them for a quick walk around your neighborhood.
Play with the length adjustments until they feel just right—a good starting point is having your elbow at a 90-degree angle when holding the grips on flat ground. Practice planting the poles with your opposite foot as you walk. It might feel a bit awkward at first, but you'll find a natural rhythm pretty quickly.
Getting this little bit of practice in beforehand means that when you finally get to the trailhead, your poles will feel like a natural extension of your arms. You’ll be ready to focus on the incredible views and the adventure ahead, whether you're exploring local parks or tackling epic multi-day hiking adventures in Greece with total confidence.
Common Questions About Trekking Poles
Even after you've weighed all the options, a few questions almost always come up. I get asked these all the time. Let's clear up some of the most common ones so you can feel totally confident in your choice and hit the trail ready to go.
Are Trekking Poles Really Necessary for Day Hikes?
Look, are they strictly necessary for a quick two-hour loop? Probably not. But the benefits they offer are massive, even on shorter treks. Think of them as shock absorbers for your body. They take a huge amount of cumulative stress off your knees and ankles, especially on the downhills.
Poles also give you incredible stability on tricky terrain like slick mud, loose gravel, or a rocky creek crossing. They can even help you find a better rhythm and pace. For many hikers, once you experience how much better your knees feel after a long descent with poles, you'll never go back.
A lot of us love to track our performance on the trail, too. If you're into stats and seeing how your gear improves your hikes, take a look at our guide on the best fitness trackers for 2025 to see how tech can pair with your new poles.
What's the Right Way to Set Pole Length?
Getting the length right is absolutely critical. If it's off, you'll feel it in your shoulders and back, and the poles won't give you the support you need. It's actually pretty simple.
- On Flat Ground: Stand up straight with your arms relaxed at your sides. Adjust the pole length until your elbow forms a perfect 90-degree angle when you're holding the grip. This is your baseline.
- When You're Heading Uphill: Shorten each pole by about 5-10 cm. This gives you better leverage to push yourself up the slope without overextending your shoulders.
- For the Downhill Stretch: Do the opposite and lengthen each pole by 5-10 cm. This extra reach helps you plant them further out in front, giving you more stability and braking power.
The 90-degree elbow rule is the gold standard for a reason. Nailing this adjustment prevents shoulder strain and ensures you're getting maximum power and support with every single pole plant. They'll feel less like tools and more like a natural extension of your body.
You'll also see 'Z-poles' out there, which are a fantastic alternative to the standard telescoping design. They fold up like a tent pole, making them super light and compact—a favorite for trail runners and anyone trying to save space. The trade-off is that they often have less adjustability and can be a bit less burly than their telescoping cousins when put under serious strain.
Leave a comment


