


No products in the cart.

Understanding Today's PC Building Opportunities
Building a PC is an exciting endeavor. The current market offers a wide selection of powerful components, competitive prices, and a supportive community eager to assist newcomers. The challenges of finding parts and paying inflated prices are largely things of the past. Today's environment presents a prime opportunity to build the PC you've always wanted.
Component Availability and Pricing
Recent market trends have resulted in greater component availability. This means finding the parts you need is easier than ever, eliminating the need to deal with scalpers or settle for subpar alternatives. Competitive pricing has also made premium components more affordable, putting more power and features within reach.
High-end GPUs and fast NVMe SSDs are now more accessible, enabling smoother gaming and faster load times. This increased accessibility is contributing to the PC industry's resurgence. In the first quarter of 2025, global PC shipments saw a 4.9% year-over-year increase, reaching 63.2 million units. This growth highlights the rising demand and accessibility of PC gaming and overall PC use. More details are available here: IDC PC Market Growth
The Power of Community
While building a PC can seem intimidating, the expanding DIY community offers invaluable support for beginners. Online forums, subreddits, and Discord servers are filled with experienced builders ready to share their expertise. This provides access to practical advice, troubleshooting tips, and build recommendations from those who have navigated the process before.
These communities can assist with component selection, compatibility checks, and even provide real-time help during assembly. Having this support network can make the entire process much less daunting and more enjoyable.
Tailoring Your Build to Current Trends
With continuous advancements in PC technology, it's crucial to differentiate between true progress and marketing hype. This informed approach helps you make wise decisions, ensuring your build includes the features that truly matter to you. For example, while PCIe 5.0 SSDs offer blazing-fast speeds, a PCIe 4.0 SSD might deliver sufficient performance at a lower price.
Understanding the differences between DDR5 RAM and DDR4 RAM can help you optimize your system. Whether your focus is gaming, content creation, or everyday productivity, understanding the nuances of each component ensures a PC that meets your current needs and provides a strong base for future upgrades.
Essential Components That Actually Matter
Forget the confusing technical specifications and marketing hype. Let's focus on the PC components that truly make a difference to performance and your everyday computing experience. We'll explain the function of each component in simple terms, helping you find the right balance between power and affordability. You'll learn how to select components based on your specific needs and avoid wasting money on unnecessary upgrades.
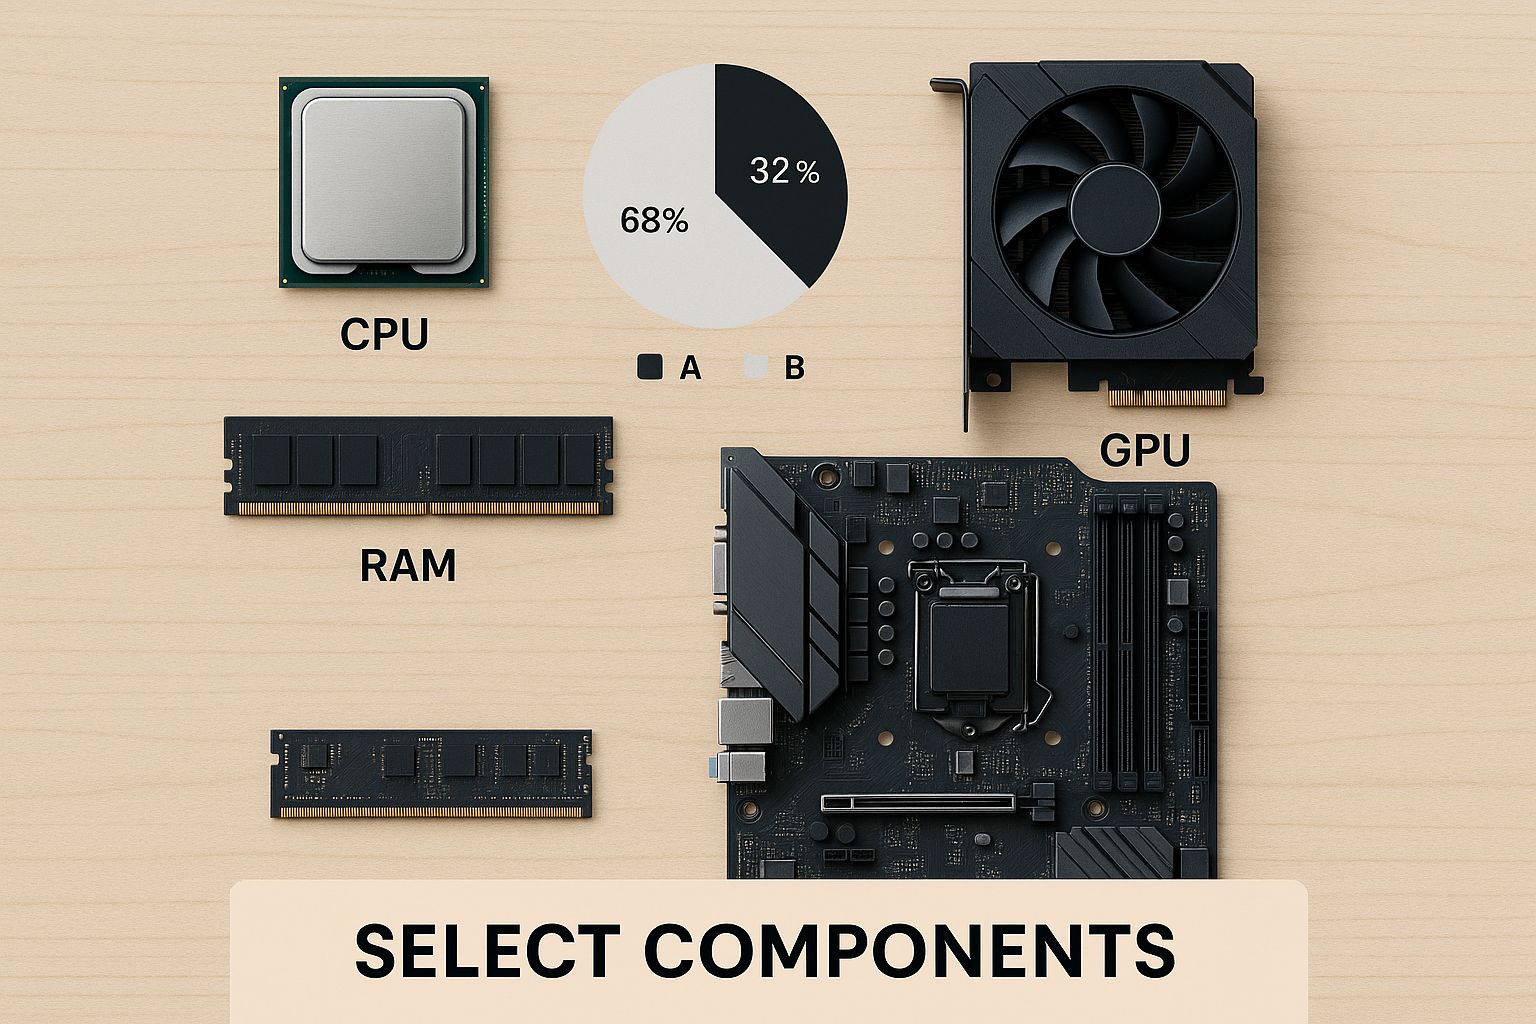
The infographic above illustrates the key components you'll need to choose for your PC build: the CPU, GPU, RAM, and motherboard. Selecting the right combination of these components is essential for a well-balanced and efficient system. Much like a car requires a powerful engine (CPU), a smooth transmission (motherboard), ample fuel (RAM), and dependable tires (storage), your PC needs its components to work together seamlessly.
The Heart of Your PC: The CPU
The Central Processing Unit (CPU) is the brains of your computer. For a smooth experience, especially when following a "pc build guide," choose a CPU with strong single-thread performance. This is particularly important for tasks like gaming and streaming, where real-time processing is essential. The CPU coordinates all other components, much like a conductor leads an orchestra. A 12th generation Intel Core i3-12100F or i3-14100F offers an excellent balance of performance and value. Learn more about building your own PC: How to master your PC build.
The Visual Powerhouse: The GPU
The Graphics Processing Unit (GPU) is responsible for rendering images, videos, and other visual elements. If you want the best visual experience, especially if you’re aiming for high resolutions and frame rates in games, a mid-range Nvidia graphics card like the GTX 1650 or RTX 2060 is a great option. Choosing the right GPU is like choosing the right lens for a camera – it directly affects image quality and clarity.
Keeping Things Running Smoothly: RAM
Random Access Memory (RAM) is your PC's short-term memory. It stores data that the CPU needs to access quickly. 8GB of RAM is usually sufficient for basic tasks, but 16GB is recommended for gaming and demanding applications like video editing. Think of RAM as the size of your desk – the more space you have, the more projects you can work on simultaneously without things getting cluttered.
The Foundation: The Motherboard
The motherboard connects all your components. It acts like the central nervous system of your PC. Choose a motherboard that's compatible with your chosen CPU and offers the features you need, such as enough PCIe slots for your GPU and other expansion cards. This is crucial for both compatibility and future upgrades.
Storage: Speeding Up Your System
Fast storage is vital for a responsive PC. A Solid State Drive (SSD) is much faster than a traditional Hard Disk Drive (HDD). An SSD significantly reduces boot times and loading speeds. It's like the express lane on a highway, enabling data to travel much faster. A 120GB SSD is typically enough for the operating system and a few essential programs, while larger capacities are recommended for storing large files like games and videos.
The following table provides a comparison of essential PC components:
Essential PC Components Comparison Key specifications and considerations for each major component category
| Component | Primary Function | Key Specifications | Budget Impact |
|---|---|---|---|
| CPU | Processes data | Clock speed, core count | High |
| GPU | Renders graphics | VRAM, clock speed | High |
| RAM | Short-term memory | Capacity, speed | Medium |
| Motherboard | Connects components | Chipset, expansion slots | Medium |
| Storage (SSD) | Stores data | Capacity, read/write speeds | Medium |
By understanding the role of each component and choosing wisely, you can build a PC that fits your needs and budget, providing a solid platform for future upgrades.
Making Components Work Together Perfectly
Choosing compatible PC components is the first step in a successful build. Many builds falter at this stage, but with the right guidance, you can create a harmonious system. Each part will complement the others, maximizing performance and minimizing issues. For example, pairing a powerful graphics card with a weak processor creates a bottleneck, limiting the GPU’s potential. This section will teach you how to select components that not only function together but thrive together.
Verifying Compatibility and Avoiding Bottlenecks
Before clicking “Buy Now,” double-checking compatibility is crucial. While most modern components adhere to established standards, subtle differences can cause unexpected problems. Resources like PCPartPicker are invaluable for verifying compatibility and identifying potential conflicts. Researching successful builds similar to yours offers insights from experienced builders. This proactive approach saves you time, money, and frustration.
Why is this so important? Component synergy is key to a smooth-running system. A balanced system avoids bottlenecks, where one component restricts the performance of others. A PC's performance is limited by its slowest component. In the first quarter of 2025, U.S. PC shipments increased by 12.6%, partly due to vendors stockpiling before tariff announcements. This growth mirrored broader industry trends. Discover more insights about PC market trends here. Understanding these market forces helps you make informed decisions for your PC build guide.
Future-Proofing Your Component Selection
Technology evolves quickly, so planning for future upgrades is wise. Consider components with upgrade paths in mind. Choosing a motherboard with multiple PCIe slots, for example, allows for adding more storage or expansion cards later. A power supply with ample wattage provides headroom for future component upgrades. Anticipating your future needs prevents having to rebuild your entire system in a few years.
Real-World Scenarios and Troubleshooting
Learning from others' mistakes is invaluable in PC building. Online communities and forums contain stories of seemingly compatible parts causing unexpected issues. Researching these scenarios highlights potential pitfalls and offers solutions before they impact your build. This knowledge equips you to handle challenges and build a system that works perfectly. Consider researching different mechanical keyboard switches. The right keyboard enhances your PC building and usage experience.
Building a System That Thrives
The goal of a "PC build guide" is to create a PC that performs optimally. This requires carefully selecting components that complement each other and work seamlessly. Think of it like building a sports team: you need players with complementary skills, not just a collection of individuals. Understanding the relationships between components unlocks hidden performance and creates a system that truly shines.
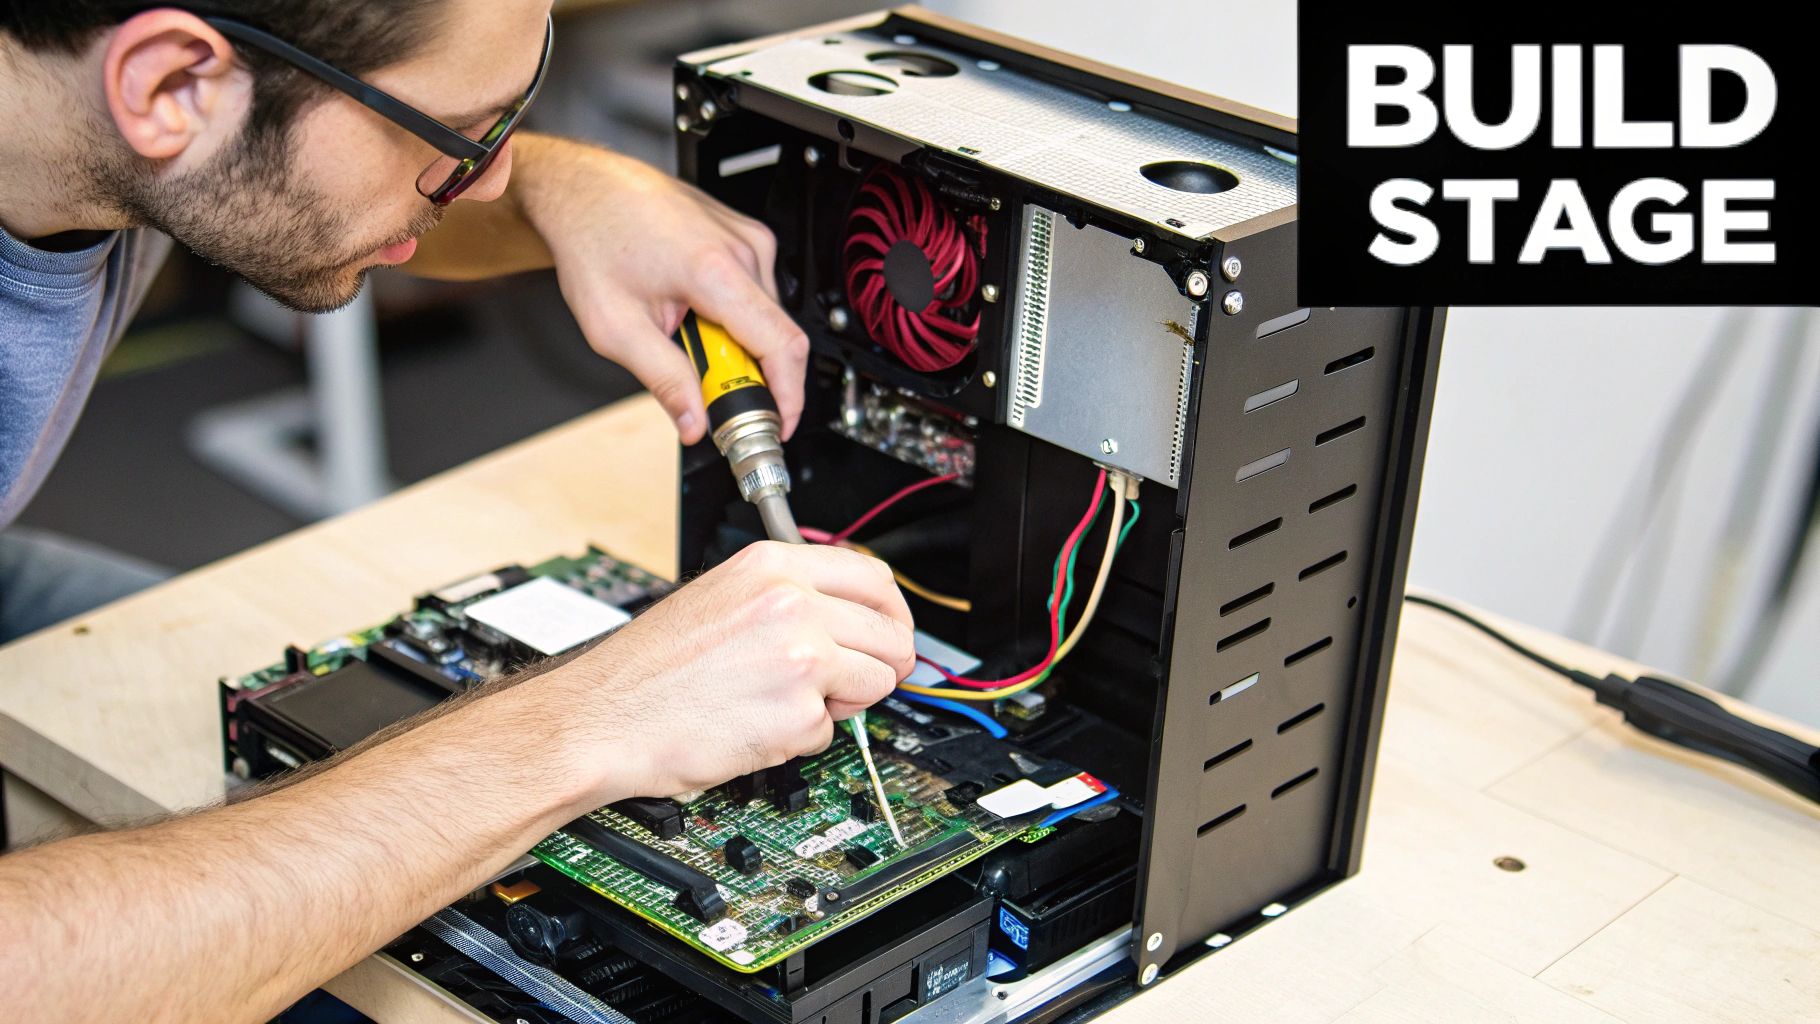
Assembly Process That Actually Works
Now, it's time to assemble your components. This stage of our PC build guide transforms individual parts into a powerful, functioning computer. We'll walk you through a proven method, designed to minimize complications and get you to that satisfying first boot. This is where your build truly comes to life.
Preparing Your Workspace
Before you start, set up a clean, static-free area. This protects your components and provides an organized environment. A large, flat surface and good lighting are crucial. An anti-static wrist strap is also highly recommended to prevent accidental electrostatic discharge, protecting sensitive electronics. Proper preparation makes the entire process smoother.
Handling Components With Care
Handle each component with care, avoiding direct contact with sensitive pins and connectors. Hold the CPU by its edges and the GPU by its bracket. This minimizes the risk of damage. Keep components in their anti-static bags until you’re ready to install them for added protection. These precautions will help maintain the integrity of your components.
Installing the CPU and RAM
Begin by installing the CPU onto the motherboard. Align the arrow on the CPU with the corresponding notch on the CPU socket. Gently lower the CPU into place and secure it by closing the lever. Next, install the RAM. Open the clips on the RAM slots and align the notch on each RAM stick with the notch on the slot. Firmly push down until the clips click into place, ensuring a secure connection.
Mounting the Motherboard and GPU
Mount the motherboard in your case, using standoffs to prevent short circuits. This is essential for protecting your system. Then install the GPU in the top PCIe slot, pushing down firmly until it clicks into place. Secure the GPU using the screws provided with your case.
Connecting the Power Supply
Connect the power supply cables to the motherboard, CPU, and GPU. Double-check that all connections are secure and correctly seated. Also, connect the power and reset buttons from your case to the corresponding pins on the motherboard. These connections power your entire system.
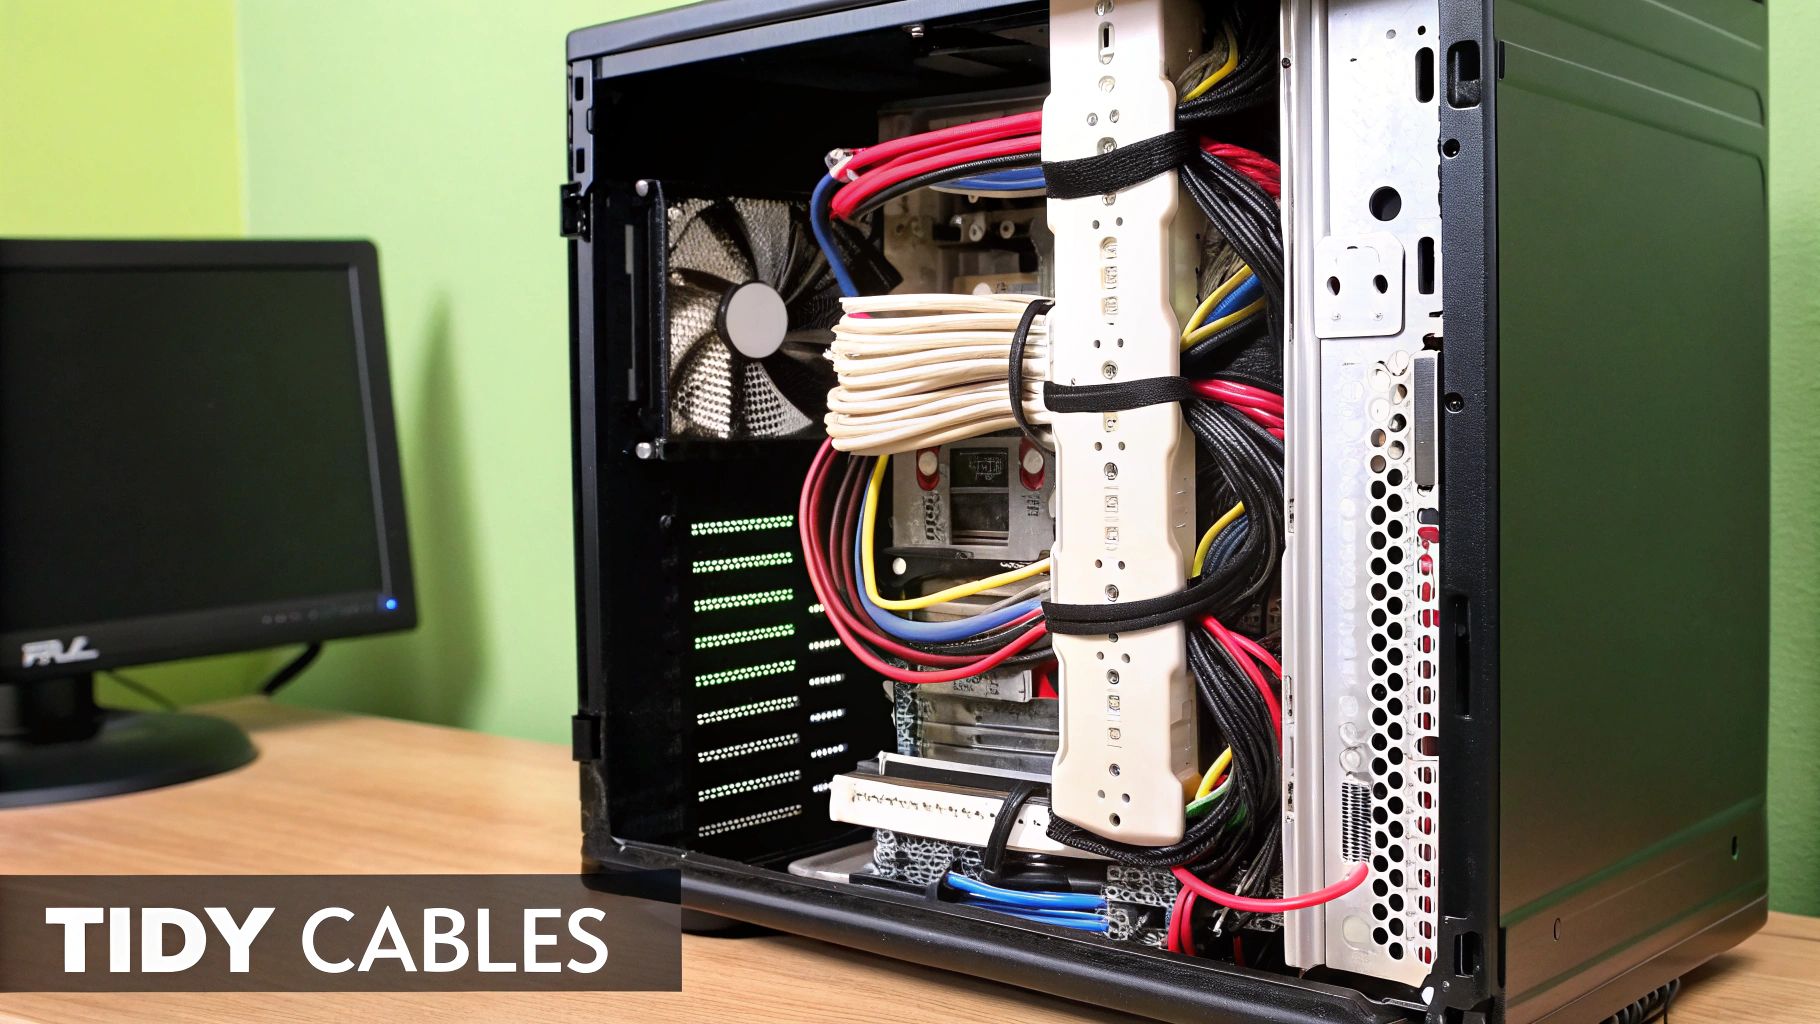
Cable Management and Final Checks
Organize cables neatly using cable ties or straps. This improves airflow and makes future troubleshooting easier. Finally, double-check all connections one last time before closing the case. This meticulous approach can save you a lot of trouble later on.
Troubleshooting During Assembly
Even with the best preparation, issues can arise. Don’t panic! Online forums and communities like Reddit are excellent resources for troubleshooting. Consult your motherboard manual for specific instructions and diagrams. You’re not alone – countless builders have encountered similar challenges and shared their solutions.
Building a Lasting System
With proper care, your PC can last for years. Regular cleaning, driver updates, and occasional component upgrades extend its lifespan significantly. Thinking long-term ensures you get the most out of your build, making it a valuable tool for years to come. This stage of the PC build guide emphasizes creating a PC that serves you well, both now and in the future. Just like regular maintenance keeps a car running smoothly, the same applies to your PC.
First Boot Success and Beyond
The moment of truth has arrived. After carefully selecting components and meticulously assembling your PC, it's time for the first boot. This guide will help you navigate this crucial stage, ensuring a smooth and successful startup. We'll cover everything from connecting peripherals to understanding those initial screen messages, giving you the knowledge to troubleshoot any issues.
Connecting Peripherals and Powering On
Begin by connecting essential peripherals such as your monitor, keyboard, and mouse. Make sure these are plugged into the appropriate ports on the back of your PC. Double-check all power supply connections, both to the wall outlet and to the components inside your computer case. Now, power on your PC.
Interpreting the First Screen Messages
As your PC starts, you'll see a series of messages on the screen. These are POST (Power-On Self-Test) messages, indicating that the system is checking its hardware. A single beep usually signifies a successful POST. Multiple beeps or error messages point to a potential problem, which we’ll cover in the troubleshooting section. You might also see the BIOS screen, discussed below. For insights into CPU performance, particularly for maintaining high frame rates, check out this article: How Intel Core i9-13900T Shows Extraordinary Efficiency.
Accessing and Configuring the BIOS
The BIOS (Basic Input/Output System) is firmware that controls your hardware during startup. Access it by pressing a specific key during boot (usually Del, F2, or F12). The correct key is often displayed briefly during the startup sequence. The BIOS lets you configure boot order, enable XMP for your RAM, and monitor system temperatures. Exercise caution when making changes in the BIOS, as incorrect settings can impact system stability.
Verifying Component Recognition
Within the BIOS, verify that all your components are recognized. The BIOS should display information about your CPU, RAM, storage devices, and GPU. This confirmation ensures that everything is installed and working correctly.
Preparing for Operating System Installation
The BIOS also allows you to set the boot order, determining which device the system boots from. To install your operating system, you'll need to boot from a USB drive or DVD containing the installation files. Select the correct boot device in the BIOS settings. For insights into the growing PC market, see: PC Market Growth and Challenges. This resource projects 274 million PC units shipped in 2025, a 4.1% year-over-year increase.
Troubleshooting Common First-Boot Issues
- No Power: Verify all power connections, both internal and external to the PC.
- No Display: Ensure the monitor is connected to the correct port and is powered on. Try reseating the graphics card.
- Continuous Beeping: Consult your motherboard manual to interpret the beep codes, as they often indicate specific hardware issues.
- BIOS Not Accessible: Experiment with different keys (Del, F2, F12) during startup.
- Component Not Recognized: Reseat the component in question.
By following these steps, you'll navigate the first boot process with confidence, ensuring your new PC build operates as expected.
Long-Term Success and Smart Upgrades
Building your own PC is more than a single project; it's the start of a journey. This section of our PC build guide focuses on making sure your system continues to meet your needs well into the future. We'll cover optimization, maintenance, smart upgrades, and practical strategies to get the most life and value from your custom-built PC.
Optimizing Performance for the Long Haul
Getting great initial performance is excellent, but maintaining it requires ongoing effort. This involves focusing on both software and hardware aspects. Regular driver updates are essential, keeping your components running at peak efficiency. Think of it like regular maintenance for a car–your PC also needs routine care to prevent performance decline.
Software also plays a vital role. Regularly uninstalling unused programs and clearing out temporary files frees up storage and reduces system clutter, improving responsiveness.
For more advanced users, overclocking the CPU and GPU can offer further performance gains. However, this requires careful monitoring and adjustment. Similarly, updating your motherboard's BIOS can enhance compatibility and performance, but proceed with caution, as a failed update can cause serious problems.
Smart Upgrades: Knowing When and What to Upgrade
The allure of upgrading your PC is strong, but it's essential to upgrade intelligently. Not all upgrades yield significant improvements. Identifying bottlenecks in your system is key before making any changes. Upgrading a component that isn't limiting performance won't give you the results you're looking for and is essentially a wasted investment. This is especially true for GPUs, where upgrading your graphics card can significantly improve visuals, particularly for newer, more demanding games.
Planning Your Upgrade Path
Strategic upgrade planning is crucial for maximizing your investment. A modular approach to PC building is a great strategy. Selecting components that can be easily upgraded individually, such as RAM or storage, avoids the need to replace your entire system down the line. Investing in a powerful power supply with extra wattage also provides room for future component upgrades without needing a replacement.
Maintenance for Extended Lifespan
Regular maintenance significantly extends the life of your components. Dust buildup restricts airflow, increasing temperatures and potentially leading to reduced performance and even component failure. Regular cleaning with compressed air is essential. Replacing the thermal paste on your CPU and GPU every few years improves heat transfer and helps maintain optimal temperatures. Using monitoring software (HWMonitor) to track temperatures, fan speeds, and other system metrics allows you to identify potential problems early on, preventing more serious issues.
Future-Proofing Your Build: Anticipating Future Needs
While we can't predict the future, considering potential upgrades and emerging technologies helps ensure your build stays relevant. A motherboard with multiple PCIe slots allows for future expansion with additional storage or expansion cards. Keeping an eye on technological advancements allows you to adapt your system and minimizes the need for complete overhauls.
Before we conclude, let's look at a helpful checklist to summarize the key points for optimizing your PC's performance. This table outlines the essential actions, their expected impact, and the difficulty level of each task.
PC Performance Optimization Checklist: Essential steps and settings for maximizing your new PC's performance
| Optimization Area | Action Required | Expected Impact | Difficulty Level |
|---|---|---|---|
| Drivers | Update regularly | Improved performance | Easy |
| Software | Uninstall unused programs, clean files | Improved responsiveness | Easy |
| Overclocking | Tweak CPU/GPU settings | Performance boost | Advanced |
| BIOS | Update firmware (cautiously) | Improved compatibility | Medium |
| Cleaning | Remove dust buildup | Increased lifespan | Easy |
| Thermal Paste | Reapply periodically | Lower temperatures | Medium |
This checklist provides a quick reference for maintaining and optimizing your PC's performance. By following these steps, you can ensure your system runs smoothly and efficiently.
By following these guidelines, your custom-built PC will not only perform well initially but will also continue to be a valuable asset for years to come. This long-term perspective is crucial for maximizing your enjoyment and the value you get from your investment. A well-maintained and strategically upgraded PC can adapt to your evolving needs, remaining a powerful tool for all your computing endeavors. This guide will be a lasting resource throughout your ongoing PC journey.
Key Takeaways for Building Success
Building a PC, especially when guided by a comprehensive pc build guide, can be both exciting and rewarding. This section offers practical advice gleaned from numerous builds, helping you navigate common pitfalls and achieve a successful outcome. We'll focus on actionable steps, realistic expectations, and ensuring long-term satisfaction with your custom-built system.
Component Selection Principles for a Balanced Build
Selecting the right components is crucial for a balanced system. Think of it like building a team: each member must not only excel individually but also work effectively together. This prevents bottlenecks, where one component limits the performance of others.
-
Prioritize CPU Single-Thread Performance: In demanding situations, such as crowded group rides in Zwift, single-thread performance is key. A powerful CPU, like the Intel Core i3-12100F (or i3-14100F at a similar price point), prevents frustrating frame rate drops, even when paired with a less expensive graphics card. Zwift relies heavily on efficient CPU processing, not high core counts or multi-threading.
-
Match GPU to Resolution and Refresh Rate Goals: While a high-end GPU is tempting, choose one that aligns with your desired resolution and refresh rate. A mid-range Nvidia GTX 1650 is sufficient for Ultra settings at 1440p resolution. A more powerful card, like the GTX 1080 Ti, offers diminishing returns for Zwift.
-
Don't Overspend on RAM: 8GB of RAM is ample for Zwift and general PC use. Additional RAM won't provide noticeable performance improvements in this context.
Assembly Best Practices for a Smooth Process
While PC assembly can seem daunting, a structured approach and attention to detail ensure a smooth first boot.
-
Prepare Your Workspace: A clean, organized, and static-free workspace is essential. This protects your components and creates a comfortable assembly environment. An anti-static wrist strap is a worthwhile investment to prevent electrostatic discharge.
-
Handle Components with Care: Avoid touching sensitive pins and connectors. Hold components by their edges and keep them in anti-static bags until ready for use.
-
Follow a Logical Build Sequence: Start with the CPU and RAM, then install the motherboard and GPU. Connect the power supply last, double-checking all connections.
Troubleshooting Mindsets for Overcoming Challenges
Even with careful planning, issues can arise. A proactive troubleshooting approach and access to reliable resources turn challenges into learning experiences.
-
Consult Online Communities and Forums: Platforms like Reddit and PC building forums offer valuable advice and solutions.
-
Utilize Diagnostic Tools: Websites like Zwiftalizer.com provide detailed performance analysis, helping identify bottlenecks and troubleshoot issues.
Realistic Expectations and Long-Term Vision
-
Expect Occasional Frame Rate Drops: Even high-end systems experience occasional frame rate dips in demanding scenarios. Adaptive sync technology can help smooth out these fluctuations.
-
Plan for Future Upgrades: Choose components with future upgrades in mind. A power supply with sufficient wattage and a motherboard with multiple expansion slots provide flexibility for future growth.
Building a PC is a rewarding experience that extends beyond the initial assembly. By following these key takeaways, you'll not only successfully build your PC but also ensure its longevity and adaptability. Ready to start? Explore components and resources at FindTopTrends.
Leave a comment


