


No products in the cart.
In an era where your smartphone is always within reach, the power to capture stunning photographs has never been more accessible. Modern phone cameras pack incredible technology, but unlocking their full potential requires more than just pointing and shooting. Many users feel their photos do not quite match the quality they see from professional mobile photographers, often due to a few common, easily correctable habits.
The gap between an average snapshot and a breathtaking image is not about owning the most expensive device; it is about mastering a set of fundamental techniques. This guide moves beyond obvious advice, providing you with actionable, professional-level phone photography tips that will fundamentally change how you see and capture the world.
By mastering composition, lighting, and focus, you can transform your everyday mobile device into a powerful creative tool. Whether you are an aspiring influencer, a travel enthusiast, or simply someone who loves preserving memories, these seven essential tips will equip you with the skills to create photos that truly stand out. We will dive directly into practical methods for controlling focus, optimizing light, and exploring creative perspectives to elevate your images instantly.
1. Master the Rule of Thirds
One of the most foundational yet powerful phone photography tips is to understand and apply the rule of thirds. This classic composition principle, used for centuries by artists like Leonardo da Vinci and photographers like Henri Cartier-Bresson, instantly elevates an image from a simple snapshot to a well-composed photograph. The technique involves mentally dividing your frame into a 3x3 grid, creating nine equal rectangles and four intersecting points.

The core idea is to place key elements of your scene along these lines or at the points where they intersect. This simple shift away from a centered subject creates a more dynamic, balanced, and visually engaging image. By positioning your subject off-center, you give the photo a sense of direction and encourage the viewer's eye to move naturally across the entire frame, exploring the negative space and the background.
How to Implement the Rule of Thirds
Applying this rule is straightforward, especially with modern smartphones. Here are some actionable steps:
-
Enable Your Grid: The easiest way to start is by activating the grid lines in your phone's camera settings. Go to
Settings > Camera > Gridon an iPhone or a similar path in the camera settings on an Android device. This overlay provides a constant visual guide. - Position Your Subject: Instead of placing your subject in the center square, align it with one of the vertical lines. For portraits, try positioning a person’s eyes on one of the top intersecting points for a powerful connection.
- Align the Horizon: When shooting landscapes, avoid placing the horizon in the middle of the frame. Align it with either the top or bottom horizontal line. Placing it on the bottom third emphasizes a dramatic sky, while placing it on the top third draws attention to an interesting foreground.
Key Insight: The rule of thirds is a guideline, not a law. Master it so you know when and how to break it for creative effect. Once you are comfortable with it, you can experiment with symmetry or other compositional techniques.
2. Optimize Natural Lighting
Great lighting is the single most important ingredient for a stunning photograph, and when it comes to phone photography tips, nothing beats learning to harness the power of natural light. It's the most flattering, accessible, and dynamic light source available. Understanding how to work with the sun's position and quality throughout the day can dramatically elevate your images, transforming them from flat and dull to vibrant and dimensional. This is a secret that professional photographers, from landscape masters like Chris Burkard to portrait legends like Annie Leibovitz, have used for decades.
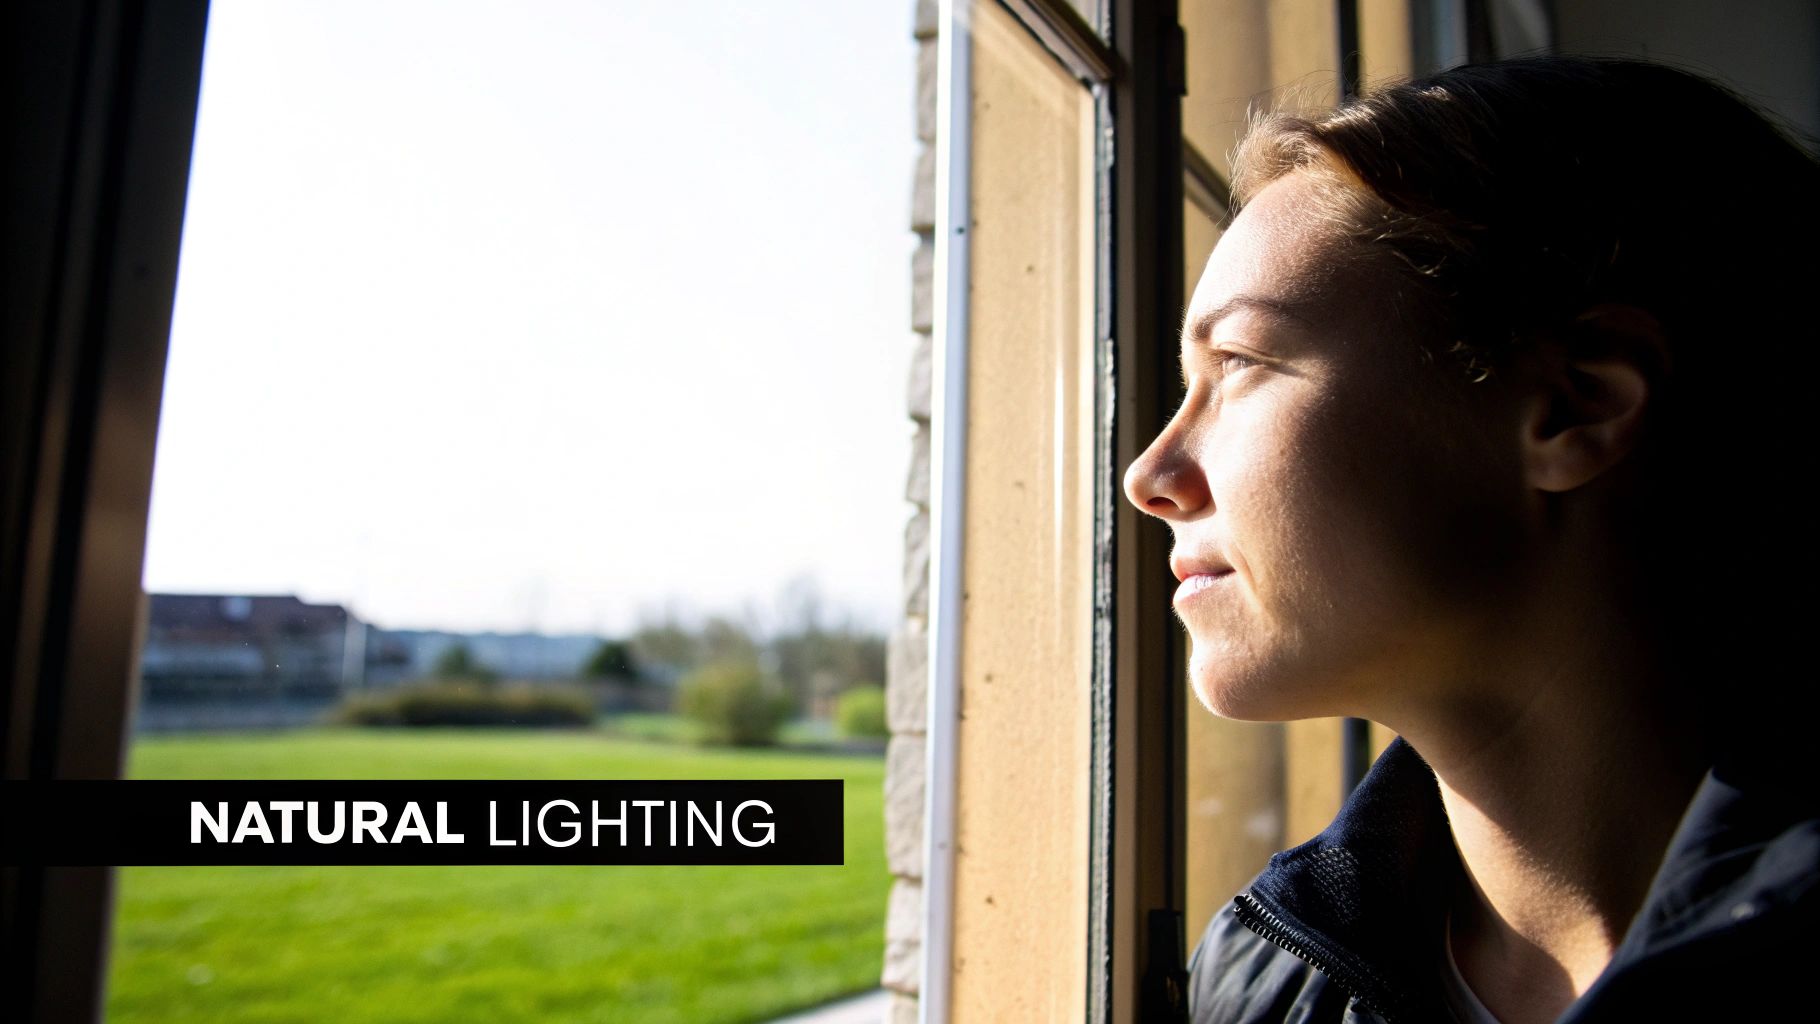
The key is to treat light as your primary subject. Different times of day offer different qualities of light. The "golden hour," the period shortly after sunrise and before sunset, provides a warm, soft glow that is universally flattering for portraits and landscapes. Conversely, the harsh midday sun creates strong, often unflattering shadows. By learning to see and react to these conditions, you can make any scene look its absolute best.
How to Implement Natural Lighting Techniques
Applying these principles is about observation and positioning. Your goal is to use the light to shape your subject and create a specific mood. Here are some actionable steps:
- Time Your Shoots: Plan your photo sessions around the best light. Use apps like Sun Surveyor or PhotoPills to track the exact timing of golden hour and blue hour (the period just before sunrise or after sunset) in your location.
- Find a Window: For indoor photography, a large window is your best friend. Position your subject (whether it's a person, a pet, or a plate of food) facing the window to capture soft, even, and directional light that minimizes harsh shadows.
- Avoid the Midday Sun: The sun is highest and harshest between 11 a.m. and 3 p.m. If you must shoot during this time, find open shade under a tree or building to diffuse the light and avoid "raccoon eyes" on your subjects.
- Use Reflectors: You don't need professional gear. A simple piece of white foam board, a white t-shirt, or even a menu can be used to bounce light back onto your subject, filling in shadows and brightening their face. This technique works wonders for portraits.
Key Insight: Light determines the mood, texture, and dimension of your photo. By moving yourself and your subject relative to the light source, you have complete creative control over the final image, a principle that even the most advanced camera systems rely on.
3. Get Closer to Your Subject
One of the most impactful phone photography tips is to physically move closer to your subject instead of relying on digital zoom. Renowned war photographer Robert Capa famously said, "If your pictures aren't good enough, you're not close enough," and this wisdom is especially true for mobile photography. Moving closer fills the frame with your subject, eliminates distracting background elements, and captures intricate details, creating more intimate and engaging photographs.

Digital zoom is not a true optical zoom; it simply crops and enlarges a portion of the image, which significantly reduces quality and results in a pixelated, blurry photo. By using your feet as your primary "zoom lens," you preserve the maximum image quality your phone's sensor can offer. This technique is perfect for food photography to show off textures, portraits to capture raw emotion in the eyes, or flower photography to highlight the delicate structure of petals.
How to Implement Getting Closer
Effectively moving closer involves more than just walking forward. It's about changing your perspective to find the most compelling shot.
- Fill the Frame: Make your subject the undeniable focal point. Move in until it dominates the composition, leaving little room for background noise. This creates a powerful, high-impact image.
- Find Your Minimum Focus Distance: Every phone camera has a limit on how close it can get to a subject while keeping it in sharp focus. Experiment by moving your phone slowly toward an object until it blurs, then pull back slightly to find that sweet spot.
- Explore Angles: Don't just shoot from eye level. Get low to the ground for a dramatic, larger-than-life perspective, or find a higher vantage point to shoot downward for a unique high-angle view. Changing your position is often more effective than changing your camera settings.
Key Insight: Getting closer isn't just about proximity; it's about intimacy. By reducing the physical distance, you create a stronger connection between the viewer and the subject, making your photos feel more personal and immersive.
4. Clean Your Lens Regularly
It might seem elementary, but one of the most effective phone photography tips is also the most frequently forgotten: regularly cleaning your camera lens. Your phone is constantly exposed to the elements, from fingerprints and face oils to pocket lint and dust. These smudges and particles accumulate on the small camera lens, creating a film that can severely degrade your image quality, resulting in hazy, soft-focus photos with reduced contrast and unwanted lens flare.
This simple act of maintenance, championed by professional photographers and tech educators alike, can instantly make your photos sharper and clearer. A dirty lens can be the sole reason a beautiful, well-composed shot looks dull and lifeless. Making lens cleaning a regular habit is a zero-cost trick that ensures your phone's powerful camera hardware can perform at its absolute best, capturing the crisp detail it was designed for.
How to Implement Regular Lens Cleaning
Making this a part of your routine requires minimal effort but pays huge dividends in photo quality. Here’s how to do it effectively:
- Use the Right Material: Avoid using your t-shirt, a paper towel, or a rough napkin, as these can leave behind more lint or even create micro-scratches on the lens coating. Instead, use a microfiber cloth, the same kind used for cleaning eyeglasses.
- Perfect Your Technique: For a thorough clean, gently wipe the lens in small, circular motions, starting from the center and moving outward. This pushes debris away from the center of the lens instead of just moving it around.
- Make It a Habit: Get into the practice of giving the lens a quick wipe before any important photo session. Check your lens after your phone has been in a dusty environment like a beach or a hiking trail, or after it's been handled by multiple people. Keeping a small microfiber cloth attached to your keychain or phone case can serve as a great reminder.
Key Insight: A clean lens is non-negotiable for sharp photos. Make it a pre-shot ritual. Before you even frame your subject, give your lens a quick, gentle wipe. This two-second action is the simplest and most impactful step you can take to improve your phone photography.
5. Use Manual Focus for Sharp Results
While modern smartphones boast impressively fast and accurate autofocus systems, one of the most impactful phone photography tips is to take manual control of your focus. Relying solely on your phone's algorithm can sometimes lead to it focusing on the wrong element, especially in busy or low-light scenes. Manual focus empowers you to dictate exactly what part of your image is tack-sharp, ensuring your creative vision is perfectly executed.
This technique is essential for moving beyond simple point-and-shoot photos. It allows you to draw the viewer's eye to a specific point of interest, create beautiful background blur (bokeh), and achieve professional-looking sharpness where it matters most. By overriding the camera's automated decision, you gain a level of precision that is crucial for macro, portrait, and challenging lighting situations.
How to Implement Manual Focus
Most native camera apps offer a simple way to direct focus, and third-party apps provide even more granular control. Here’s how to get started:
- Tap to Focus: The most basic form of manual focus is tapping your screen. Before you take a picture, tap on the most important part of your subject, such as the eyes in a portrait or a specific petal on a flower in a macro shot. A yellow or white box will typically appear, confirming your focus point.
- Use AE/AF Lock: For more stability, use the Auto-Exposure/Auto-Focus Lock. Tap and hold your finger on your desired focus point for a couple of seconds until you see "AE/AF Lock" appear. This locks both the focus and exposure settings, preventing the camera from readjusting even if you or your subject moves slightly.
- Explore Pro/Manual Mode: Many Android phones and third-party iOS apps like Camera+ have a "Pro" or "Manual" mode. This mode often includes a focus slider, giving you complete control to dial in the focus with pinpoint accuracy. This is particularly useful in low light where autofocus systems tend to struggle. As new devices are released with an even stronger emphasis on photography, these manual controls become increasingly powerful. Learn more about phones with advanced photography features on findtoptrends.com.
Key Insight: Manual focus isn't just for fixing problems; it's a creative tool. Use it to intentionally blur the foreground and lead the viewer’s eye to a sharp subject in the background, a technique known as focus stacking's conceptual opposite.
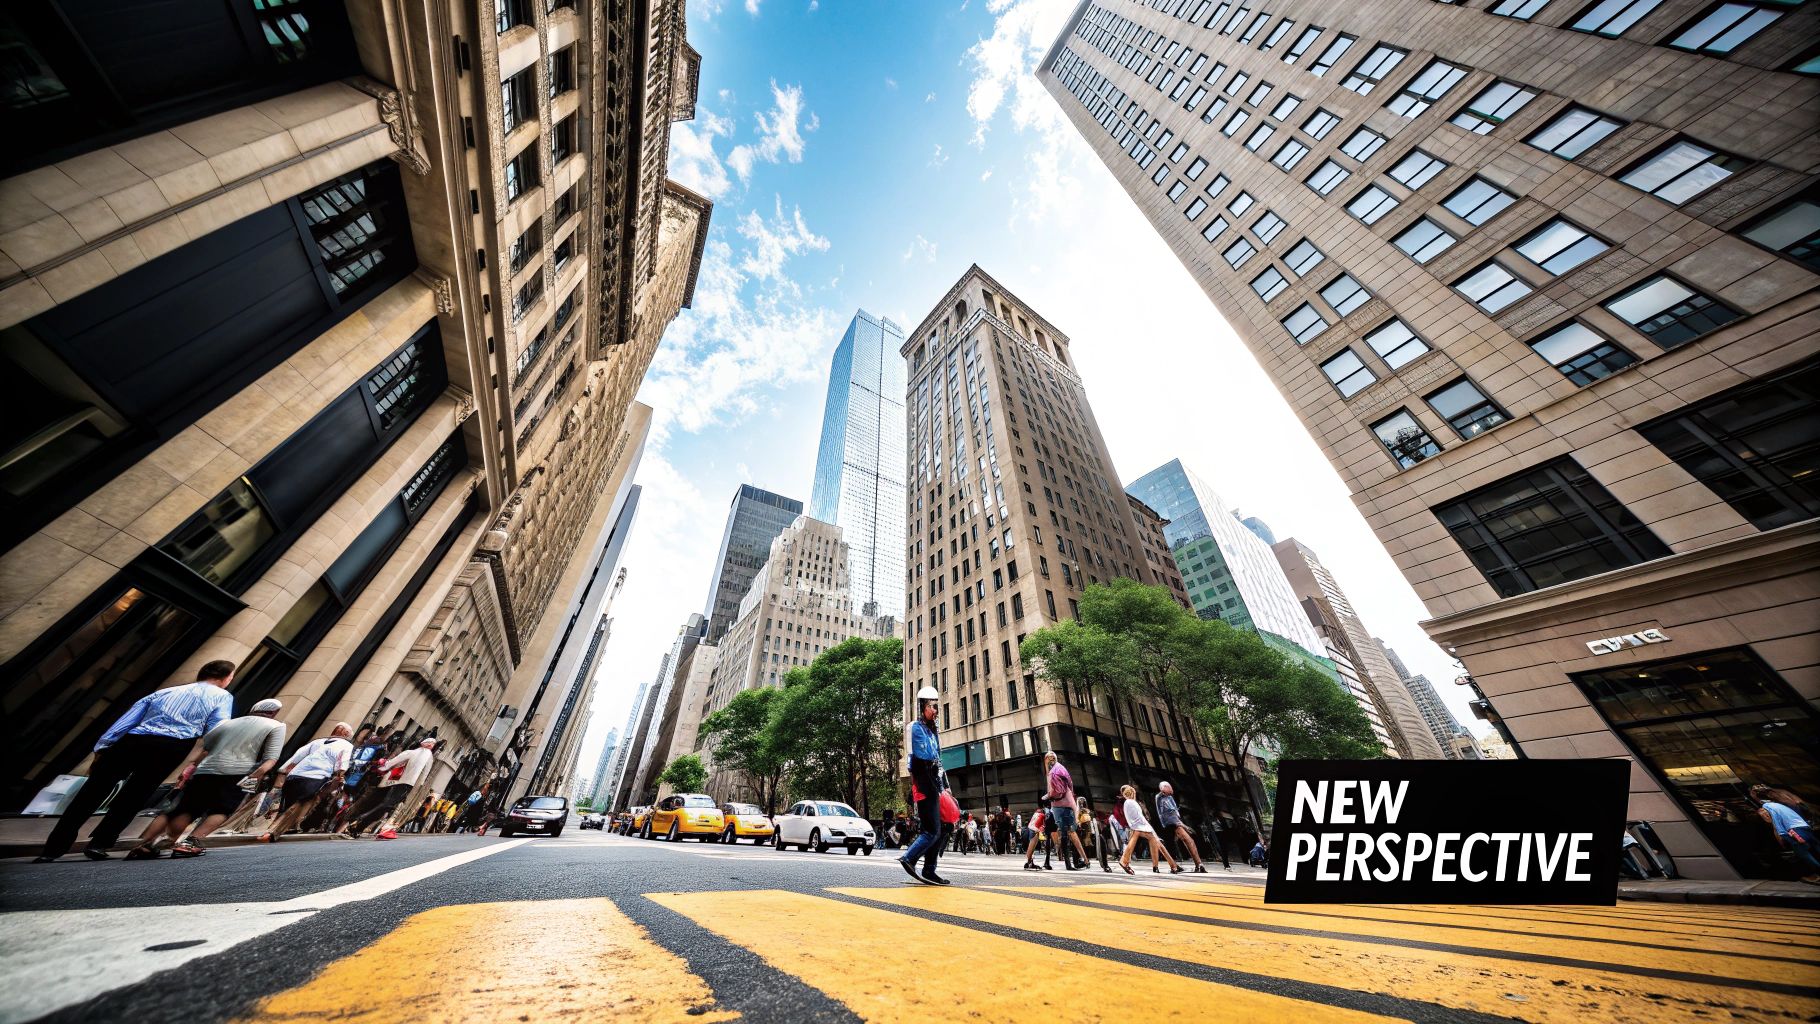
6. Explore Different Angles and Perspectives
Most phone photos are taken from a standing, eye-level position. While convenient, this default perspective often produces predictable and uninspired images. One of the most impactful phone photography tips is to consciously change your shooting angle. By simply moving your camera up, down, or to the side, you can transform an ordinary subject into an extraordinary photograph and reveal a world that most people never see.
Exploring different angles adds depth, drama, and a unique narrative to your images. A low angle can make a subject appear powerful and imposing, while a high angle can offer a sense of scale or a "bird's-eye view" that provides new context. This technique, popularized by photographers across genres from street to food, forces the viewer to see a familiar subject in a completely new light, immediately making the photo more memorable and engaging.
How to Implement Different Angles and Perspectives
Experimenting with your viewpoint is a physical act that requires you to move your body, not just your phone. Before you even think about adjusting settings, think about adjusting your position.
- Get Down Low: Crouch, kneel, or even lie on the ground to shoot upwards. This is incredibly effective for architecture photography, making buildings seem immense and majestic. It also works wonders in street photography, creating dramatic silhouettes and emphasizing the scale of the urban environment.
- Find a High Vantage Point: Use stairs, bridges, hills, or even just hold your phone high above your head. This high-angle perspective is perfect for the popular overhead “flat lay” style in food or product photography. It can also capture the full scope of a busy market or a beautiful landscape.
- Shoot Through Objects: Use foreground elements like leaves, fences, or windows to create a natural frame around your subject. This technique, known as "framing within a frame," adds a compelling layer of depth and context to your composition, drawing the viewer's eye directly to the main point of interest.
Key Insight: The best angle is rarely the first one you think of. Before taking the shot, physically walk around your subject. Look for unconventional viewpoints that tell a different story than the standard eye-level snapshot. A simple step to the side can change everything.
7. Master Exposure Control
Proper exposure is the cornerstone of a professional-looking photo, and it's one of the most impactful phone photography tips you can learn. While phone cameras are excellent at automatically determining brightness, learning to take manual control of exposure allows you to capture the precise mood and atmosphere you envision. It’s the difference between a flat, uninspired image and one that is rich, dramatic, and emotionally resonant.
Exposure simply refers to how bright or dark your photo is. By adjusting it, you can create powerful silhouettes by underexposing a subject against a bright sky, capture the warm glow of golden hour by slightly overexposing highlights, or create moody interior shots with deep, controlled shadows. This control helps you preserve crucial details in the brightest and darkest parts of your image, ensuring your final photo is as compelling as the scene was in person.
How to Implement Exposure Control
Modern smartphones make adjusting exposure incredibly intuitive. Here’s how you can start taking control:
- Use the Exposure Slider: On most phone cameras, tapping the screen to focus on your subject will bring up a box or circle, often accompanied by a sun icon and a vertical slider. Sliding this up brightens the image (increases exposure), and sliding it down darkens it (decreases exposure).
- Expose for Your Subject: Always tap on the most important element in your frame to set your initial focus and exposure. If you're shooting a portrait in a backlit situation, tap on the person's face, not the bright sky behind them, and then adjust the slider to get their skin tones right.
- Slightly Underexpose for Richness: A pro tip is to err on the side of slightly underexposing your image. This technique often results in richer, more saturated colors and makes it easier to recover shadow details in post-processing. It's much harder to fix "blown out" or overly bright highlights. This level of manual adjustment is a key feature in advanced compacts; you can learn more about how the Ricoh GR III breaks new ground for compact digital cameras and its exposure capabilities.
Key Insight: Exposure is a creative tool, not just a technical setting. Use it to tell a story. A dark, underexposed photo can feel mysterious or somber, while a bright, overexposed one can feel airy and joyful. Match your exposure to the emotion you want to convey.
7 Essential Phone Photography Tips Comparison
| Technique | Implementation Complexity 🔄 | Resource Requirements ⚡ | Expected Outcomes 📊 | Ideal Use Cases 💡 | Key Advantages ⭐ |
|---|---|---|---|---|---|
| Master the Rule of Thirds | Low 🔄 | Minimal (grid overlay in camera apps) ⚡ | Balanced, dynamic compositions 📊 | Landscapes, portraits, street photography | Easy to learn, instantly improves composition ⭐ |
| Optimize Natural Lighting | Medium 🔄 | None, but timing and weather dependent ⚡ | Natural, flattering light effects 📊 | Portraits, food, landscapes during golden/blue hour | Free, natural color temperature, no equipment needed ⭐ |
| Get Closer to Your Subject | Low to Medium 🔄 | None but may require movement ⚡ | Sharp, intimate, detailed images 📊 | Macro, portraits, food, flowers | Maximizes quality, reduces distractions ⭐ |
| Clean Your Lens Regularly | Very Low 🔄 | Microfiber cloth or cleaning solution ⚡ | Immediate image clarity improvement 📊 | Anytime before shooting sessions | Simple, low-cost, prevents permanent lens damage ⭐ |
| Use Manual Focus for Sharp Results | Medium to High 🔄 | Manual focus-capable apps, some learning ⚡ | Precise focus control, creative blur 📊 | Portraits, macro, low-light conditions | Better focus accuracy, creative options ⭐ |
| Explore Different Angles and Perspectives | Medium 🔄 | None (physical repositioning) ⚡ | Unique, creative photos with strong storytelling 📊 | Architecture, food overhead, dramatic street shots | Enhances creativity, differentiates photos ⭐ |
| Master Exposure Control | Medium to High 🔄 | Manual controls in camera apps ⚡ | Properly exposed, mood-driven images 📊 | Silhouettes, golden hour, moody interiors | Greater creative control, reduces post-processing ⭐ |
Start Creating Your Best Photos Today
You've just absorbed a comprehensive toolkit of phone photography tips designed to transform your mobile snapshots into compelling, high-quality images. We've moved beyond the simple "point-and-shoot" mentality and explored the foundational principles that separate a good photo from a great one. From the timeless power of the Rule of Thirds for balanced compositions to the critical importance of optimizing natural lighting, you now understand how to work with light, not against it.
The journey from a passive picture-taker to an intentional image creator begins with these deliberate actions. Remember the immediate impact of simply getting closer to your subject to eliminate distractions and create intimacy, or the surprisingly profound effect of regularly cleaning your lens. These small habits yield massive returns in clarity and professionalism. You are now equipped to take control, using manual focus to achieve razor-sharp results and dictate exactly what part of your story is the most important.
From Knowledge to Action
The real magic happens when you start applying these concepts in the real world. The difference between knowing these tips and mastering them is practice. The next time you pull out your phone, don't just capture the scene; create it.
- Challenge Your Perspective: Instead of shooting from eye level, consciously decide to explore a different angle. Get low to the ground for a dramatic, powerful look or find a higher vantage point for a unique, revealing perspective.
- Take Control of Light: Before you even frame your shot, actively use the exposure slider. Ask yourself, "Do I want to create a bright, airy feel or a dark, moody one?" This single adjustment is one of the most powerful creative phone photography tips you can implement.
- Develop Your Eye: The Rule of Thirds is a guideline, not a law. Practice using it until it becomes second nature, and then, and only then, start experimenting with breaking it for artistic effect.
Mastering these skills empowers you to tell visual stories with confidence. Your travel photos will better capture the awe you felt, your family portraits will radiate more warmth, and your everyday moments will be preserved with the beauty they deserve. The best camera has always been the one you have with you; now, you have the knowledge to unlock its true potential.
Ready to take your newfound skills to the next level? Explore the curated collection of mobile photography accessories at FindTopTrends. From versatile tripods that eliminate camera shake to attachable lenses that expand your creative possibilities, we have the gear you need to bring your vision to life. Visit FindTopTrends today and discover the tools that will help you capture truly unforgettable images.
Leave a comment


