


No products in the cart.
Every photo you snap adds to a growing digital pile. If you've ever felt overwhelmed by this, you're not alone. The best way to organize your digital photos for good is to follow a straightforward, four-part system: consolidate everything into one hub, create a simple folder structure, use software for tagging, and maintain a solid backup.
This guide will walk you through building a photo library that's organized, secure, and genuinely easy to find what you're looking for.
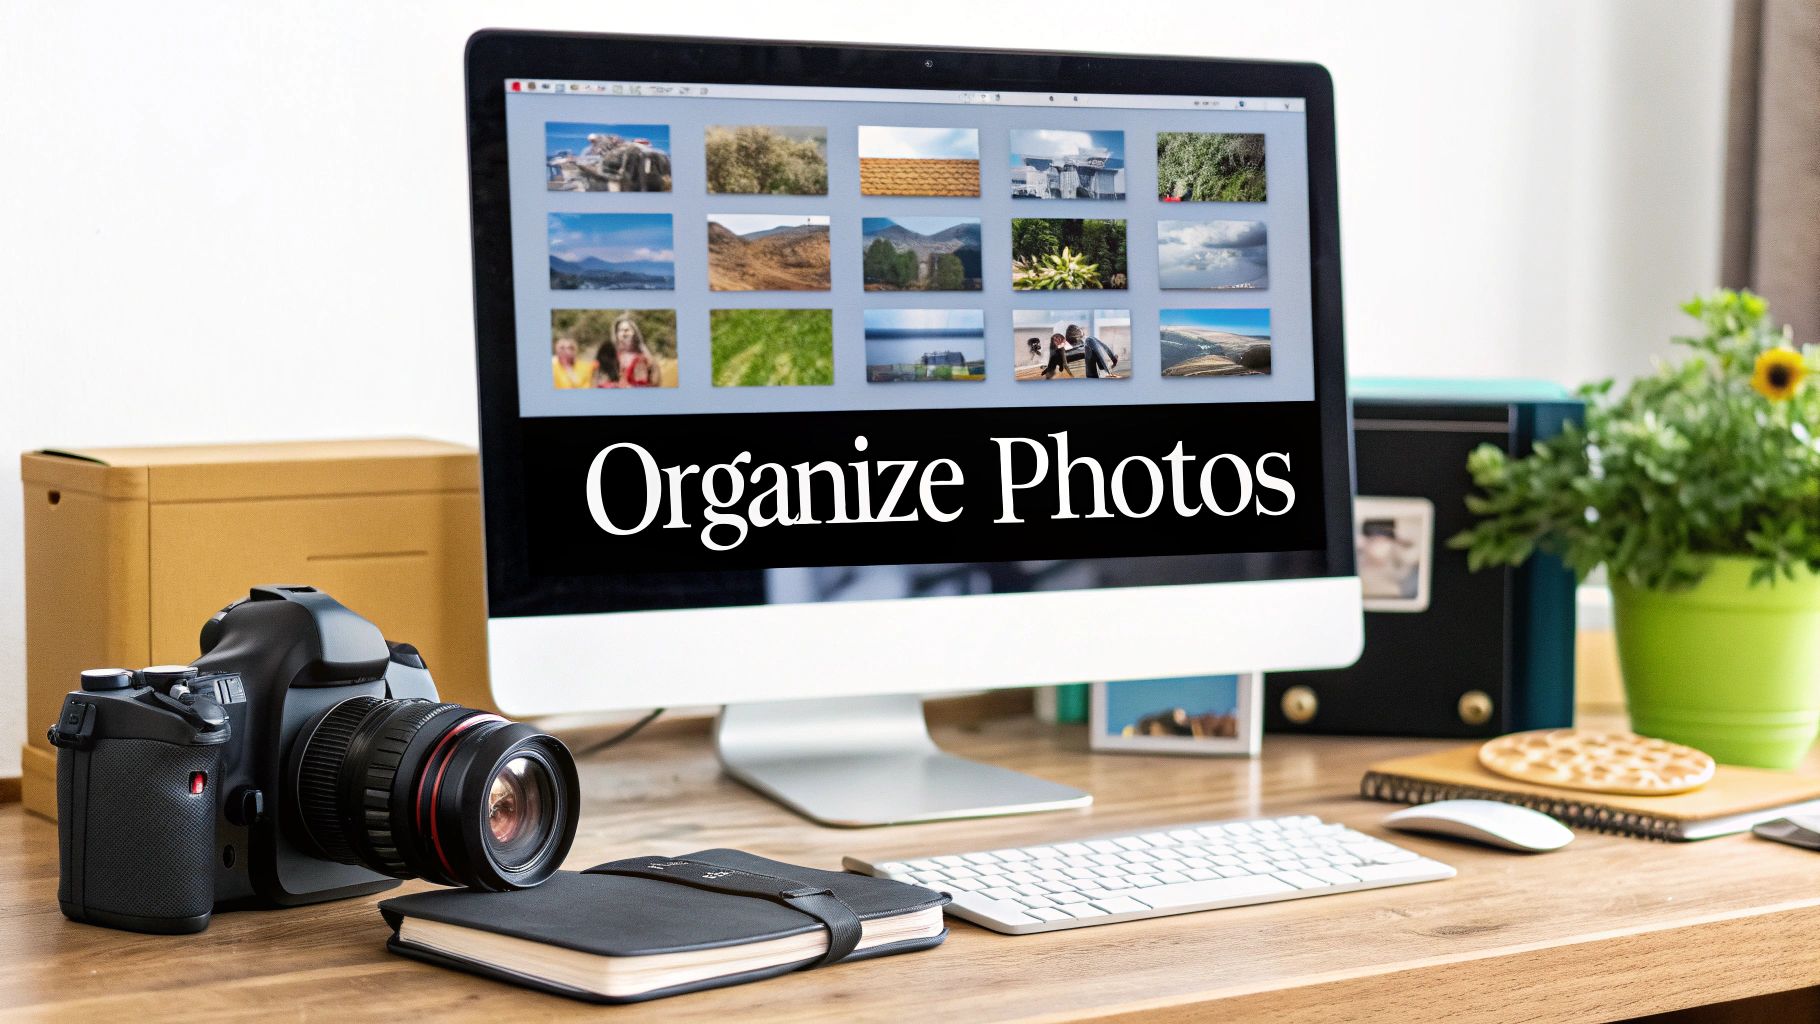
Finally Taming Your Digital Photo Chaos
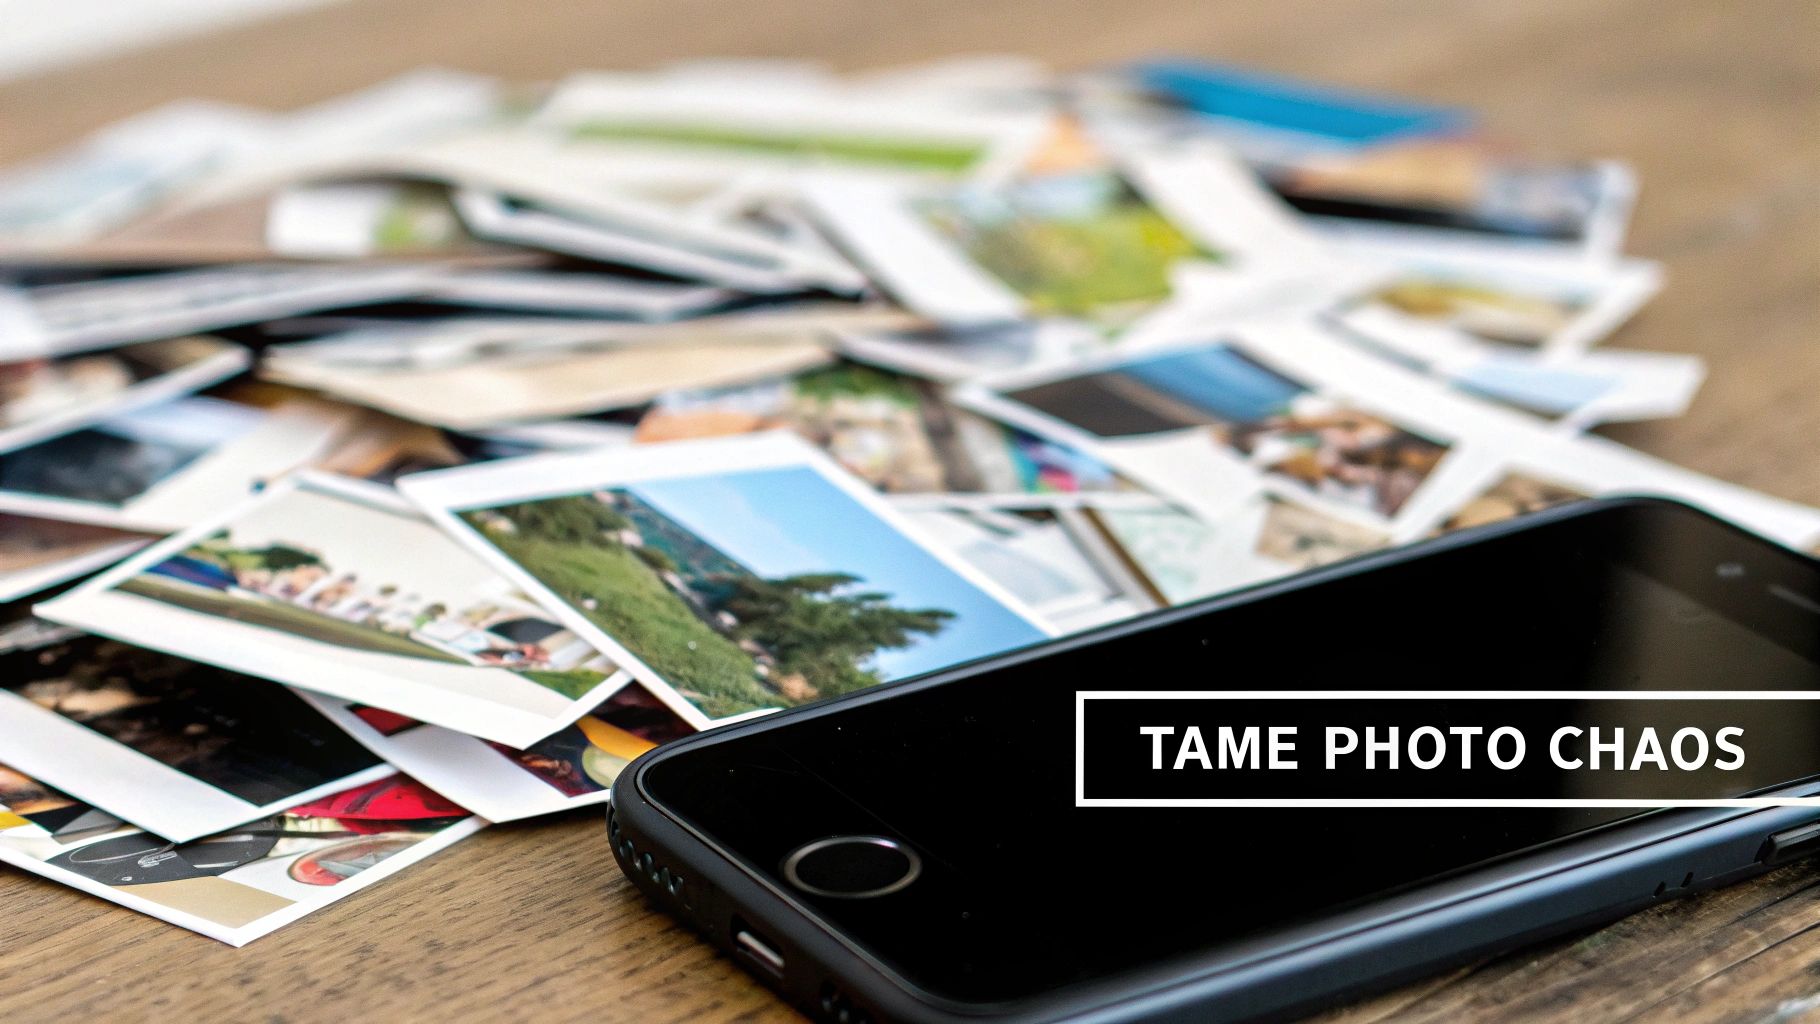
Let's be honest, staring down a camera roll with tens of thousands of images is intimidating. This isn't about feeling guilty; it's about acknowledging a modern problem. We capture our lives in incredible detail, but without a system, those precious moments get buried.
The sheer volume of our digital memories is staggering. By 2025, it's estimated we'll be taking around 2.1 trillion digital photos a year, mostly on our smartphones. That's over 5 billion photos every single day, which makes having an organization plan more critical than ever.
The Four Pillars of Photo Management
Instead of just offering generic advice, this guide gives you a real-world framework. Think of this process like tidying up your house—the same principles of sorting, decluttering, and creating a system apply. In fact, if you're tackling clutter elsewhere, our guide on https://letsparty-au.myshopify.com/blogs/news/how-to-declutter-your-home can help.
To give you a clear roadmap for what's ahead, our approach is built on four core concepts.
Four Pillars of Digital Photo Organization
| Pillar | What It Means | Why It Matters |
|---|---|---|
| Gathering | Bringing all your photos from every device and service into one central, manageable location. | Stops you from hunting through old phones, cloud accounts, and random hard drives to find a picture. |
| Organizing | Building a logical and scalable folder structure that makes intuitive sense to you. | Allows you to quickly navigate to a specific event, date, or trip without relying on search. |
| Enhancing | Using software to add tags, ratings, and keywords for powerful, detailed searching. | Helps you find photos based on people, places, or themes, even if you can't remember the date. |
| Protecting | Creating a robust backup system (ideally, both local and cloud) to safeguard your memories. | Ensures your priceless memories are safe from hard drive failure, theft, or accidental deletion. |
By mastering these four areas, you can transform your digital chaos into a curated, accessible archive that you'll actually enjoy.
The goal isn't just to store your photos—it's to build a library you can easily browse, share, and relive. A system that works for you is a system you'll actually maintain.
Once you have these basics down, you can tackle more specific projects. For instance, if you're trying to manage generations of family pictures, this detailed guide on organizing family photos is a fantastic resource for everything from old scanned prints to new smartphone snapshots.
Building Your Central Photo Hub
Before you can even think about organizing, you need everything in one place. It's time to play digital archaeologist and dig up all those photos scattered across old phones, forgotten memory cards, dusty laptops, and even your social media downloads. This is photo amnesty—every image gets a clean slate in a single, central location.
Think of it as creating your master photo library. Without this hub, you're just playing a never-ending game of whack-a-mole with your files, and you'll never feel truly organized. This step is all about building a solid foundation.
For most people, a dedicated external hard drive is the perfect tool for the job. You get a fantastic blend of massive storage, quick transfer speeds, and affordability. A good 2 TB or 4 TB drive can comfortably hold hundreds of thousands of high-resolution photos, giving you plenty of runway for years to come.
Choosing Your Storage Foundation
As you start pulling your photos together, you’ll be dealing with all sorts of storage types. Each one—from your phone's internal memory to a dusty old DVD—has its own quirks when it comes to capacity, speed, and reliability.
This infographic gives a great overview of the pros and cons you'll encounter with common photo sources.
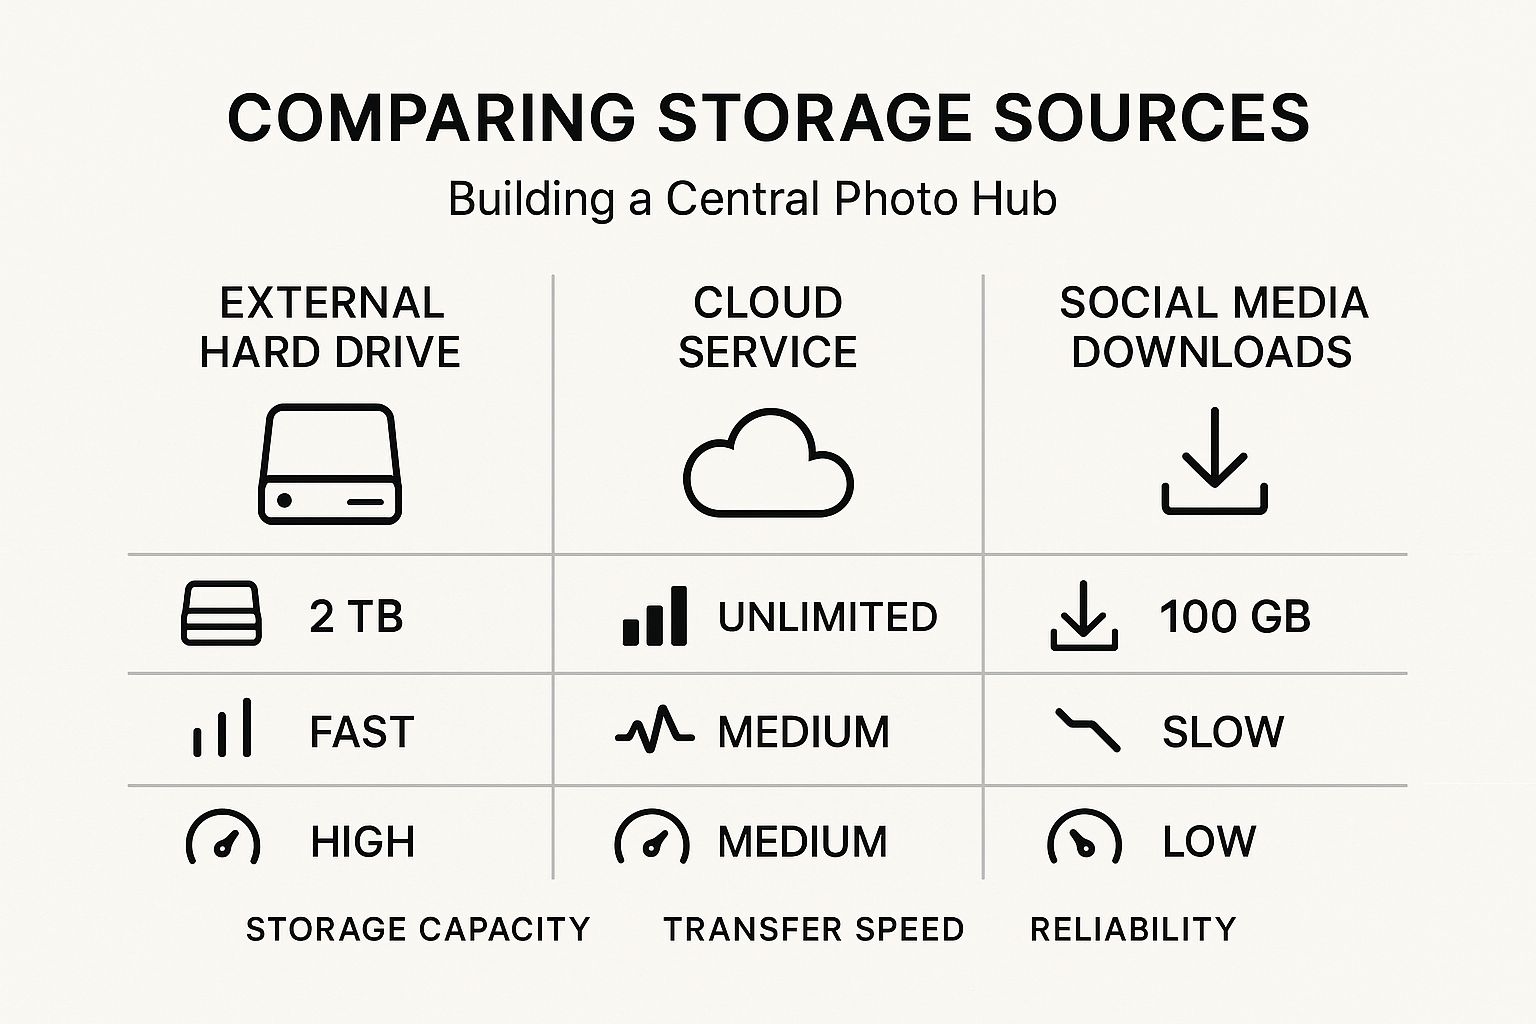
While cloud services are incredibly convenient for day-to-day access, you can see why an external hard drive really shines for building that primary library. It offers the best mix of speed, sheer capacity, and direct control over your files.
Now, consolidating isn't just a simple drag-and-drop. The real goal is to transfer everything safely, avoiding data corruption or accidental loss of quality. I’ve seen it happen—when moving huge batches of photos, especially from older devices, the process can easily stall or throw up an error.
To sidestep any potential disasters, here’s how I recommend you do it:
- Work in smaller chunks. Instead of trying to move your entire 50,000-photo camera roll in one go, break it down. Try moving one year or even one month at a time. This seriously reduces the risk of a single glitch corrupting the whole transfer.
- Use a solid connection. Make sure your computer is plugged into a power source. For memory cards, use a quality card reader plugged directly into your computer, not through a cheap, wobbly USB hub.
- Spot-check your work. After a batch has moved over, open a few images to make sure they're intact and viewable. Only then should you delete them from the original source.
A slow and steady transfer will always beat a fast and failed one. Spending a few extra minutes to verify your files can save you from the heartache of losing memories you can never get back. This initial gathering is hands-down the most tedious part of learning how to organize digital photos, but trust me, getting it right makes every other step a thousand times easier.
Designing a Simple and Scalable Folder Structure
A logical folder system is your secret weapon for finding any photo in seconds. This is the manual, hands-on part of wrangling your digital photo collection, but getting it right now means you'll never have to wonder where a memory is hiding ever again. I’ve seen people try complex systems based on themes or people, but those quickly become impossible to maintain.
Instead, let’s focus on a powerful, intuitive chronological structure. Think of it as building a clear timeline of your life, represented by folders. It’s simple to set up and, more importantly, effortless to add to over the years. This method scales beautifully, whether you have 1,000 photos or 100,000.
The Chronological Framework
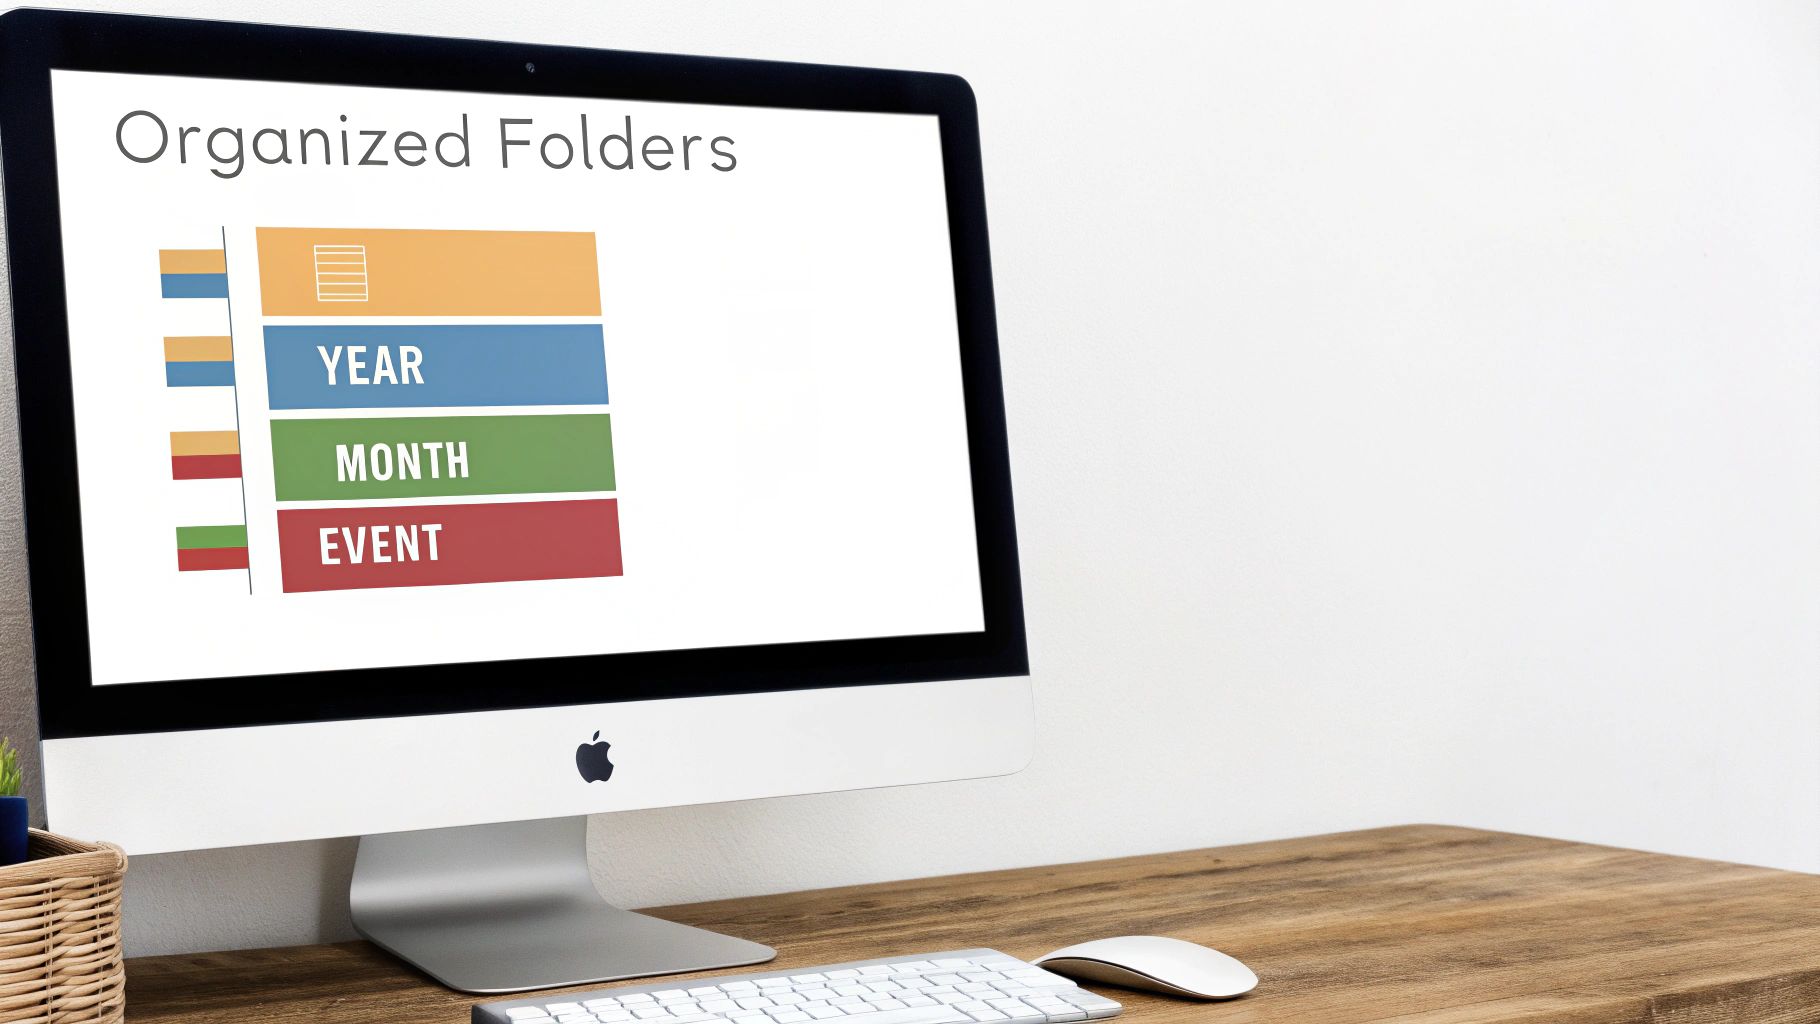
The most effective structure I've found—and the one I've personally used for over a decade—is built on a simple hierarchy that mirrors a calendar. The core idea is to nest folders from the general to the specific.
Here’s the basic blueprint:
-
Top Level: Year. Start by creating a single folder for each year (e.g.,
2023,2024). This is your main container. -
Second Level: Month. Inside each year folder, create twelve folders for the months. I strongly recommend a
YYYY-MMformat (e.g.,2024-01,2024-02) so they automatically sort in the correct order. -
Third Level: Event. This is where the magic happens. Inside each month's folder, create specific folders for events, trips, or occasions. Always lead with the date for sorting:
YYYY-MM-DD Event Name(e.g.,2024-07-15 Beach Day).
So, a photo from a birthday party on March 5th, 2024, would live in a folder path like this:
2024 > 2024-03 March > 2024-03-05 Leo's 5th Birthday
This system is predictable. You instinctively know when an event happened, making it far easier to browse than trying to guess if you filed photos under "Family," "Vacations," or "Birthdays."
Choosing the Right Folder Structure
While the chronological method is my go-to, it’s not the only way. Your perfect system depends on how you think about and search for your photos. Here’s a quick look at the most common approaches to help you decide.
| Method | Best For | Pros | Cons |
|---|---|---|---|
| Chronological (Date-Based) | Most people; creating a life timeline. | Intuitive, easy to maintain, scales infinitely. | Can be tricky if you don't remember the date of an event. |
| Thematic (Event-Based) | Photographers focused on specific genres (weddings, portraits, landscapes). | Groups all similar content together regardless of date. | Can become cluttered and subjective; "Family" vs. "Holidays"? |
| Project-Based | Professionals or hobbyists working on distinct projects (e.g., a specific client shoot, a travel blog). | Excellent for workflow; keeps all project assets in one place. | Doesn't work well for personal, everyday photos. |
Ultimately, the best system is the one you’ll actually use. For the vast majority of people, the chronological structure offers the best balance of simplicity and power.
Handling Tricky Situations
Of course, real life doesn't always fit into neat folders, but this system is flexible. A common challenge I run into is a multi-day trip, like a week-long vacation. For these, I simply use a date range in the event folder name.
For instance, a trip to the mountains from August 10th to August 17th would be:
2024-08-10 to 17 Mountain Trip
This folder lives inside the 2024-08 August folder, since that’s when the trip started. What if a trip spans two months, like from late June to early July? My rule is simple: the event folder always lives in the month where the event began.
The goal is consistency, not perfection. Pick a rule for your edge cases and stick with it. Your future self will thank you for creating a predictable system you can rely on without having to remember dozens of complex rules.
This chronological method just works. Why? Because our memories are tied to time. We remember things by season, by year, or by what else was happening in our lives. Organizing your digital photos this way taps directly into that natural mental model, creating a digital archive that feels as intuitive as your own memory.
Adding Software to Supercharge Your System
Think of your folder structure as the rock-solid foundation of your photo library. It's clean, reliable, and you have total control. But what if you want to find every single photo you've ever taken of your dog, regardless of the year or event? That's where layering a good photo management app on top becomes a game-changer.
Software like Google Photos, Adobe Lightroom, or Apple Photos isn't meant to replace your master folders. Instead, these tools work with your organized library, giving it a powerful, searchable brain.
The Magic of Smart Search and Automated Tagging
The real power of modern photo software is its ability to actually see what’s in your pictures. It uses AI to analyze your images behind the scenes, making them searchable in ways you could never achieve with folders alone.
Without you lifting a finger, these tools can automatically identify and tag:
- Faces: They learn who's who, letting you pull up every picture of your grandma in seconds, from blurry childhood snaps to last year's holiday dinner.
- Objects & Scenes: You can literally just type "sunset," "beach," or "birthday cake" into the search bar, and the software will find every relevant photo you've ever taken.
- Locations: Using the GPS data your phone automatically embeds, you can see all your photos pinned on a map. It makes finding all the pictures from that trip to Italy a breeze.
This automated tagging creates an incredibly powerful search layer over your carefully organized library. You get the meticulous control of your folder system and the effortless discovery of smart software.
Here’s a peek at the Google Photos interface. It's known for its clean, timeline-based view that just makes sense to a lot of people.
It’s designed for easy scrolling and powerful searching, which is why it’s so popular for keeping photos synced and accessible across a phone, tablet, and computer.
A Critical Distinction: Syncing vs. Storing
This is a point that trips a lot of people up. It's so tempting to just dump everything into a cloud service and call it a day, but it’s crucial to understand their role in a bulletproof system. The number of people using personal cloud storage has more than doubled since 2014, with services like Google Drive and iCloud becoming a central hub for our digital lives.
Instead of thinking of these platforms as your primary storage, you need to see them for what they are: fantastic sync and access tools.
Your external hard drive is home to your master copies—the original, high-resolution files, safe in their organized folders. Photo management software, on the other hand, should hold synced copies or previews that you can search, edit, and share from anywhere.
This two-part approach gives you the best of both worlds. You maintain complete control over your original images, but you also get the incredible convenience of cloud access. Best of all, if you ever decide to switch from Google Photos to Apple Photos, you’re not locked in. Your master library is still perfectly organized and right there on your hard drive.
Of course, a lot of these pictures probably come straight from your phone. Mastering your device's camera is the first step to taking photos worth organizing. For some great pointers, check out our expert phone photography tips to really improve your shots.
Creating a Backup Strategy That Actually Works
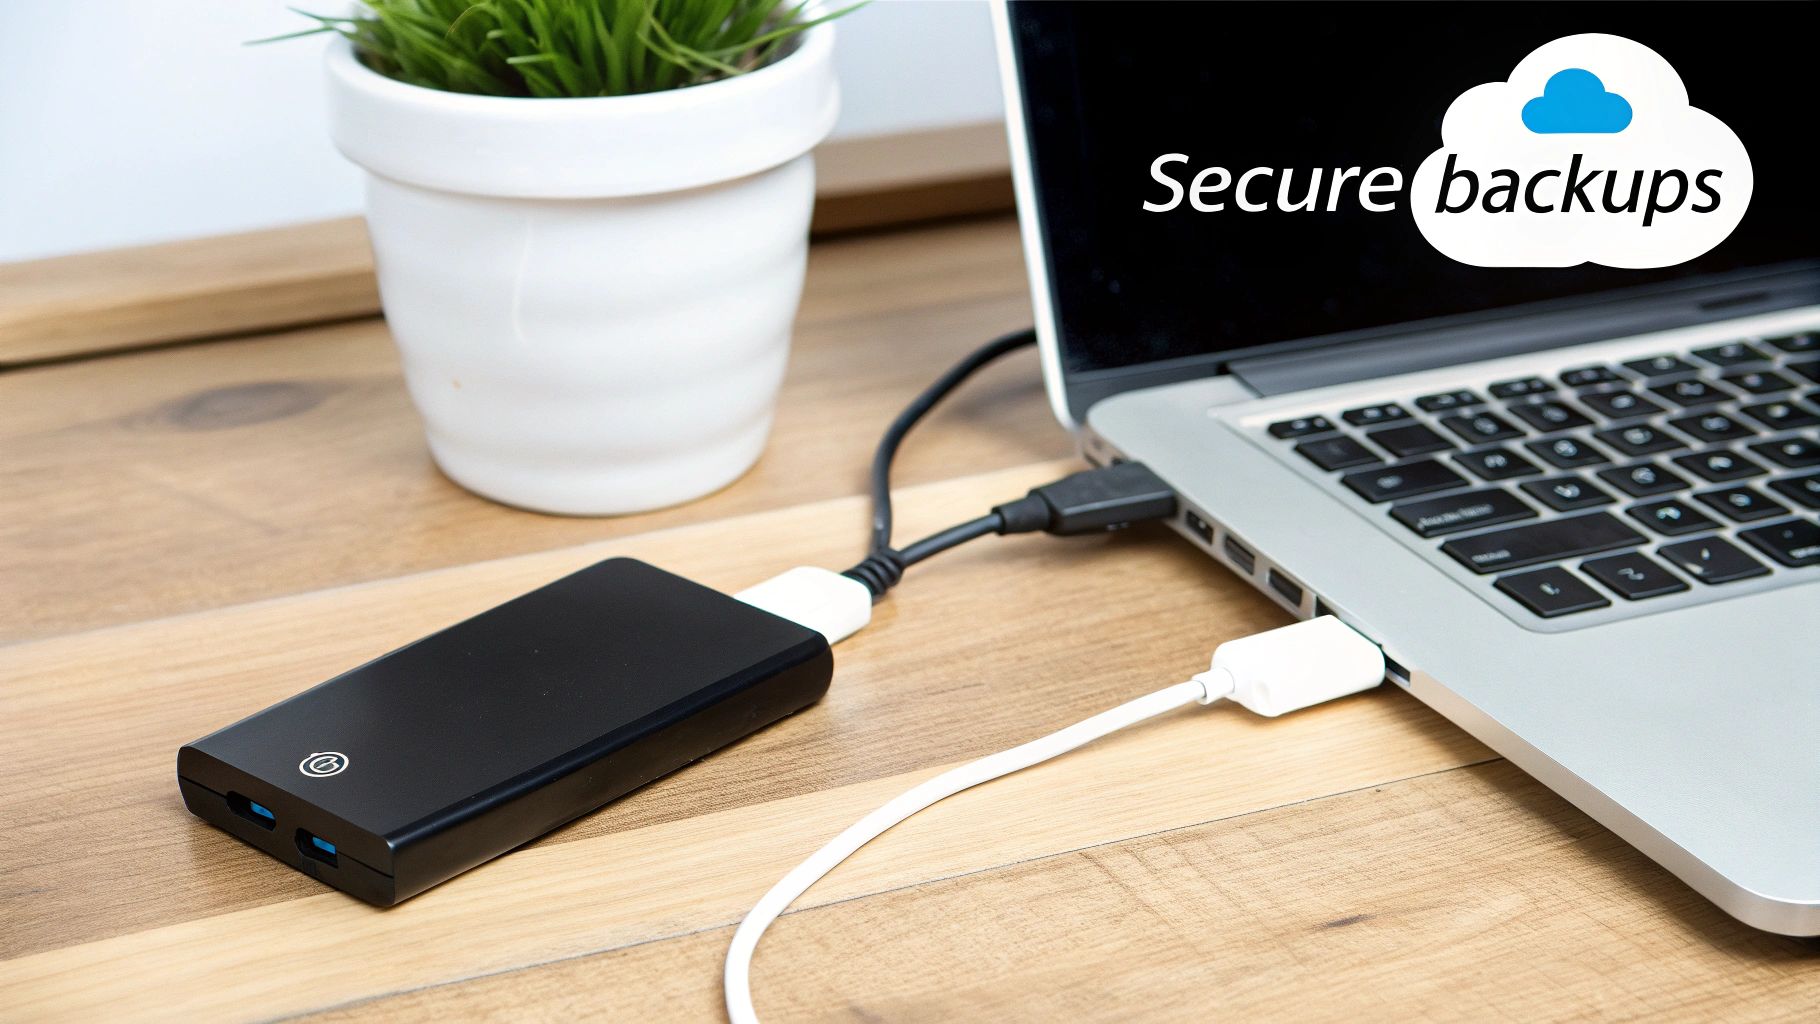
You’ve put in the hours gathering, sorting, and tagging all your photos. Now for the most important part: protecting that collection. An organized library is fantastic, but it's all for nothing if a hard drive fails, a laptop gets stolen, or a fire breaks out. This is where a real backup strategy becomes non-negotiable.
The industry gold standard for keeping data safe is the 3-2-1 backup rule. It's a surprisingly simple concept that has saved countless photographers and families from the absolute disaster of losing their memories. The whole point is to make sure no single event can wipe out your entire photo collection.
Here’s the breakdown:
- Have at least three total copies of your photo library. Yes, this includes the "master" library you work from.
- Store these copies on two different types of media. Think of your computer's internal drive plus an external hard drive.
- Keep one of those copies completely off-site. This is your ultimate protection against disasters like a house fire or flood.
Building Your 3-2-1 System
It might sound like overkill, but setting this up is easier than you think. You’ve already got your main photo library on an external drive, so that’s copy number one. You just need to add two more layers of protection.
Here’s what a practical, real-world setup looks like:
- Your Primary Drive: This is the external hard drive where your perfectly organized master photo library lives.
- A Local Backup: Get a second external hard drive and use it to make a clone of your primary drive. Keep it simple and just run the backup weekly or monthly.
- An Off-Site Backup: This could be a third drive you store at a friend's house, or my personal favorite for convenience: an automated cloud backup service.
A quick but crucial note: a sync service like Dropbox or iCloud is not the same as a true backup service like Backblaze. Syncing just mirrors your files. If you accidentally delete a photo on your computer, it's gone from the cloud, too. A true backup creates a separate, untouchable copy that isn't affected by your day-to-day mistakes.
The Role of Cloud Backups
Cloud services are the modern answer to the off-site copy problem. There's a reason the cloud storage market was valued at $99.2 billion in 2023 and is expected to hit $234.9 billion by 2028—it’s designed to handle massive files like our 4K videos and RAW photos.
When you're shopping for a cloud backup provider, look for one that offers simple and secure backup and restoration. The real magic is in the automation. A good "set it and forget it" service runs quietly in the background, making sure your latest photos are protected without you ever having to think about it.
Common Photo Organization Questions Answered
https://www.youtube.com/embed/r2GUlwYUu6M
Once you start putting a new photo organization system in place, you’re bound to hit a few snags. It happens to everyone. Don't let these common questions throw you off track. Here’s how to handle the most frequent hurdles and keep your project moving forward.
How Do I Tackle a Massive Backlog of Photos?
Staring at a camera roll with 50,000 unsorted photos is enough to make anyone want to give up before they even start. It feels completely overwhelming. The secret? Don't try to tackle it all at once.
First, focus on the present. Get your new system working perfectly for all the photos you take from this day forward. Once that becomes a habit, you can start chipping away at the past. Set aside just 15-20 minutes a day, or maybe one evening a week, to work on a single month or event from your backlog.
This "eat the elephant one bite at a time" strategy is a game-changer. It makes a monumental task feel manageable and prevents the kind of burnout that stops most people in their tracks.
What Is the Best Way to Add Old Printed Photos?
Bringing your old print collection into your digital library is one of the most rewarding parts of this process. It’s all about turning those physical photos into high-quality digital files that you can drop right into your new folder structure.
- Scanning Apps: Honestly, for most of us, a good smartphone app is all you need. Apps like Google PhotoScan or Adobe Scan are fantastic—they use your phone’s camera to create clear digital copies, and they even automatically handle things like glare and cropping.
- Flatbed Scanners: If you have boxes and boxes of photos or you're dealing with priceless family heirlooms, a dedicated flatbed scanner is a worthy investment. You’ll get much higher resolution and more accurate color, which is perfect for archival purposes.
After you've scanned them, just treat them like any other digital file. Rename them and file them away into your year-and-month folders based on the date (or your best guess) they were taken.
Should I Use Keywords and Tags?
Yes, absolutely. A solid folder structure is your foundation, but keywords and tags are what make your library truly searchable. Think of folders as telling you when a photo was taken, while tags tell you what's in it.
For instance, you could create simple tags like:
FamilyFriendsVacationBirthdayBeach
By tagging all your beach photos from different years and trips with "Beach," you can see every single one of them with a single click. A folder system alone just can't do that. You don't need to go crazy—start with a handful of broad categories and get more specific later if you need to.
What About the Photos on My Phone?
Your phone is probably where most of your photos live, so you need a simple, repeatable process for it. The best advice I can give is to treat your phone as a temporary holding tank, not a permanent archive.
I recommend setting a recurring calendar reminder—maybe for the first Sunday of every month—to transfer all of last month's photos over to your computer. Once they are safely filed away in your organized folders and backed up, go ahead and delete them from your phone. This keeps your device running smoothly and ensures your most recent memories are part of your main library.
Having the right accessories can make this a lot easier. Our guide on photography equipment for beginners has some great tips on cables and card readers that can speed things up.
At FindTopTrends, we're dedicated to helping you find the best products to simplify and enrich your life. From tech gadgets to home essentials, explore our curated collections to stay ahead of the curve. https://findtoptrends.com
Leave a comment


