


No products in the cart.
So, you're thinking about backpacking. Let's get one thing straight right away: it's not just about lugging a heavy bag through the woods. It's more like being a self-contained turtle, carrying your entire world on your back, giving you the freedom to go just about anywhere.
This guide is designed to be your roadmap. We'll take the intimidation out of the equation and replace it with pure excitement. The goal is to make the wilderness feel like a place you belong, even if you've never spent a night in a tent in your life.
What Does Backpacking Really Mean for a Beginner?
At its heart, backpacking is simply a hike that lasts more than one day, where you carry everything you need to survive and be comfortable. This means your shelter, your sleeping system, your food, your water—everything. It’s an incredible way to unplug from the noise of daily life and sync up with the rhythms of the natural world.
I like to think of it like this: a day hike is like a quick visit to the beach. Backpacking, on the other hand, is like renting a cabin on the shore for a whole week. You're not just passing through; you're living there, experiencing everything from the quiet of sunset to the first light of dawn. It's as much about problem-solving and self-discovery as it is about the physical miles you cover.
Understanding the Different Types of Trips
Backpacking isn't a single, rigid activity. It's a spectrum, and as a beginner, you can find a trip that perfectly matches your fitness and what you're comfortable with. Knowing the basic types will help you pick that perfect first adventure.
- Overnighters: This is the ideal starting point. You hike to a spot, camp for one night, and hike back out the next day. It's a fantastic, low-stakes way to see how your gear works and get a feel for the experience.
- Weekend Trips: These are usually 2-3 nights long and let you explore a little deeper. They demand a bit more planning, especially with food, but the sense of accomplishment is huge.
- Section-Hiking: This is a great way to tackle a famous long-distance trail without quitting your job. You simply hike the trail in manageable chunks over time—maybe a 20-mile section one weekend, and another piece a month later.
The Core Principles of Backpacking
Every good backpacker lives by two guiding principles: self-reliance and Leave No Trace. Self-reliance is all about having the gear and the know-how to take care of yourself. Can you filter your own water? Can you read a map if your phone dies? That's what it's all about.
Backpacking is an exercise in minimalism and resourcefulness. It teaches you the difference between what you want and what you truly need, fostering a deep appreciation for simplicity and preparation.
The other pillar, Leave No Trace, is about respecting the wild places we love. It means you pack out every single thing you pack in, including tiny food scraps. You give wildlife its space, and you make it your mission to leave the campsite even cleaner than you found it.
This commitment to mindful adventure is catching on. The global backpack market, valued at USD 19.11 billion, is projected to hit USD 29.73 billion by 2033. That's a lot of people discovering the power of responsible outdoor travel. You can learn more about this market growth and how it ties into the rise of adventure tourism.
How to Choose Your First Backpack
Alright, let's talk about your most important piece of gear. Your backpack isn't just a bag; it's your mobile home, your turtle shell, the one thing that will carry your entire world for days on end.
Getting the right one is absolutely critical for a comfortable trip. Think of it less like grabbing luggage off a shelf and more like getting fitted for the perfect pair of running shoes—fit is everything. A poorly fitted pack will turn your dream adventure into a painful slog, and I've seen it happen too many times.
The wall of packs at an outdoor store can feel intimidating, but we’ll cut through the jargon. My goal here is to help you pick a pack that feels like an extension of your own body, not a heavy burden you have to endure.
It's About Torso Length, Not Your Height
Here’s the single biggest mistake I see beginners make: they choose a pack based on their height. Backpacks aren’t sized like t-shirts. The only measurement that truly matters is your torso length.
This is the distance from the bony bump at the base of your neck (your C7 vertebra) down to the top of your hip bones (the iliac crest).
Why does this matter so much? Because a proper fit ensures that 80% or more of the weight rides on your hips, not your shoulders. Your hips are built to carry heavy loads; your shoulders are not. Get the torso length wrong, and the pack’s entire suspension system is useless. A pack that's too long will feel sloppy and place all the strain on your shoulders, while one that’s too short will sag and pull you backward.
You can get professionally measured at any good outdoor store, but it's also easy to do at home with a friend and a flexible measuring tape.
- Find Your C7 Vertebra: Tilt your head forward. That most prominent bone you feel at the bottom of your neck? That's your C7.
- Locate Your Iliac Crest: Put your hands on your hips like you're disappointed in someone, with your thumbs pointing to your back. The bony "shelf" your hands are resting on is your iliac crest.
- Measure the Distance: Now, have a friend measure the straight line between those two points. That number is your torso length.
Finding the Right Pack Volume
Pack volume, measured in liters, simply tells you how much stuff you can cram inside. It's tempting to get the biggest pack you can find, but that's a classic rookie move that almost always leads to overpacking and unnecessary weight.
The right size really depends on how long you plan to be out.
- Weekend Trips (1-3 nights): A 40-60 liter pack is the sweet spot. It's enough for the essentials without tempting you to bring the kitchen sink.
- Multi-Day Trips (3-5 nights): Stepping up to a 50-70 liter pack gives you more room for extra food and maybe a few comfort items.
- Extended Trips (5+ nights): Anything 70 liters or larger is for serious, long-haul expeditions or winter trips where your gear is naturally bulkier.
As a beginner, I’d strongly suggest you aim for a pack right around the 50-liter mark. It's the most versatile size you can own and will serve you well for years of weekend trips. It gives you enough room to learn what you actually need without being huge.
It's no surprise that well-designed packs are in demand. The market for specialized backpacking packs is projected to grow at an impressive 8.1% from 2025 to 2033. This is fueled by more people like you discovering the outdoors and realizing that a pack's features are key to comfort and smart weight distribution.
Key Features to Look For
Once you've nailed down your torso length and a target volume, it's time to look at the features that separate a good pack from a great one.
Adjustable Suspension This is the heart of your pack's comfort system, made up of the shoulder straps, hip belt, and back panel. You want a pack that lets you fine-tune everything.
- Hip Belt: Look for generous padding. It should wrap snugly right over your hip bones (your iliac crest) to do its job of carrying the weight.
- Shoulder Straps: These should curve comfortably over your shoulders with no big gaps between the strap and your body.
- Load Lifters: These are the small, crucial straps that run from the top of your shoulder straps to the top of the pack frame. Cinching them pulls the load closer to your back, making you feel much more stable on the trail.
- Sternum Strap: This simple strap clips across your chest. It might seem minor, but it keeps the shoulder straps from sliding off and helps distribute the load more evenly.
Interestingly, the skills you learn for packing a backpack translate to other types of travel. The principles of organizing for easy access and comfort are just as vital whether you're on a trail or creating a packing list for a trip to Spain.
Packing Smart: What to Bring and What to Leave Behind
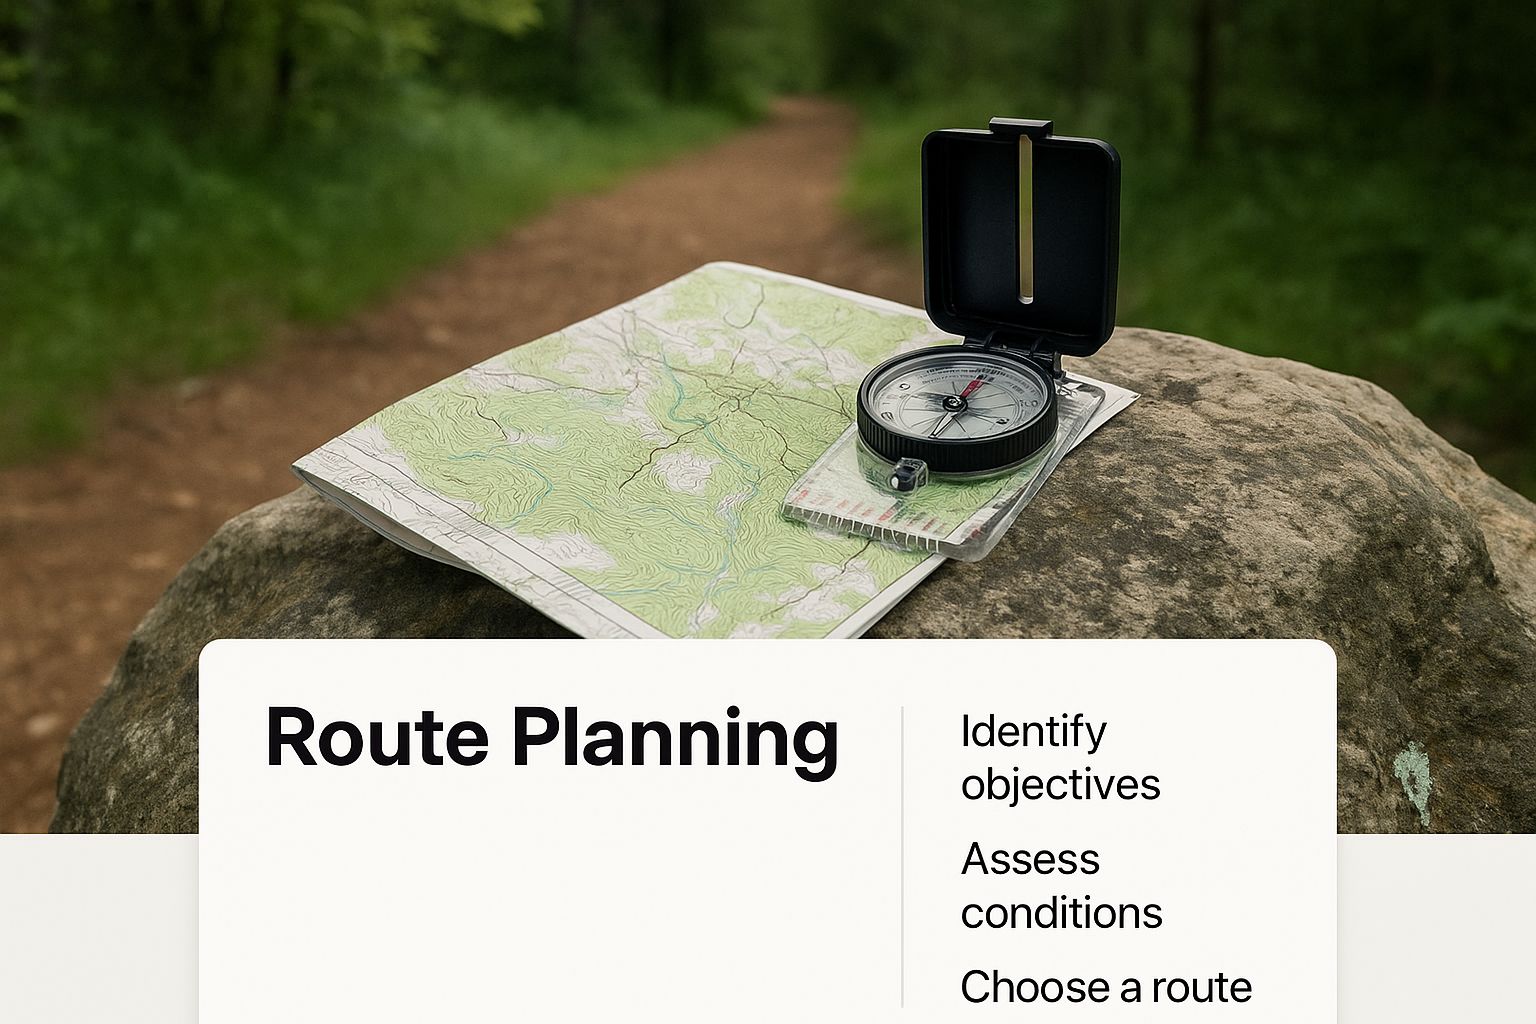
The image above gets right to the heart of it. Just like that map and compass are for charting a course on the trail, a plan for what goes inside your pack is just as vital. Get this part wrong, and even the most beautiful trail can feel like a slog.
Now that you’ve picked out a backpack, you’re facing the next big hurdle: filling it without making it impossibly heavy. This is the classic rookie mistake. We've all been there, stuffing our packs with "just in case" items because we want to be prepared. But an overstuffed, heavy pack will drain your energy and ruin the fun faster than anything else.
The real secret isn't about bringing more stuff; it's about bringing the right stuff. We're aiming for that sweet spot—carrying everything you need to be safe and comfortable, without a single ounce of unnecessary weight.
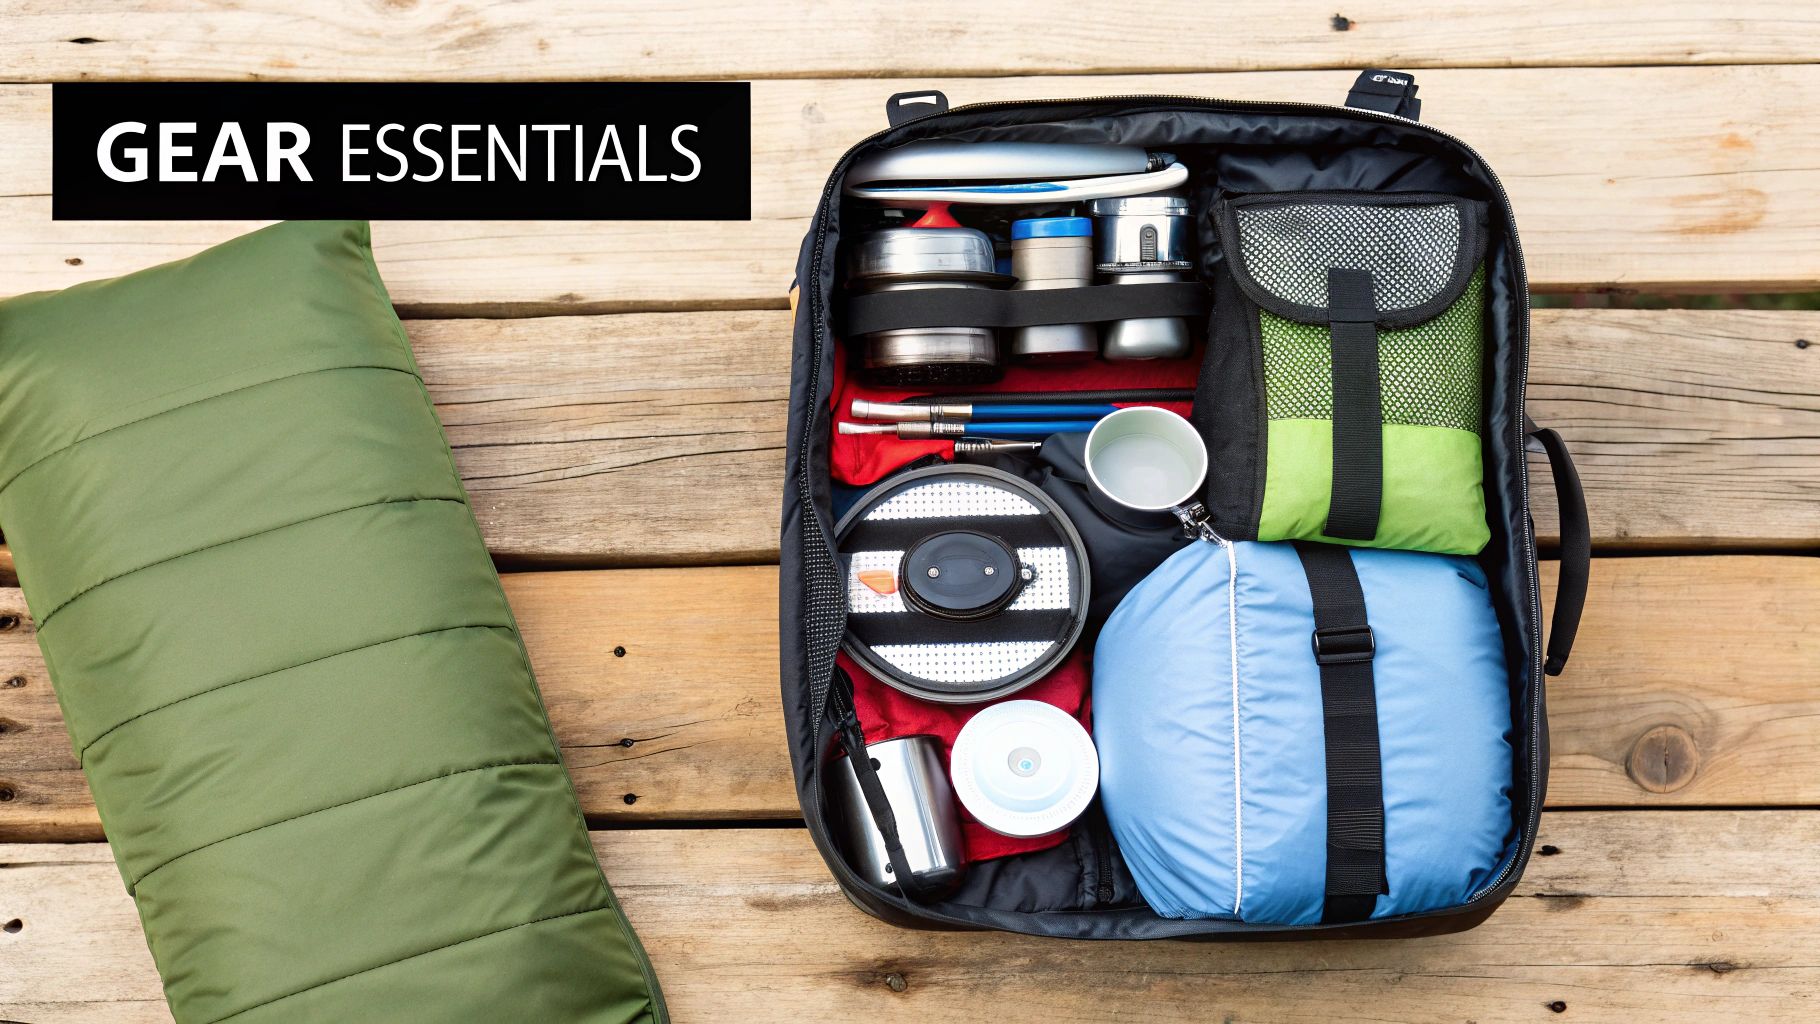
The Big Three: Your Most Important Investments
In backpacking circles, you’ll constantly hear people talking about the "Big Three." There’s a good reason for that. These are the three heaviest pieces of gear you'll carry, and dialing them in is the fastest way to lighten your load. If your budget is tight, this is where a little extra investment pays off big time on the trail.
- Your Pack: We’ve already talked about this, but it’s the cornerstone of your entire kit. A comfortable, well-fitted pack is simply not optional.
- Your Shelter: For most people, this means a lightweight backpacking tent. You’re looking for a good balance between weight and weather protection. A solid two-person tent these days should weigh somewhere between 3 to 4 pounds.
- Your Sleep System: This isn't just one thing—it’s your sleeping bag and your sleeping pad working together. Your bag needs a temperature rating suitable for the coldest nights you expect, and the pad is crucial for both comfort and insulating you from the cold, hard ground.
Nail these three items, and you've built a solid, lightweight foundation for your backcountry home. Everything else becomes much easier to manage.
Understanding the Ten Essentials
The Ten Essentials aren't just a simple checklist of items. It's better to think of them as ten systems designed to keep you out of trouble if your trip takes an unexpected turn. Ask any seasoned backpacker, and they'll tell you they carry some version of these on every single trip—no matter how short or "easy" it seems.
The Ten Essentials are your safety net. You probably won't use all of them on every hike, but when you need one, you really need it. This is what self-reliance in the wild is all about.
Here’s a breakdown of what those safety systems cover:
- Navigation: A paper topographic map and a real compass. Yes, your phone or GPS is fantastic, but batteries die. You need a backup and the know-how to use it.
- Headlamp: Absolutely non-negotiable. You'll need it for navigating your campsite after sundown or, in an emergency, for hiking in the dark. Always, always pack extra batteries.
- Sun Protection: Sunglasses, sunscreen, and a good hat. The sun can be relentless, especially at higher elevations.
- First-Aid: A pre-packaged kit is a great starting point. Customize it with any personal medications and, most importantly, blister care like Moleskin.
- Knife: A simple multi-tool or a reliable pocket knife is invaluable for gear repair, cutting food, and a hundred other small tasks.
- Fire: Don't leave home without waterproof matches, a lighter, and some sort of tinder or fire starter. This is for emergency warmth and signaling.
- Shelter: This is your emergency backup—a space blanket or an ultralight bivy. It’s separate from and in addition to your tent.
- Extra Food: Always pack at least one extra day's worth of food that doesn't require cooking. Think energy bars, trail mix, or jerky.
- Extra Water: Carry water bottles or a hydration reservoir, plus a reliable way to treat more water, like a filter or purification tablets. Never trust a backcountry water source without treating it first.
- Extra Clothes: One extra insulating layer beyond what you plan to wear. If you get soaked or the temperature plummets, this layer could be a lifesaver.
Before we move on, let's pull all this gear advice into a simple checklist. Packing for your first trip can feel overwhelming, but breaking it down by category makes it much more manageable. Use this table as your guide to make sure you have all your bases covered for a 1-3 night trip.
Beginner's Backpacking Gear Checklist
| Category | Essential Items | Key Considerations |
|---|---|---|
| The Big Three | Backpack, Tent, Sleeping Bag & Pad | Focus on low weight and proper fit. These have the biggest impact on your total pack weight. |
| Navigation | Map, Compass, GPS/Phone App | Always have a non-electronic backup and know how to use it. |
| Safety | Headlamp, First-Aid Kit, Knife, Fire Starter | Check headlamp batteries. Customize your first-aid kit with personal meds and blister care. |
| Kitchen | Stove, Fuel, Pot, Spoon, Food | Plan meals that are lightweight, high in calories, and easy to cook. Pack an extra day's food. |
| Hydration | Water Bottles/Reservoir, Water Filter/Tablets | Know where your water sources are on the trail. Start your hike with at least 2 liters of water. |
| Clothing | Base, Mid, & Outer Layers; Extra Socks; Rain Gear | No cotton! Stick to wool or synthetics. Always bring rain gear, even if the forecast is clear. |
| Health & Hygiene | Sunscreen, Bug Spray, Toothbrush, Trowel | Pack travel-sized items. A trowel is essential for digging catholes (Leave No Trace). |
| Miscellaneous | Trekking Poles, Power Bank, Repair Kit | Trekking poles save your knees. A small repair kit with duct tape can be a lifesaver. |
This checklist isn't exhaustive, but it covers the non-negotiables. As you gain more experience, you'll learn exactly what you do and don't need, and you'll refine this list to perfection.
How to Dress Using the Layering System
Forget that one big, bulky winter coat. The real key to staying comfortable in the mountains, where weather can change in a heartbeat, is layering. Think of your clothing as a team of specialists you can call on or send away as conditions shift. For a deeper dive, check out this great list of hiking must-haves.
- Base Layer: This is the layer that sits against your skin, like a synthetic or merino wool t-shirt. Its only job is to pull sweat away from your body to keep you dry and comfortable.
- Mid-Layer: This is your insulation. A fleece jacket or a puffy vest traps your body heat to keep you warm when it's cool.
- Outer Layer (Shell): This is your shield against the elements. A good waterproof and windproof jacket keeps rain and wind from getting to your other layers, which helps them do their jobs.
By mixing and matching these three simple layers, you can adapt to just about anything the trail throws at you—from a sunny afternoon to a cold, rainy morning—all without weighing down your pack with heavy, single-purpose clothes. It’s the smartest way to pack.
How to Plan Your First Backpacking Trip
A successful backpacking trip doesn't just happen. It doesn't begin when your boots hit the dirt at the trailhead; it starts right now, with a thoughtful plan. For a first-timer, this part can feel just as daunting as the hike itself. But think of it this way: planning is where the adventure truly begins. It's the process of turning a daydream into a real, tangible itinerary, building your confidence long before you take a single step on the trail.
This section is your guide to mapping out that unforgettable first trip. We'll break it all down into simple, manageable steps. The goal is to help you make smart choices and transform what feels like a chore into one of the most exciting parts of the journey.
Choosing Your First Trail
This is it—the single most important decision you'll make. The goal for your first trip isn't to conquer some beast of a mountain. It’s to have a positive, safe, and genuinely fun experience that leaves you hungry for more. Start by looking for well-established and popular trails.
When you're sifting through potential hikes, keep these four things front and center:
- Distance: Keep it short and sweet. A one-night, out-and-back hike is the perfect starting point. Look for a route where your campsite is only 3-5 miles from the car. This makes the daily mileage feel totally manageable while you’re still getting used to the weight of a full pack on your back.
- Elevation Gain: Don't overlook this one. Elevation is just as critical as distance. A steep trail can make even a short hike feel incredibly tough. For your first outing, find a trail with minimal climbing—ideally under 1,000 feet of total gain.
- Water Availability: Is there a reliable water source, like a river or lake, near your planned campsite? Knowing you can filter more water on-site means you don't have to haul it all in, which dramatically lightens your pack.
- Accessibility: How easy is it to get to the trailhead? Stick to places that don’t require a high-clearance 4x4 vehicle. It's also a great idea to check for cell service at the trailhead—it's a nice safety buffer to have before you venture out of range.
Finding Trail Information and Conditions
Okay, you know what you’re looking for. Now, where do you find the actual trails? Luckily, we live in an age with incredible resources at our fingertips that give you all the data you need.
- Official Park Websites: Your first stop should always be the official source. National and state park websites provide the most reliable information on permits, trail closures, fire restrictions, and recent wildlife activity.
- Trail Apps and Websites: Platforms like AllTrails are a goldmine for beginners. You can filter hikes by distance and elevation, but the real magic is in the recent trip reports from fellow hikers. These give you real-time, on-the-ground intel about trail conditions, how the water sources are flowing, and even bug reports.
Always check the most recent trail reports right before you leave. A trail that was perfectly clear last week could be blocked by a fallen tree today, or a once-reliable creek could be all dried up. Never assume conditions haven't changed.
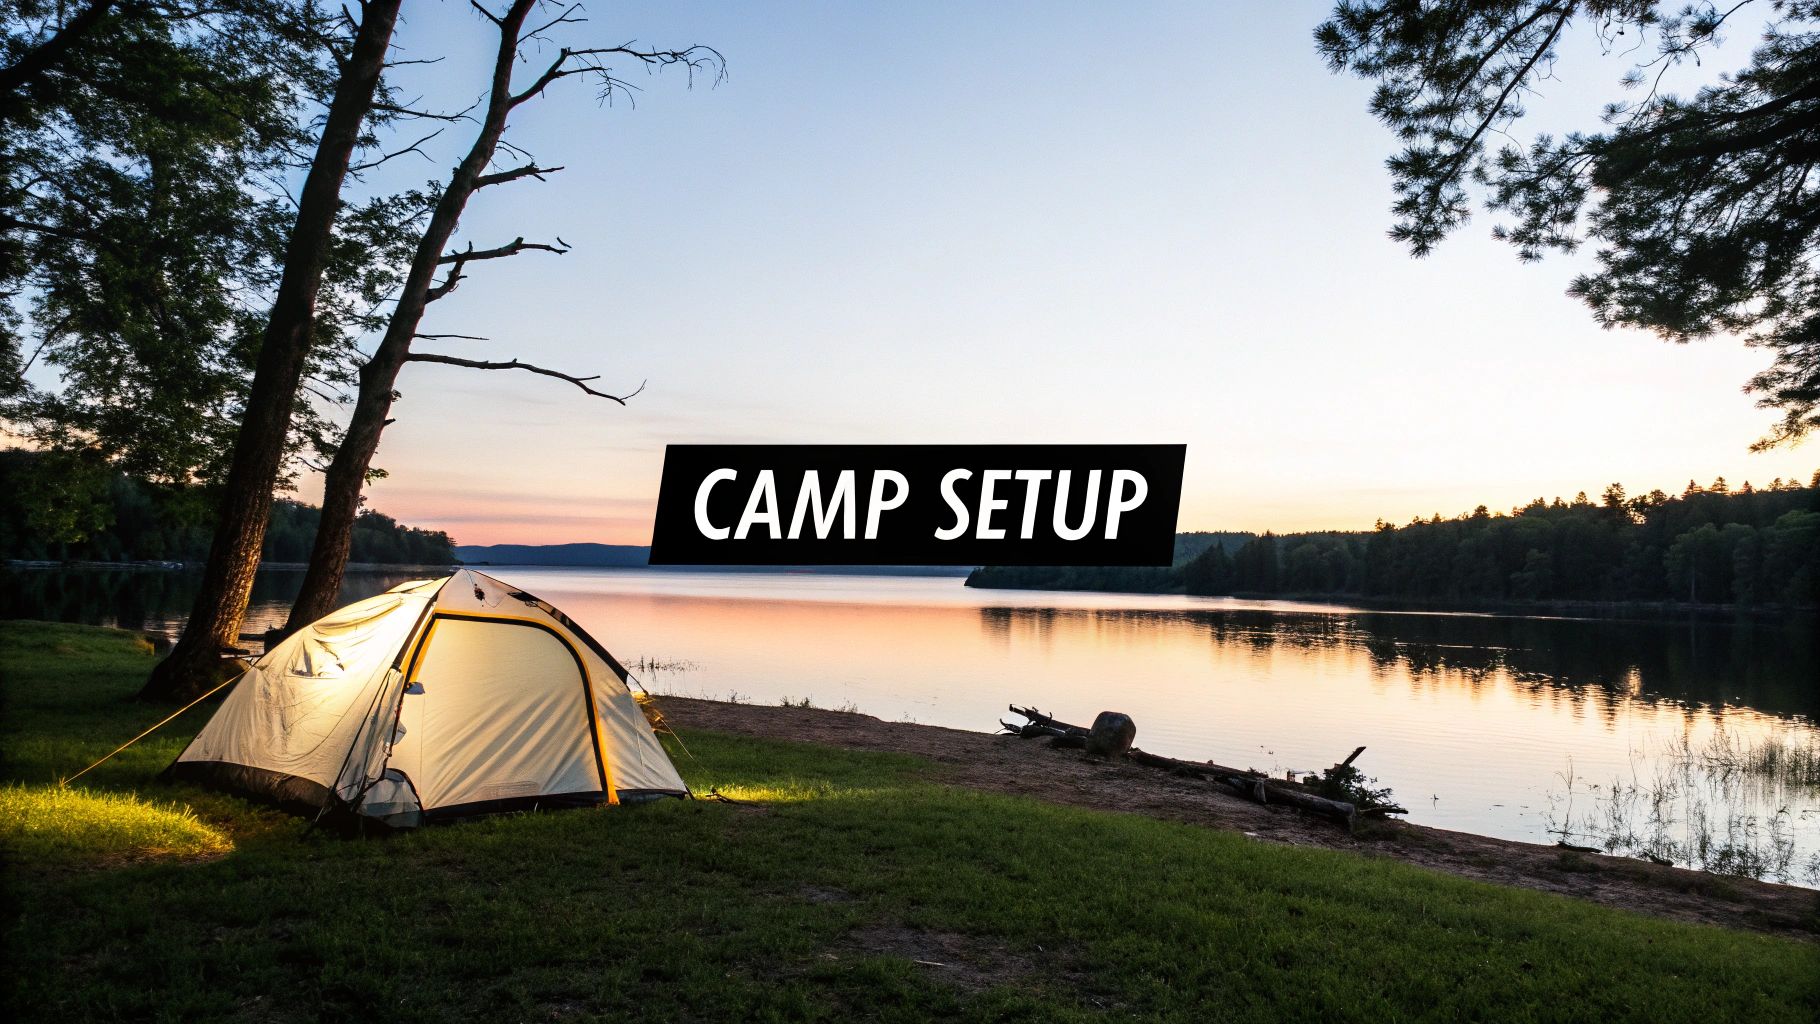
Building Your Simple Itinerary
For your first trip, simplicity is your best friend. Plan to start your hike early in the day to give yourself a massive buffer of time. You'll hike much slower with a heavy pack than you do on your usual day hikes, and that's perfectly okay. Once you get to your campsite, you’ll still need daylight to set up your tent, filter water, and cook dinner.
Budgeting for this first trip should also be pretty straightforward. Your main costs will be gas to get there, food for the trail, and any required permits. Backcountry camping permits can range from $5 to $15 per person, per night. They're often required to help manage the number of visitors and fund the trail maintenance that keeps these places wild and accessible.
This brings us to a core principle of backpacking: Leave No Trace. It’s a set of seven principles designed to help us minimize our impact—things like packing out all your trash, respecting wildlife, and being considerate of other hikers. Following these guidelines ensures these beautiful places stay pristine for everyone who comes after us. And more people are coming than ever; the popularity of outdoor recreation is soaring, with North America leading the charge in the backpack market as more people embrace an outdoor lifestyle. You can read more about these backpacking market trends to see just how big the movement has become.
Staying Safe and Comfortable on the Trail
Real confidence in the backcountry doesn't just come from what’s in your pack—it’s built by knowing what to do when things don’t go perfectly. This is the part of backpacking that turns you from a visitor into someone who’s truly at home in the wild. Your first trip is the perfect training ground for turning that little knot of "what if?" into the calm assurance of "I got this."
These skills are your toolkit for solving the small problems before they become big ones. They're what make sure you remember the amazing sunsets, not the painful blisters.
Navigating Without a Screen
We all love our phone apps and GPS devices, but relying on them alone is a rookie mistake. Batteries die, screens crack, and signals vanish in deep canyons or thick forests. That's precisely why every single backpacker, without exception, needs to carry and know how to use a map and compass.
Think of them as your unbreakable insurance plan. Learning the basics is way less intimidating than it seems. For your first outing, just focus on two key skills:
- Orienting the Map: This just means making your map match the world around you. You lay the compass flat on the map, then turn them both together until the compass needle points to the "N" on the map. Suddenly, the paper in your hands is a perfect, miniature version of the landscape.
- Reading Topography: See all those squiggly lines? They tell the story of the terrain. When the lines are crammed together, you're looking at a steep climb. When they're spread far apart, it's a gentle, easy-going slope. This helps you mentally prepare for the ups and downs of the day.
Even a beginner's grasp of these two things provides a massive safety net. It gives you the power to double-check your location, understand what lies ahead, and stay on track even if your phone gives up the ghost.
Preventing Blisters: Your Key to a Happy Hike
Nothing will ruin a backpacking trip faster than a nasty blister. Seriously. Your feet are your engine out there, and taking care of them is non-negotiable. Good foot care isn't about being tough; it's about being smart and getting ahead of the problem.
The secret is to deal with "hot spots"—that first hint of rubbing or warmth on your skin—before a blister even thinks about forming.
Stop. Right then and there. Don't promise yourself you'll fix it at the next break. Drop your pack, pull off your boot and sock, and slap a piece of Moleskin or athletic tape over the tender spot. This two-minute detour can literally save your entire trip.
Of course, prevention is the best medicine. It starts with wearing the right socks (merino wool or synthetics, never cotton) and making sure your boots are broken in and fit well. It's also incredibly wise to have a tiny foot care kit with Moleskin, tape, and maybe some antiseptic wipes. These items weigh almost nothing but are worth their weight in gold. For more ideas on staying healthy and comfortable on the move, you might want to check out some popular travel wellness must-haves.
Living Alongside Wildlife
Spotting wildlife is one of the most magical parts of being in the wilderness, but it comes with a huge responsibility: being a safe and respectful guest in their home. The absolute most important rule here is proper food storage. Animals become dangerous when they figure out that hikers are basically walking vending machines.
Never, ever keep food, scented items like toothpaste, or even your trash inside your tent. At established campsites, you'll often find heavy-duty metal bear boxes or a cable system for hanging food. If those aren't an option, you need to know how to properly hang a food bag from a tree branch or use a bear-resistant canister. This isn't just about protecting your snacks; it's about protecting the animals and the next group of hikers.
If you do come across a large animal like a bear or a moose, just remember these simple steps:
- Stay Calm: Whatever you do, don't run. Running can trigger a chase response.
- Make Yourself Look Big: Stand up tall, puff out your chest, and wave your arms. Talk to the animal in a loud, firm voice.
- Give It Space: Slowly back away, keeping an eye on the animal. Make sure it has a clear path to leave.
By mastering these fundamentals—from navigation to wildlife safety—you build the confidence that makes backpacking a truly rewarding adventure you can enjoy for a lifetime.
Common Questions from New Backpackers
Alright, we've gone over the gear, the planning, and the basic safety skills. Even so, it’s completely normal to have a few questions still rattling around in your head. The thought of spending your first night out in the wild is exciting, but let's be real—it can also be a little intimidating.
Let's walk through some of the most common concerns that pretty much every beginner grapples with. Getting these mental hurdles out of the way is often the final step before you can confidently hit the trail.
How Fit Do I Need to Be?
This is, without a doubt, the number one question on every new backpacker's mind. And the answer is probably better than you think: you absolutely do not need to be an elite athlete.
The real key is having a decent baseline of fitness. If you can handle a walk of a few miles with a light daypack, you’re in a great starting position to train for an overnight trip. The best way to get ready is simply to hike. Get out on local trails, slowly add a little more distance, and start putting some weight in your pack to get your body used to the feeling.
Remember, your first trip isn't a race or a test of endurance. Pick a beginner-friendly trail with manageable mileage so you can actually enjoy the experience, not just survive it.
Can I Go Alone on My First Trip?
While solo backpacking is an incredible experience and a worthy goal, I strongly advise against it for your very first time out. Going with an experienced friend or joining a guided group gives you a crucial safety net.
Think of it as learning to ride a bike with training wheels. You'll absorb essential skills—like how to pitch a tent in the wind, find a smart campsite, or read a trail map—so much faster by watching and doing it with someone who’s been there before.
Going with someone who has been before accelerates your learning curve immensely. It transforms what could be a stressful experience into a fun, educational one, and it's the safest way to build your initial confidence.
If you don't have friends who backpack, don't sweat it. Look into local outdoor clubs or check with gear shops like REI; many offer guided trips specifically for beginners. They're a fantastic way to learn the ropes in a friendly, supportive setting.
What Is the Hardest Part About Backpacking?
For most beginners, the toughest part isn't just one thing—it's a mix of the physical challenge and the mental game.
Physically, carrying a 25- to 35-pound pack all day is a unique kind of work that you can't quite replicate in a gym. This is exactly why getting a pack that fits you properly and learning to pack light are so important.
Mentally, it’s about getting comfortable with being uncomfortable. You'll be tired. You might get a little sore. You'll definitely hear a weird snap in the middle of the night and wonder what it was. But pushing through these small moments of doubt is exactly what makes backpacking so deeply rewarding.
By starting with a short, manageable trip, you build both your physical and mental "trail legs" one step at a time.
How Much Does Backpacking Cost?
The initial price tag for backpacking can look a bit steep, but you don't need to empty your bank account to get started. Your main investments will be the "Big Three": your backpack, your tent, and your sleeping system (bag and pad).
Here’s how you can test the waters without a huge financial commitment:
- Rent Your Gear: This is my top recommendation for first-timers. Many outdoor retailers rent out full backpacking kits for a weekend. It's a low-cost way to figure out if you even like backpacking before you buy anything.
- Buy Used: High-quality used gear is another fantastic route. You can find great deals on well-cared-for equipment from reputable online sellers or local gear swaps.
- Borrow from Friends: If you have outdoorsy friends, they might be happy to lend you a few key pieces of gear for your first adventure.
Beyond the big-ticket items, you'll need to budget for food, fuel for your stove, and any permits or campsite fees. Planning your own trail meals instead of relying on expensive, pre-packaged freeze-dried food is another easy way to keep costs down.
Ready to discover your next adventure? At FindTopTrends, we curate the best in travel gear, outdoor essentials, and trending products to make every journey unforgettable. Start exploring our collections today and gear up for your first backpacking trip!
Leave a comment


