


No products in the cart.
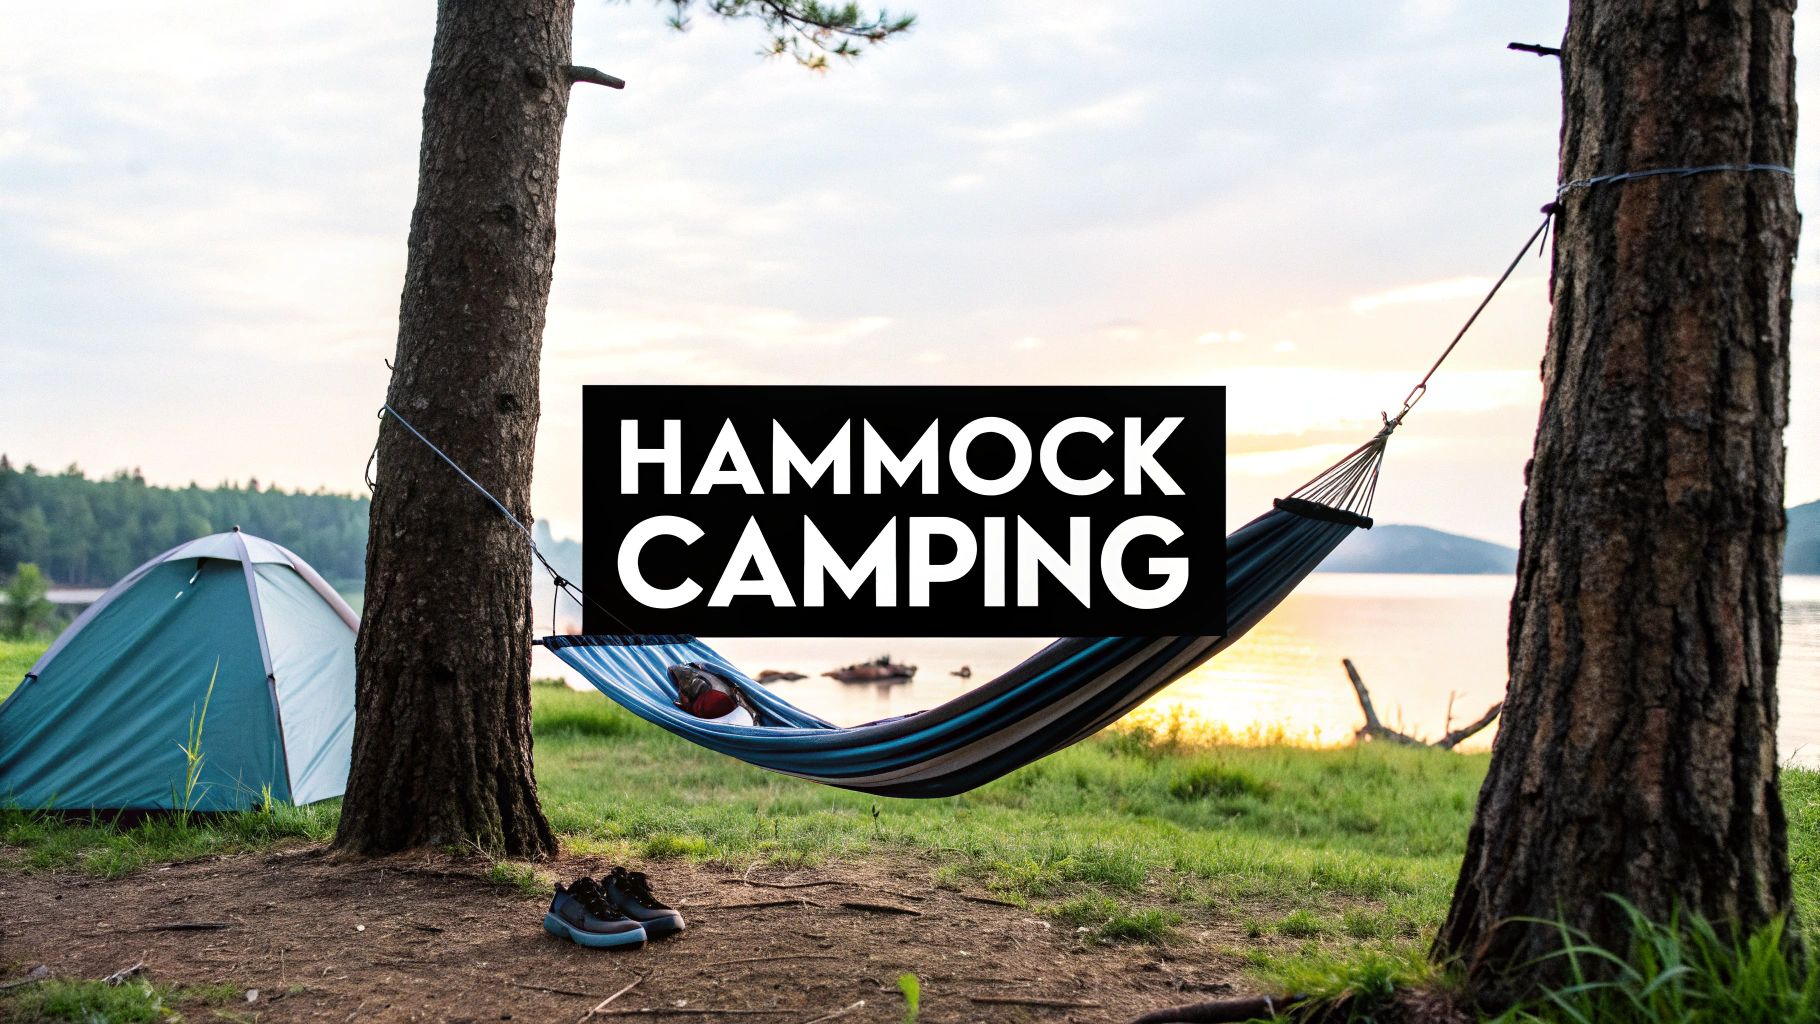
If you’ve ever woken up in a tent with a rock digging into your back, you already know why so many of us have made the switch. The idea of floating peacefully between two trees isn't just a nice thought—it’s a game-changer for getting a great night's sleep outdoors. Let's get right into why hammock camping offers a level of comfort and connection to nature that a tent just can't match.
Why Hammocks Are a Better Way to Sleep Outside
This isn’t just another gear trend. Moving from a tent to a hammock is a fundamental shift in how you experience the backcountry. Instead of zipping yourself into a nylon box, you’re literally suspended in the middle of your environment. You fall asleep to the real sounds of the forest, not muffled versions, and wake up feeling like a part of the landscape.
And it's not just a niche thing anymore. The global market for camping hammocks hit approximately $370 million in 2021 and is climbing. This boom is tied directly to more people getting outside and looking for smarter, more eco-friendly ways to travel. If you're curious about the numbers, you can check out the full report on camping hammock trends.
The Real-World Advantages of Hanging
So, what's really behind this massive shift? It comes down to solving some of the biggest headaches of traditional tent camping.
-
Unbeatable Comfort: A properly hung hammock cradles your body, getting rid of the nasty pressure points on your hips and shoulders. You’re not trying to find a comfortable position on a lumpy air mattress; the hammock conforms to you, giving you consistent support all night long.
-
Lighter Packs: My entire hammock setup—hammock, suspension, bug net, and tarp—packs down smaller and weighs less than my old one-person backpacking tent. For anyone looking to cut weight without sacrificing comfort, it's a no-brainer.
-
Campsites Everywhere: The frustrating search for a perfectly flat, rock-free spot for your tent is over. With a hammock, all you need are two healthy trees. Suddenly, hillsides, rocky terrain, and dense forests open up a world of new camping possibilities.
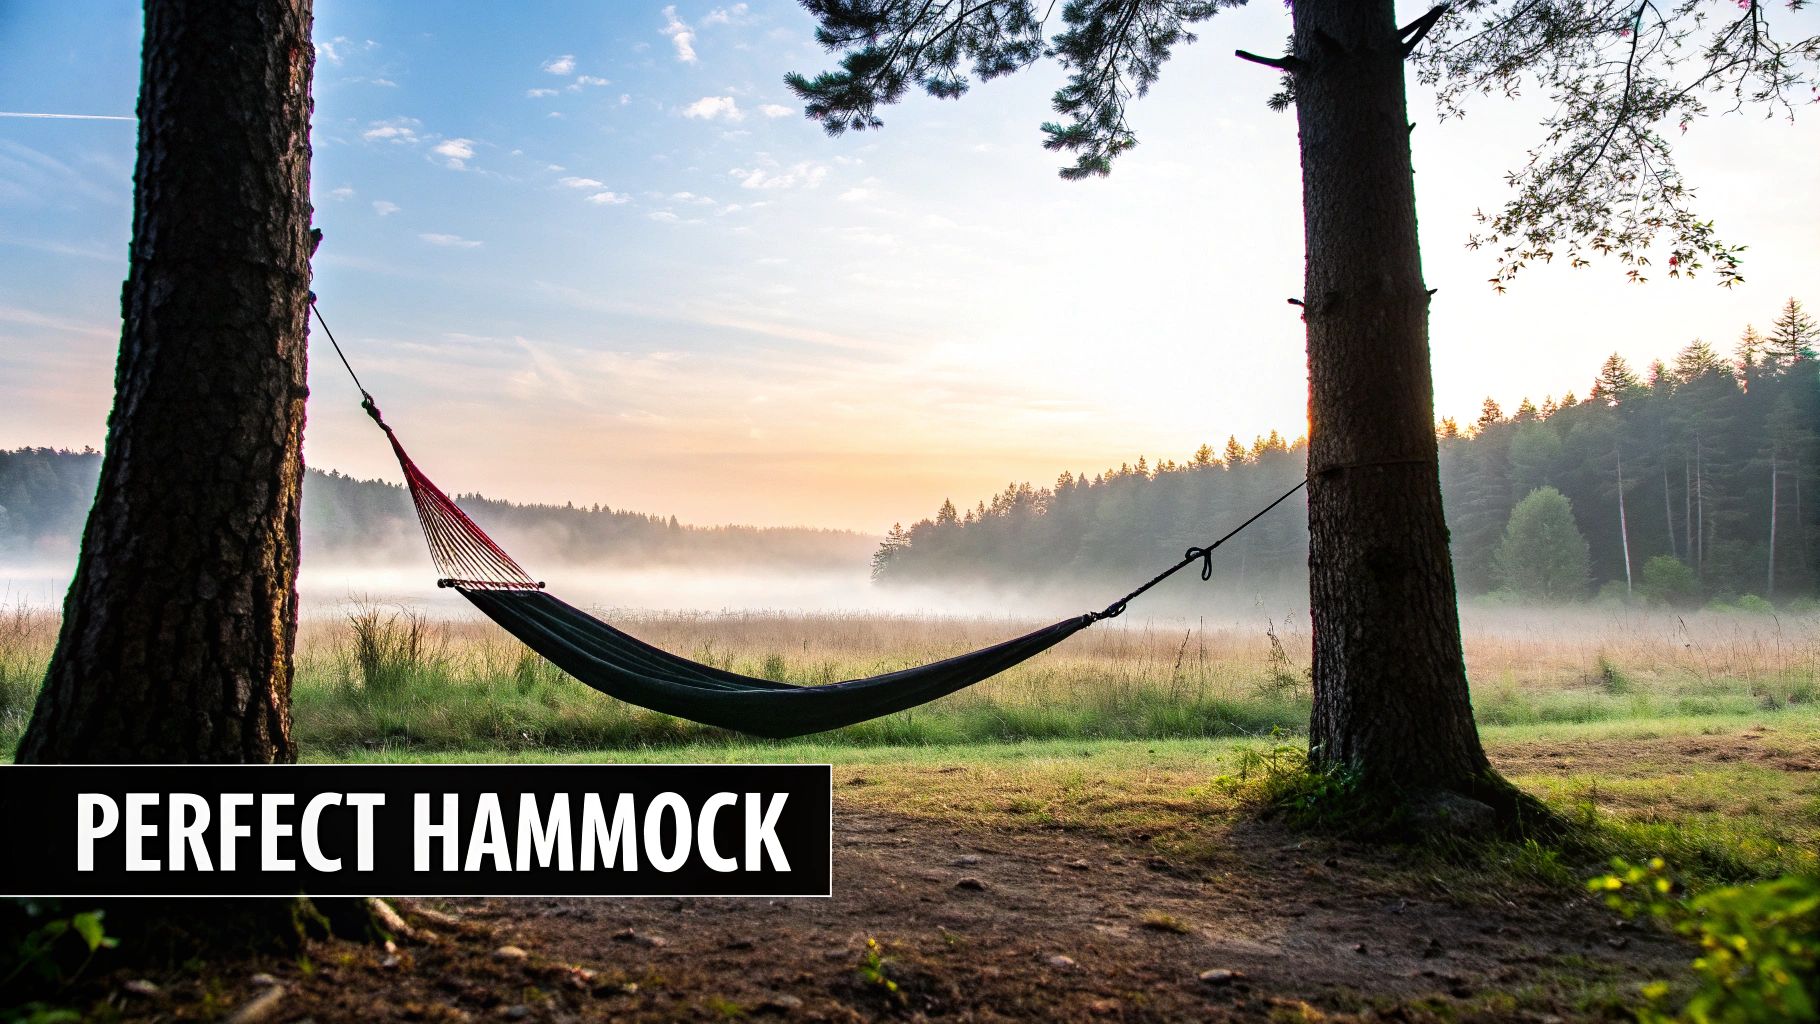
After years of sleeping on the ground, I can tell you this: The first time you wake up in a hammock feeling completely refreshed, without a single ache, you'll never look back. A comfortable night's sleep in the wild goes from being a luxury to the new standard.
Whether you're just starting to explore hammock camping or you're a seasoned hanger looking to dial in your setup, this guide has you covered. We'll walk through everything from picking the right gear to mastering the perfect hang, so your nights in the woods are just as epic as your days.
Building Your Complete Hammock Sleep System
Putting together the right hammock setup is what separates a fantastic night in the woods from a miserable one. It’s about more than just the hammock itself; a true sleep system is a collection of key components that work in harmony to keep you comfortable, safe, and shielded from whatever nature throws at you.
Think of this as your personal buyer's guide. I'm here to walk you through every piece of gear you'll need, so you can build a setup that’s perfectly suited for your kind of adventure.
The Heart of the System: The Hammock Itself
Naturally, it all starts with the hammock. While any old hammock is fine for a lazy afternoon, a dedicated camping hammock is engineered for a full night of comfortable sleep. Look for one that's between 10 to 11 feet long. That extra length is the secret to getting a flat, ergonomic diagonal lay, which is far more comfortable than curving like a banana all night.
Fabric is also a big deal. You want something tough but breathable, like a quality ripstop nylon. And always check the weight rating—a good camping hammock should easily support 300 to 400 pounds, giving you a solid margin of safety for you and some of your gear.
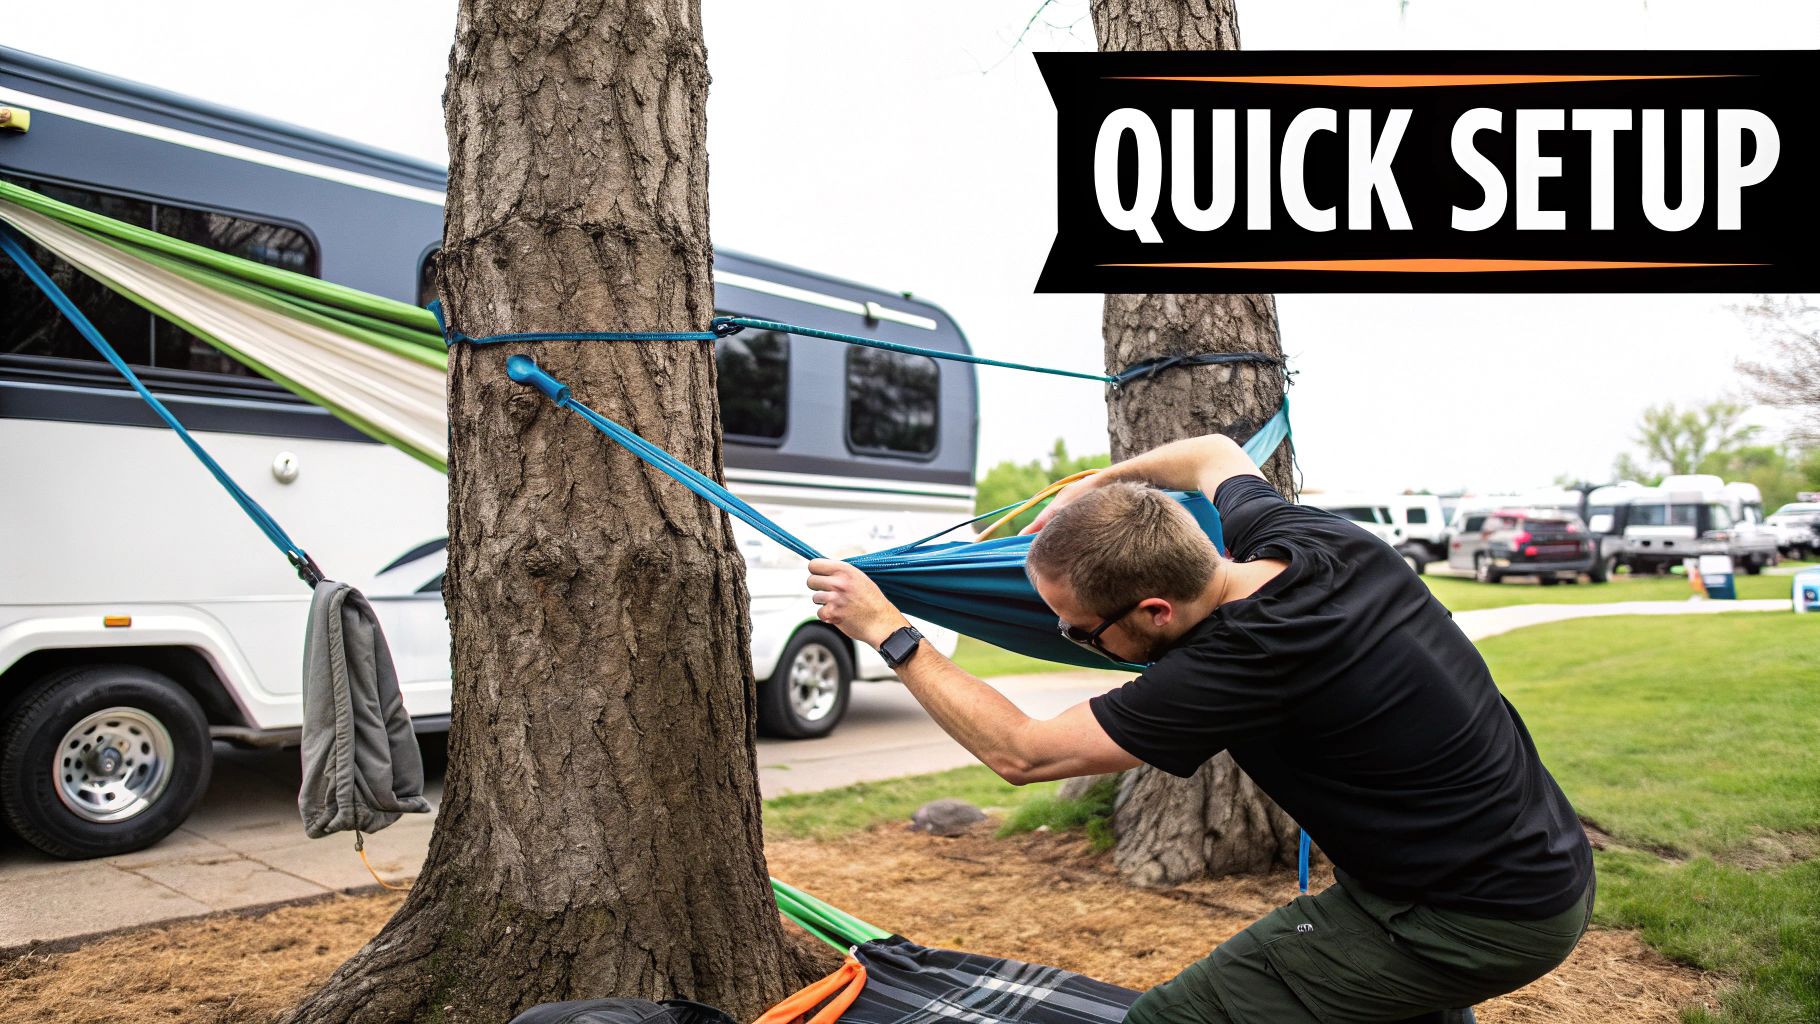
Mastering Your Connection: The Suspension System
Your suspension is your lifeline to the trees, so this isn't the place to cut corners. Thankfully, the days of damaging trees with plain old rope are long gone. Modern suspension systems are designed to be incredibly secure while also protecting the trees we rely on.
You've got a few solid choices:
- Tree Straps: These are the standard for a reason. They are wide, flat straps (usually polyester) that wrap around the tree trunk. That width is key—it spreads the load and prevents any harm to the tree’s delicate cambium layer. A one-inch minimum width is the golden rule here.
- Whoopie Slings: A favorite among seasoned hangers, these adjustable loops are made from ultra-strong, low-stretch cord like Dyneema. Their real magic is in the micro-adjustments you can make, letting you dial in the perfect hang angle with incredible precision, all while saving a ton of weight.
- Daisy Chains: These straps have multiple pre-sewn loops, making it super fast to clip in at various lengths. They are convenient, no doubt, but that convenience often comes at the cost of being bulkier and heavier than other options.
Pro Tip: When choosing tree straps, always go with polyester. Unlike nylon, polyester has almost zero stretch, even when wet. This means the perfect hang you set up in the evening won't sag into a droopy mess by morning.
Creating Your Shelter: The Tarp
Your tarp is your first line of defense against rain, wind, and even intense sun. A common rookie mistake is picking a tarp that’s too small, which can leave you frustratingly exposed when a storm blows in sideways.
For hammock camping, you'll generally find these main styles:
- Asymmetrical (Asym): These diamond-shaped tarps are fantastic for ultralight backpackers. They offer solid protection in fair weather but can feel a bit minimalist in a heavy, wind-driven downpour.
- Hexagonal (Hex): Probably the most popular all-around choice. These six-sided tarps strike a perfect balance between excellent coverage, manageable weight, and a straightforward setup. They’re a significant step up in protection from an asym.
- Winter/Four-Season Tarps: These are the big guns. They’re often built with "doors" on each end that you can close up for complete, 360-degree protection. They create a storm-proof cocoon around your hammock, making them essential for cold-weather trips or seriously harsh conditions.
The Secret to Warmth: Insulation
This is, without a doubt, the most misunderstood piece of the puzzle for newcomers. When you lie in a hammock, your body weight compresses the bottom of your sleeping bag, crushing its insulation and making it completely useless. This is what leads to the dreaded "Cold Butt Syndrome" (CBS)—and it can happen even on a cool summer night.
The solution is dedicated insulation for the bottom and sides of your hammock. You have two main routes to go: an underquilt or a sleeping pad.
Underquilts: The Gold Standard
An underquilt is the real game-changer. It’s basically a sleeping bag without a top, designed to hang on the outside of your hammock. Because it hangs freely beneath you, its insulation (down or synthetic) stays fully lofted, trapping a warm pocket of air that protects you from the cold. For pure comfort and warmth, nothing beats an underquilt.
Sleeping Pads: A Viable Alternative
You can also use a standard foam or inflatable sleeping pad inside the hammock with you. This is a versatile option since you can also use it for ground camping. However, pads have a knack for shifting around in the middle of the night, can feel a bit stiff, and often fail to insulate your shoulders where the hammock fabric curves up around your body.
To help you decide, here’s a quick breakdown of how they compare.
Hammock Insulation Comparison: Underquilt vs. Sleeping Pad
| Feature | Underquilt | Sleeping Pad |
|---|---|---|
| Comfort | Excellent. Conforms to your body and allows unrestricted movement. | Fair. Can feel stiff and may shift around inside the hammock. |
| Warmth | Superior. Provides 360-degree coverage, eliminating all cold spots. | Good, but can leave shoulders and sides exposed to cold drafts. |
| Ease of Use | Requires initial setup but is "set and forget" for the night. | Can be difficult to keep in place throughout the night. |
| Weight & Packability | Typically lighter and more compressible than a high-R-value pad. | Can be bulky, especially closed-cell foam pads. |
| Versatility | Designed specifically for hammocks. | Can be used for both hammock and ground camping. |
While both can work, most experienced hammock campers eventually land on an underquilt for its superior performance.
Finally, a topquilt completes your warmth system. It acts like a regular sleeping bag but without the back—saving weight and bulk since your underquilt is already handling insulation from below. When you pair an underquilt with a topquilt, you have the ultimate warm, comfortable, and lightweight sleep system for any hammock camping adventure.
How to Achieve the Perfect Hammock Hang
The secret to a genuinely comfortable night in a hammock isn't just about the gear you buy—it's all about the hang. I’ve seen countless people get frustrated because a poorly set up hammock can feel cramped and unstable. But once you master a few key techniques, you’ll unlock the best sleep you've ever had in the woods. This is where a little bit of trail science delivers a whole lot of comfort.
This infographic breaks down the core components of a hammock sleep system, which is the foundation for everything else we're about to do.
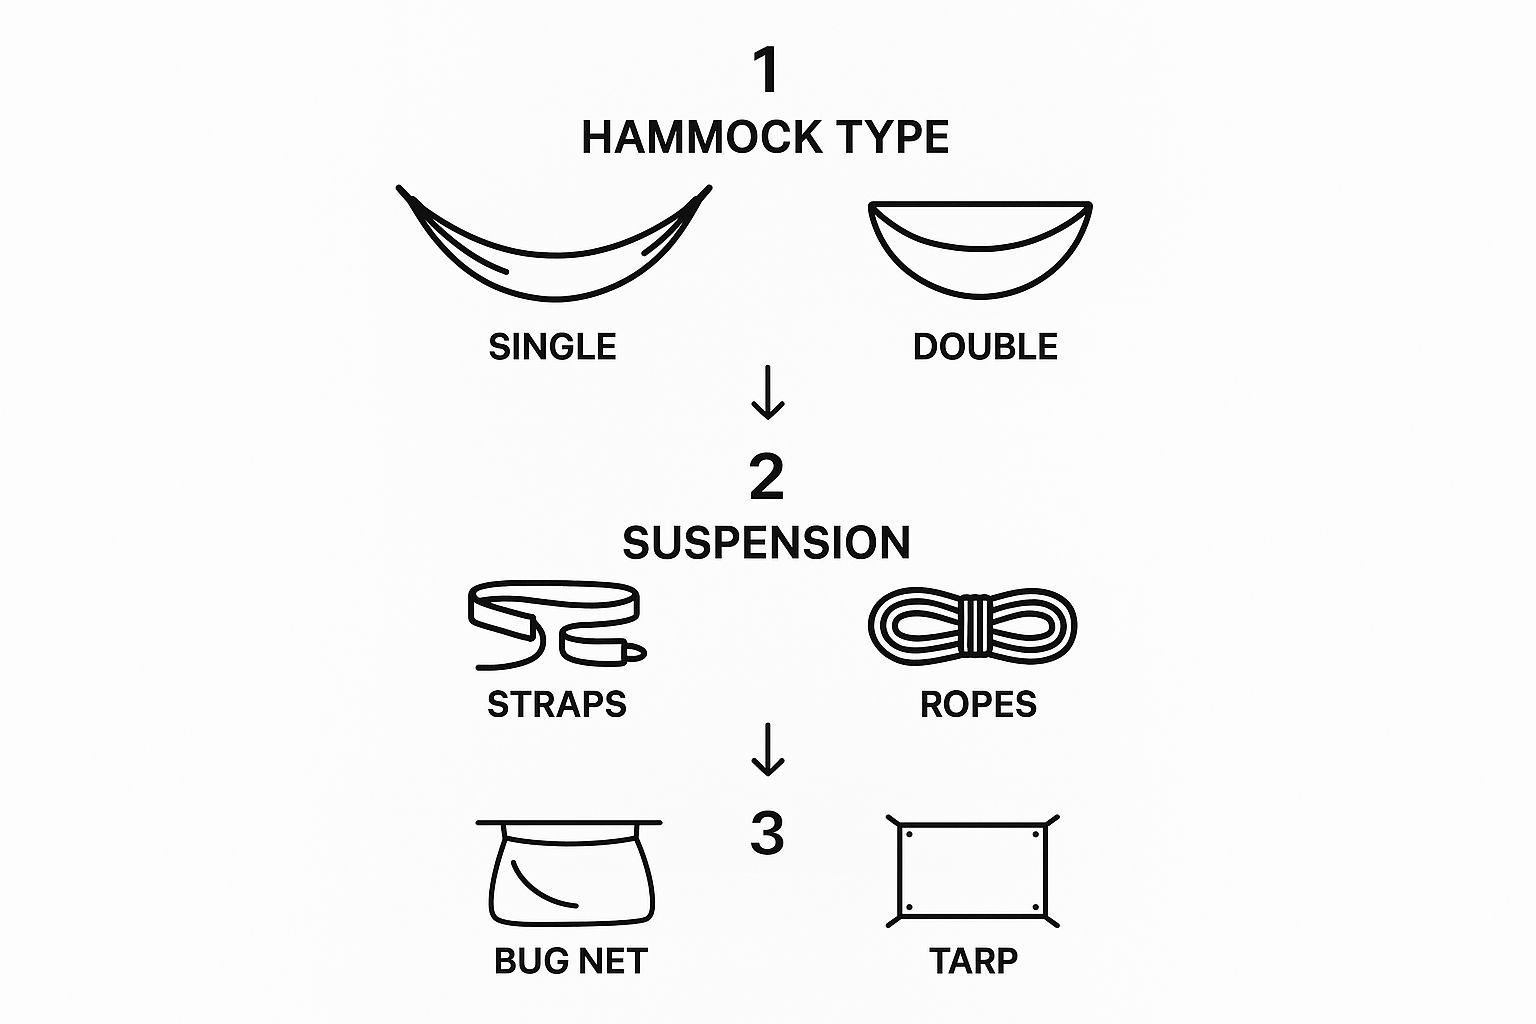
As you can see, it all flows together—from the hammock itself to your suspension and the essential accessories. Now, let’s get that gear set up right.
Selecting Your Anchor Points
First thing’s first: you need to find the right pair of trees. This is the most important decision you'll make at your campsite, affecting not just your comfort but also the health of the forest. Trust me, not all trees are created equal.
Your goal is to find two healthy, living trees that look undeniably sturdy. As a solid rule of thumb, only choose trees that are at least 6 inches in diameter where you plan to wrap your straps. Anything smaller could damage the tree's delicate cambium layer or, even worse, fail under your weight during the night.
Next up is spacing. The sweet spot for distance between your two anchors is somewhere in the ballpark of 12 to 15 feet. This gives you plenty of wiggle room to achieve the perfect sag without having to wrench your suspension system banjo-string tight.
The Magic Number: 30 Degrees
If you take away only one thing from this guide, let it be this: aim for a 30-degree angle on your suspension. This is the angle your straps make in relation to the tree, and it's the single most critical factor for getting a comfortable, flat lay.
A suspension that’s too tight (less than 30 degrees) will squeeze you like a banana, curving your spine into an uncomfortable C-shape. On the other hand, a setup that's too loose (much more than 30 degrees) will have you bottoming out on the ground as soon as you sit down. That 30-degree sweet spot is what creates the perfect sag.
You don't need a protractor to find it. Here's a simple trick from the field:
- The Hand Method: Make a "finger gun" with your hand. Point your index finger at your hammock's anchor point and your thumb straight up toward the sky. Your suspension line should roughly follow the imaginary line between your thumb and index finger. It's a surprisingly accurate estimate.
Getting this angle right isn't just about comfort; it's about safety. It distributes the forces on your anchors and gear correctly. This is what lets you lie diagonally across the fabric—the true secret to sleeping completely flat in a hammock.
Setting Your Ridgeline for Consistency
While you don't absolutely need one, a structural ridgeline is a complete game-changer for getting a perfect hang every single time. This is simply a piece of non-stretchy cord that runs between the two ends of your hammock, cut to a specific length—usually around 83% of your hammock's total fabric length.
With a ridgeline in place, you are guaranteed the exact same sag every time, no matter how far apart your trees are. It completely removes the guesswork. When you lie down, the ridgeline should be just taught enough to pluck, but not so tight it sings.
Pitching Your Tarp for Storm Protection
Your tarp is your roof, so pitching it correctly is your first line of defense against foul weather. A pro tip: always set up your tarp before your hammock, especially if there's even a hint of rain. This gives you a dry space to work while you set up the rest of your sleep system.
- Standard A-Frame: This is your go-to pitch. Center the tarp's ridgeline directly over where your hammock will be and stake out the corners. It provides excellent all-around coverage.
- Porch Mode: For nice weather, you can use a couple of trekking poles to prop up one side of the tarp. This creates a fantastic open-air awning with a great view from your hammock.
- Storm Mode: When the wind and rain really pick up, hunker down. Pitch the tarp lower and stake the corners out wider and closer to the ground. This creates a protective bunker that sheds wind and keeps rain from blowing underneath.
Deploying Your Underquilt for Warmth
Finally, let's talk about staying warm. An underquilt with drafts is a useless underquilt. The entire point is to create a snug pocket of trapped air around the bottom of your hammock.
Gently adjust the underquilt's own suspension system until it lightly hugs the underside of the hammock. You shouldn't see any gaps, but you also don't want it so tight that it compresses the down or synthetic insulation. You want the insulation to have room to loft up fully. This level of detail is just as crucial as having well-organized gear; in fact, there are some great packing tips for travel that follow the same philosophy of meticulous preparation.
Once you master these hanging techniques, you're no longer just sleeping outside—you're crafting a perfect, personalized shelter every single time you hit the trail.
Staying Comfortable Through Any Weather
Let's clear up a common myth: hammock camping does not mean you're just dangling out in the open, exposed to whatever nature throws at you. Far from it. With the right gear and a bit of practical know-how, your suspended shelter can become a cozy fortress against rain, wind, and chilly nights. It’s all about thinking ahead and setting up your system to handle the forecast.
https://www.youtube.com/embed/kVjwlg6_b-0
The whole point of hammock camping is that gentle, rocking-to-sleep feeling, right? It’s a huge part of the appeal and a key reason people are getting outdoors more. In fact, according to Campspot, 70% of campers are looking for a calming experience, and 58% want a real break from their daily grind. A hammock delivers that relaxation in spades. It’s no wonder they’re becoming a bigger part of the wellness and outdoor recreation scene.
Managing Rain and Staying Dry
Nothing will sour a trip faster than a soggy sleeping bag. When rain is on the horizon, your tarp is your best friend, but the way you pitch it is what really counts.
First off, always go for a bigger tarp than you think you need. A minimalist diamond tarp might be light, but a hex or winter-style tarp gives you far more protection from wind-driven rain. Pitch it low and wide, pulling the guylines out to create steep angles so water just sheds right off.
Here’s a rookie mistake to avoid: forgetting about water wicking down your suspension straps. Rain will happily follow that path right into your hammock. The fix is simple: create a drip line. Just tie a small piece of string (even a shoelace works in a pinch) around your suspension a few inches from the hammock. Water will hit that string and drip to the ground instead of soaking your gear.
Conquering the Cold
Staying warm in a hammock is a bit of an art, and it all comes down to insulation. Like we talked about before, your body weight compresses the loft in a sleeping bag, making it pretty much useless underneath you. This is exactly why a good underquilt is a non-negotiable piece of gear for cool and cold weather.
When you’re picking an underquilt, be honest with yourself about the temperatures you'll actually be camping in. For three-season camping in most places, a 20°F (-6°C) rated underquilt is a fantastic, versatile sweet spot.
Pro Tip: Your insulation is a system. You can't pair a 20°F underquilt with a flimsy 50°F summer blanket and expect to be toasty. Your topquilt needs to have a similar temperature rating to your underquilt for the whole setup to work as intended.
Condensation can also be a pain in the cold. Your warm breath will hit your cold tarp and can freeze or drip. The key is ventilation. Even when you have the tarp battened down in "storm mode," try to leave a small gap for air to circulate. This airflow helps carry moisture away before it becomes a problem.
Beating the Heat and Bugs
Hot, sticky nights bring their own set of challenges. You can ditch the underquilt, but you’ll absolutely need to maximize airflow and keep biting insects from crashing your party.
This is where a 360-degree bug net is worth its weight in gold. Sometimes called a "cocoon," it completely envelops your hammock, protecting you from every angle. No more mosquito bites on your back or backside.
Also, look for a hammock made from a light, breathable nylon to help heat dissipate. Pitching your tarp a little higher than usual can also help catch a breeze. On those really still, humid nights, a small, battery-powered fan clipped to your ridgeline can feel like pure luxury.
Handling High Winds and Storms
Believe it or not, a hammock can be a surprisingly secure spot during a storm. You’re off the wet ground and away from potential ground currents in a thunderstorm. High winds, however, demand a bit more preparation.
- Anchor Selection is Crucial: This is no time to compromise. Your trees need to be solid, healthy, and completely free of any large, dead branches overhead. We call those "widowmakers" for a reason.
- Pitch Your Tarp Low: To minimize your profile against the wind, stake your tarp low to the ground. You should also orient the narrow end of the tarp directly into the wind, letting it slice through gusts instead of catching them like a giant sail.
- Secure Everything: Double-check that every single guyline is pulled taut and every stake is driven deep into the ground. If your tarp has extra tie-out points, use them. A few extra lines can add a tremendous amount of stability when the wind really starts howling.
By preparing for the worst, you can relax and rest easy, confident that your hammock rig is ready to keep you safe and comfortable, no matter what the weather decides to do.
Pro Tips for Next-Level Hammock Camping

So, you've got the basics of hammock camping down. You can find two trees and get yourself off the ground. Now it's time to unlock the next level—the small tweaks and insider tricks that transform a good night's sleep into an absolutely fantastic one.
This is about turning your setup from functional to genuinely comfortable. The biggest secret? It's all in how you lie down. The natural curve of a hammock can leave you feeling like a banana, but the goal is to get as flat as possible. The key is the diagonal lay.
Instead of lining up with the hammock's center, shift your body about 30 degrees to one side. You'll feel your head and feet drop slightly, allowing your torso and legs to flatten out beautifully. This simple adjustment eliminates pressure points and is the single most important technique for deep comfort.
Mastering the Art of the Hang
That perfect diagonal lay is a whole lot easier to achieve when your hammock has just the right amount of sag. It's a classic rookie mistake to pull the suspension as tight as a guitar string, which only creates a cramped, cocoon-like squeeze.
This is where a structural ridgeline becomes your best friend. A ridgeline is just a fixed-length cord running between the two ends of your hammock, but its effect is huge. It guarantees you get the exact same sag every single time you hang, no matter how far apart your trees are. This locks in the perfect hang angle, making it dead simple to dial in that flat, comfy lay.
This one piece of gear can completely transform your setup. For more ways to create a smart and efficient campsite, check out these camp setup ideas that pair perfectly with a hammock system.
The comfort of a hammock isn’t just a backpacker’s secret anymore. That gentle swaying motion has been shown to genuinely improve rest. In fact, some studies have found that over 60% of people report better sleep quality in a hammock. It’s clear people are catching on to the benefits, whether in the deep woods or their own backyard.
Streamlining Your Gear and Organization
Once you've nailed the comfort, the next step is making your setup more efficient. The little things really add up out there, and fumbling around for your headlamp in the middle of the night is no one's idea of fun.
A ridgeline organizer is a game-changer. It's a small, lightweight pouch that clips right onto your structural ridgeline, keeping your essentials within easy reach.
- Your headlamp
- Your phone or a small power bank
- A book or e-reader
- Midnight snacks
What about your bigger gear? A gear sling is the perfect answer. Think of it as a mini-hammock that hangs just below yours. It keeps your backpack and boots off the wet, muddy ground and tucked safely under your tarp. It’s a clean and simple way to keep your entire world contained and organized.
Ultralight Hacks for the Trail
For those of us who count every single gram, there are some easy swaps to lighten your hammock system without giving up an ounce of comfort or safety. The first things to go are usually those heavy, clunky steel carabiners.
Consider these feather-light alternatives:
- Soft Shackles: Made from incredibly strong Dyneema cord, these woven loops are just as strong as metal but weigh practically nothing.
- Continuous Loops: Swap the thick, heavy rope on the ends of your hammock for short, strong Dyneema loops. You’d be surprised how much weight this saves.
- Spliced Whoopie Slings: If you're ready to ditch hardware altogether, learning to splice your own whoopie slings from cordage creates a sleek, super-light, and fully adjustable suspension system.
These are the kinds of refinements that take hammock camping from a fun novelty to a profoundly comfortable and efficient way to sleep in the wild.
Common Questions About Hammock Camping
As you start getting into hammock camping, you'll find a few common questions pop up right away. These are the kinds of practical concerns that can feel like big roadblocks at first, but they're almost always easy to solve once you have the right information. Getting these sorted out ahead of time is a huge confidence booster and makes a world of difference for your first few trips.
Let's walk through some of the questions I hear most often from campers making the switch from a tent.
Is Camping in a Hammock Bad for Your Back?
This is probably the number one question I get, and the short answer is no—in fact, it can be amazing for your back. The whole trick is to avoid sleeping like a banana, all curled up in the middle.
When you hang a hammock correctly, it allows you to sleep in a surprisingly flat, ergonomic position that gets rid of the pressure points you’d normally feel on hard, uneven ground. The secret is getting that perfect sag from the 30-degree suspension angle we talked about earlier. This lets you lie diagonally across the fabric, which is what gets your body nearly flat. I know plenty of long-distance hikers who switched to hammocks specifically to get relief from back pain after weeks of sleeping on the ground.
It's wild, but a well-hung hammock can be more supportive than some mattresses. It contours to your body's natural shape and distributes your weight perfectly, which is why it feels so comfortable for so many people.
Can Two People Sleep Comfortably in One Hammock?
It’s a nice thought, but honestly, trying to sleep with two people in a single camping hammock is a recipe for a miserable night. Even the "double" hammocks, which are built to hold the weight of two people for lounging, just don't work for sleeping.
You'll inevitably get pushed together into the center, creating a tight, uncomfortable squeeze. It’s almost impossible for either person to get that flat, diagonal lay you need for real rest. Trust me on this one: for a good night's sleep, you’ll both be much happier in your own individual hammocks, hung side-by-side.
What Do You Do if There Are No Trees?
This is the big one—the main limitation of hammock camping that really requires some forethought. If you’re heading above the treeline, into a desert, or out on the open prairie, a hammock simply isn't an option.
So, what can you do?
- Scout Your Route: Always check your maps and campsite info before you leave. This is the best way to avoid a surprise.
- Pack a Backup: If you know one night of your trip will be in a treeless spot, just bring a lightweight backup like a bivy sack or a small ground tarp.
- Think About a Stand: Portable hammock stands do exist, but for backpacking, they're usually far too heavy and bulky to be practical.
How Should I Store My Pack and Gear?
Keeping your gear dry and off the wet ground is actually pretty straightforward. A common trick is to just hang your backpack from one of your hammock's suspension straps with a carabiner. Just make sure you tuck it securely under your rain tarp.
Another fantastic option is a gear sling, which is basically a tiny hammock that hangs right underneath yours. For smaller things you want close by—like your headlamp, phone, or a book—a ridgeline organizer is perfect. It clips right onto the ridgeline inside your hammock so your essentials are always within arm's reach. Looking into what products are trending now can also spark some great ideas for clever storage hacks and other handy camping gear.
Ready to build your ultimate sleep system? At FindTopTrends, we curate the best outdoor gear and essentials to make your adventures more comfortable and enjoyable. Explore our collection today and find everything you need for your next trip.
Leave a comment


