


No products in the cart.
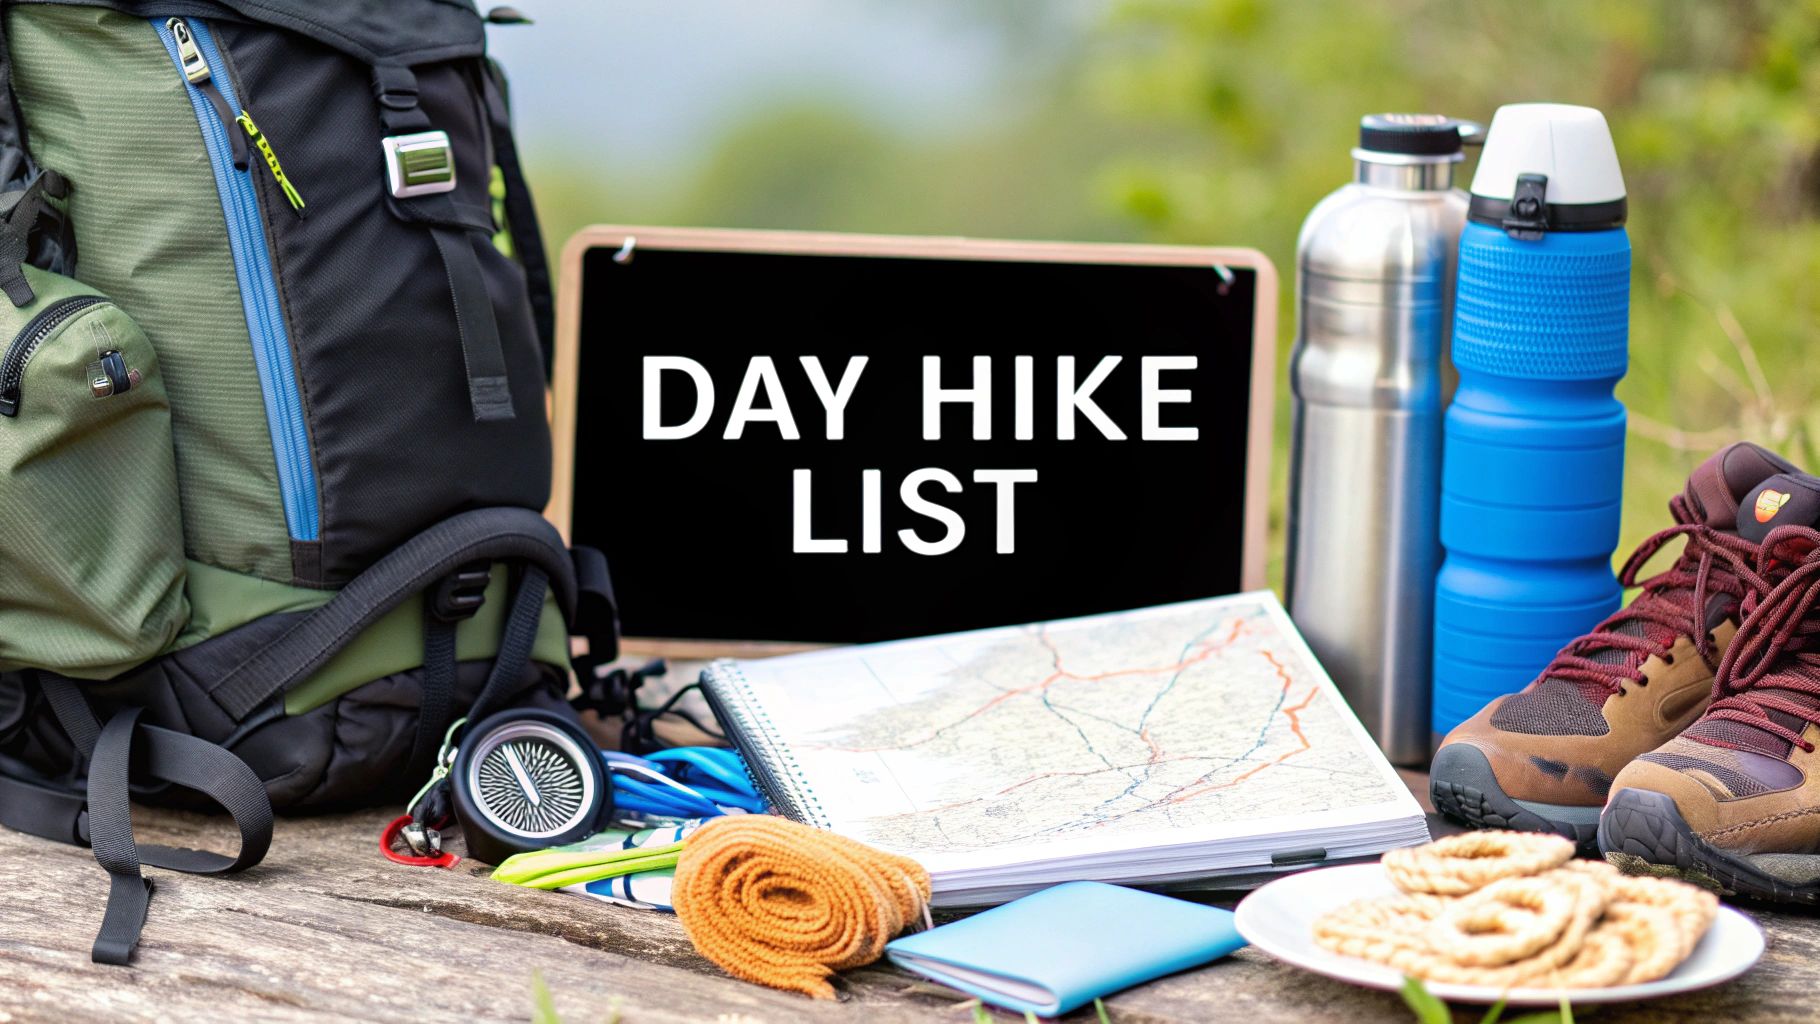
A successful day hike isn’t just about choosing a beautiful trail; it’s about being prepared for whatever the journey throws at you. The right gear can transform a challenging trek into a comfortable, memorable adventure, while forgetting a crucial item can turn a scenic outing into a genuine struggle. This definitive day hike pack list moves beyond generic advice, offering a detailed breakdown of the non-negotiable gear every hiker, from beginner to expert, should carry.
This comprehensive guide is designed to be your go-to resource for packing efficiently and effectively. We will cover not just what to bring, but also why each item is critical for your safety and comfort on the trail. You'll find practical tips on how to choose the best options to fit your needs and budget, along with real-world advice on how to use them. Whether you’re a seasoned trailblazer looking to refine your kit or a family gearing up for your first outing, this checklist ensures you pack smarter. Our goal is to help you stay safer, feel more confident, and ultimately, get the most enjoyment out of every single step you take on the trail.
1. Hiking Backpack
Your adventure starts with the right foundation, and for any trek, that foundation is your hiking backpack. Unlike a standard school or work bag, a dedicated daypack is engineered for comfort and efficiency on the trail. It’s designed to distribute weight properly, preventing sore shoulders and an aching back after just a few miles. This specialized gear is an essential part of any day hike pack list because it provides the structure, organization, and accessibility you need to carry your gear comfortably.
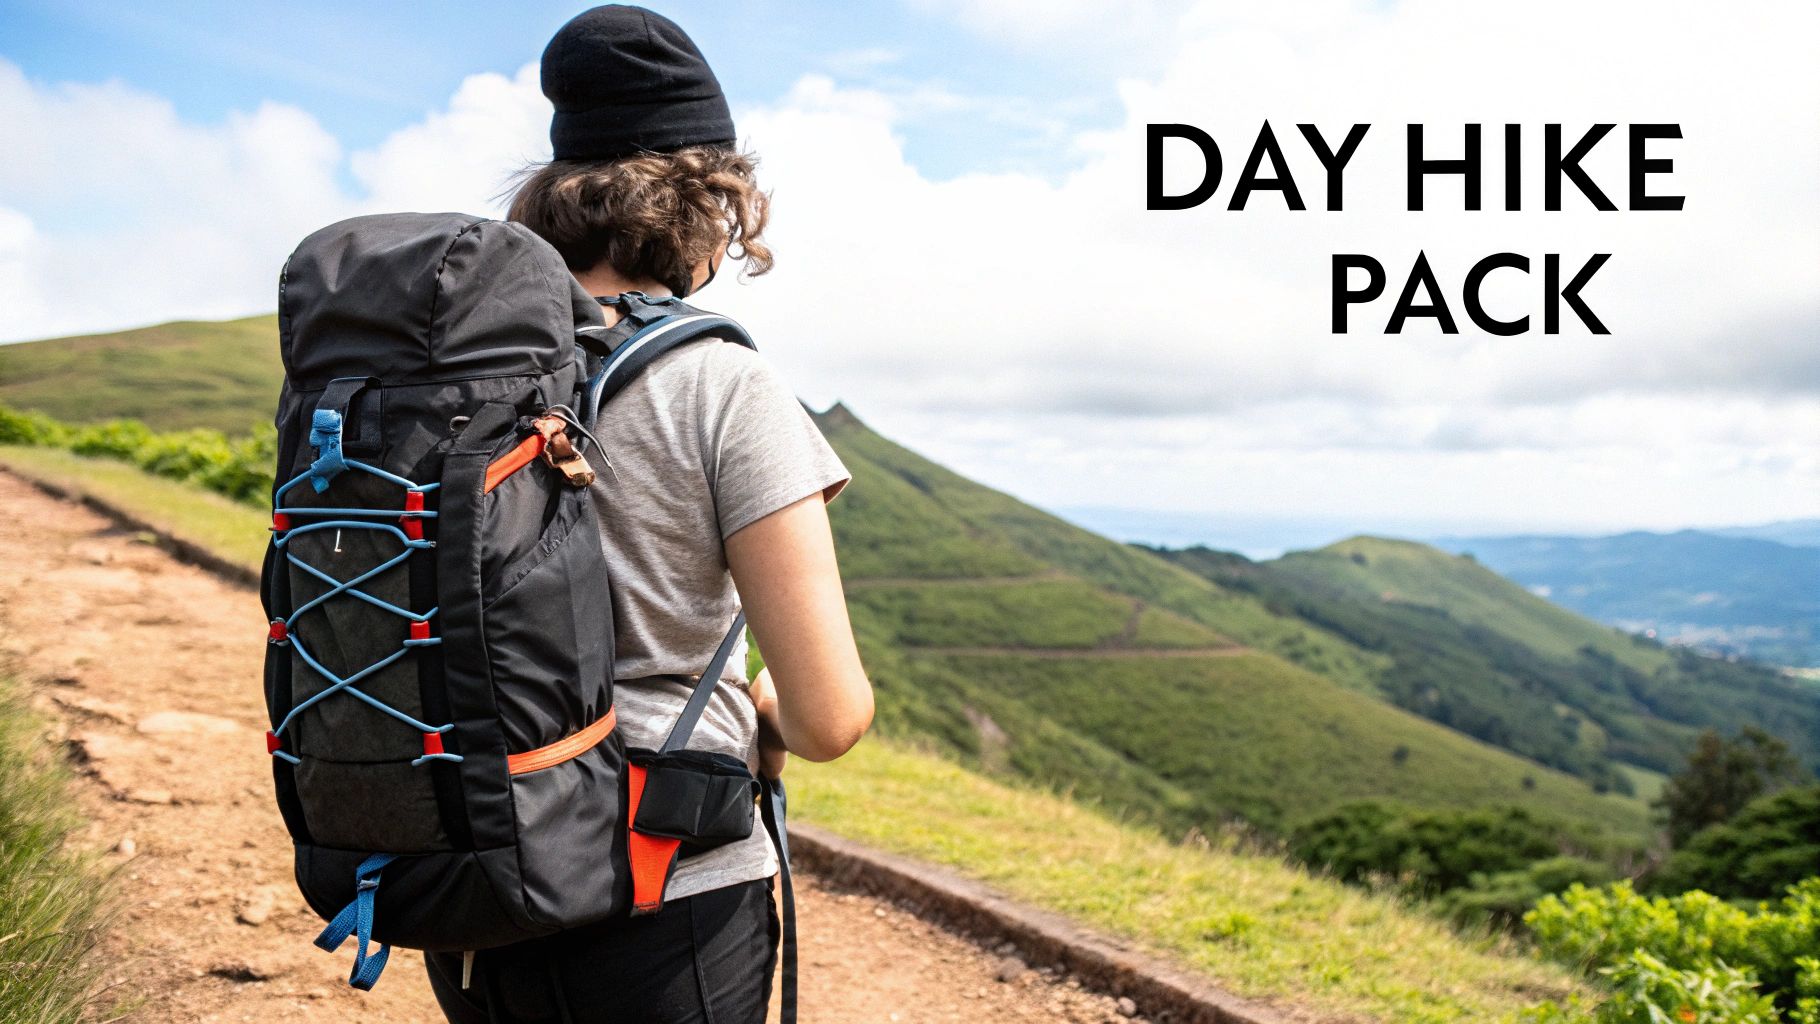
These packs feature ergonomic designs with padded shoulder straps, a structured back panel with ventilation channels, and most importantly, a supportive hip belt. The hip belt is a game-changer, transferring the bulk of the pack's weight from your shoulders to your hips, engaging your body's strongest muscles to carry the load.
Choosing and Using Your Daypack
When selecting a backpack, focus on capacity and fit. For most day hikes, a pack in the 20-30 liter range is the sweet spot. This provides ample space for water, snacks, extra layers, and the ten essentials without being overly bulky.
Getting the right fit is crucial. Before buying, make sure the pack matches your torso length. Many outdoor retailers can help you with this measurement. A properly fitted pack sits comfortably, allowing the hip belt to rest squarely on your hip bones.
Here are some actionable tips for using your pack:
- Pack Strategically: Place your heaviest items, like a full water reservoir, closest to your spine and centered in the pack. This improves your balance on uneven terrain.
- Utilize the Hip Belt: Always buckle and tighten the hip belt before you tighten your shoulder straps. It should bear about 80% of the weight.
- Test Run: Load your pack with the gear you plan to carry and go for a short walk around your neighborhood. This helps you identify any uncomfortable pressure points before you hit the trail. For a closer look at pack choices, you can find a few great hiking must-haves on findtoptrends.com.
Well-regarded brands like Osprey, Patagonia, and REI Co-op offer excellent options for every type of adventurer, from the beginner to the seasoned pro.
2. Water Bottle or Hydration System
Proper hydration is non-negotiable on the trail, making a reliable water container a critical component of any day hike pack list. Staying hydrated is essential for maintaining energy levels, regulating body temperature, and preventing serious conditions like heat exhaustion or dehydration. Whether you prefer a classic bottle or a modern hands-free system, your method for carrying water must be dependable and sufficient for the duration of your hike.
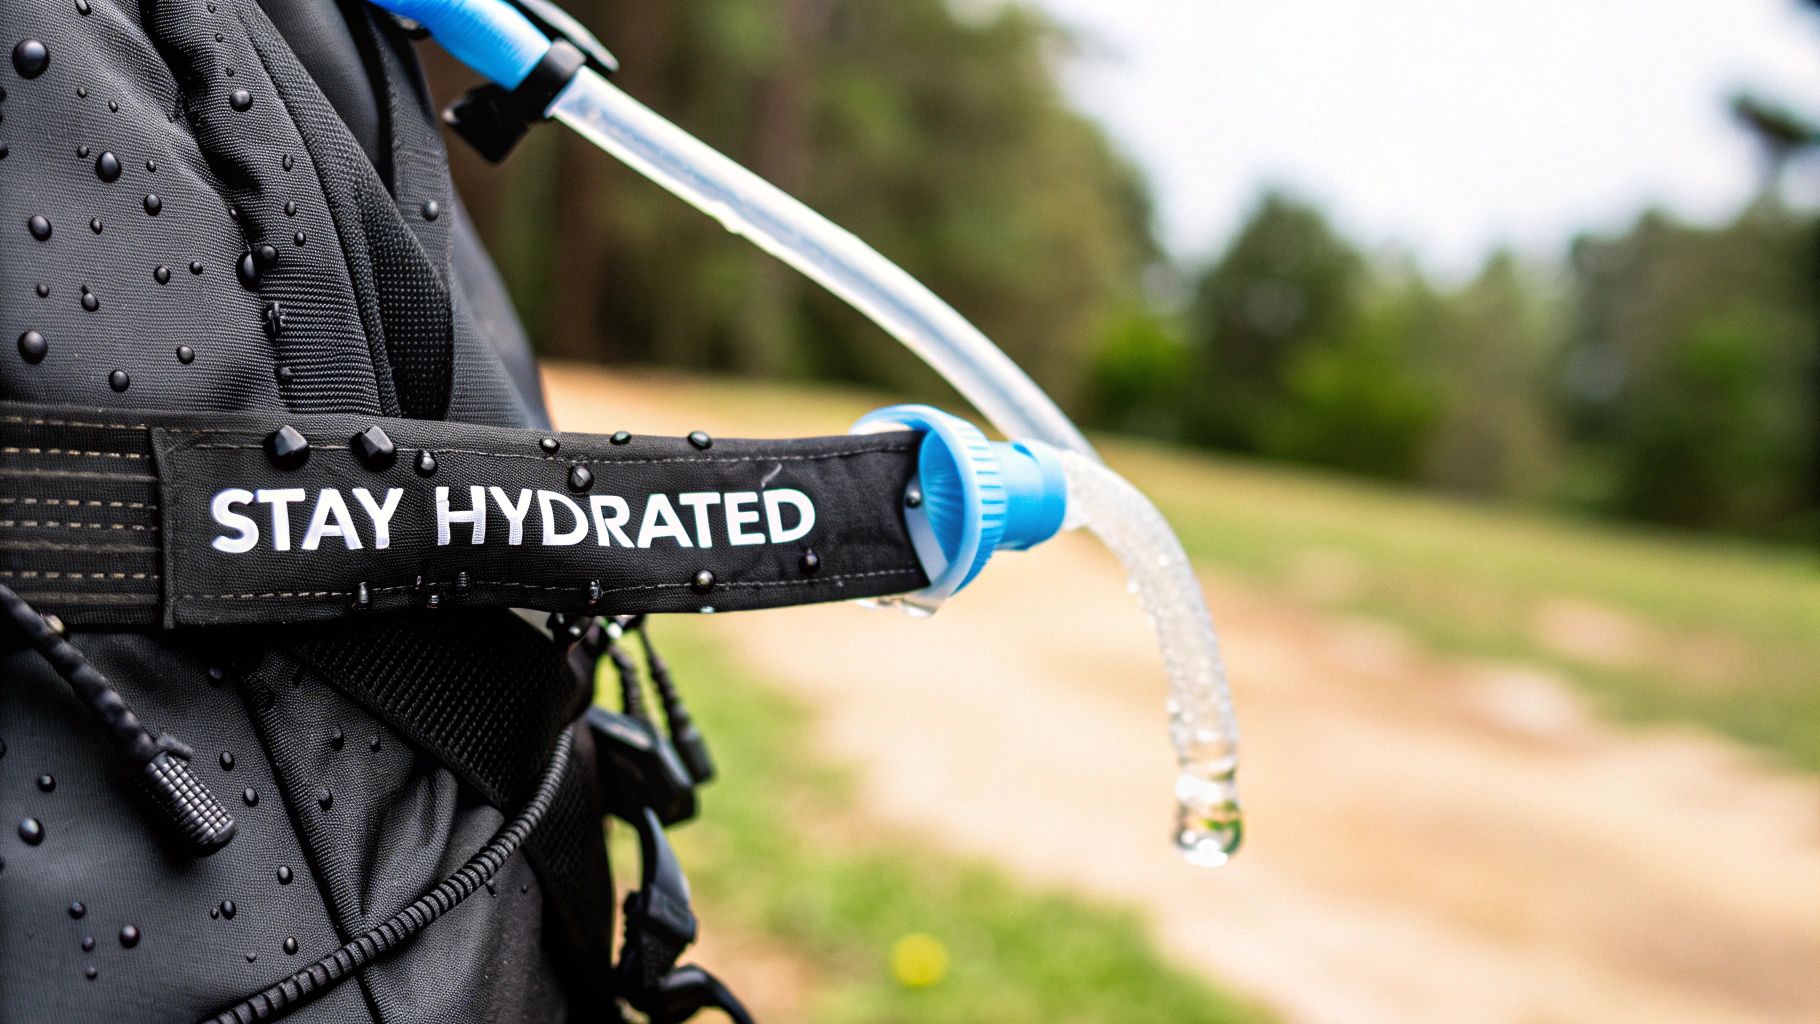
The choice comes down to personal preference and convenience. Traditional water bottles are simple, durable, and easy to clean and refill. Hydration reservoirs, or bladders, fit inside your backpack and feature a drinking tube, allowing you to sip water on the move without stopping to pull out a bottle. This hands-free access often encourages more frequent drinking, helping you stay consistently hydrated throughout your trek.
Choosing and Using Your Hydration Gear
When selecting your system, consider the length and intensity of your typical hike. A good rule of thumb is to carry one liter of water for every two hours of hiking. This amount can increase significantly in hot weather or on strenuous, high-elevation trails.
For bottles, a wide-mouth design, like those from Nalgene, is easy to fill and clean. Insulated bottles from brands like Hydro Flask or Klean Kanteen are excellent for keeping your water cold for hours. For hydration systems, brands like CamelBak and Platypus are pioneers, offering various bladder sizes and features designed to integrate seamlessly into your pack.
Here are some actionable tips for managing your water supply:
- Sip, Don’t Gulp: Drink small amounts of water regularly throughout your hike. Waiting until you feel thirsty is a sign you are already beginning to dehydrate.
- Add Electrolytes: For long or particularly sweaty hikes, consider adding electrolyte tablets or powders to your water to replenish lost salts and minerals.
- The Freeze Trick: On hot days, fill your water bottle or reservoir about halfway and freeze it overnight. Top it off with fresh water before you leave for ice-cold hydration that lasts for hours.
- Cleanliness is Key: Always clean and thoroughly dry your hydration bladder and tube after each use to prevent mold and bacteria growth. Many brands sell specialized cleaning kits for this purpose.
3. Navigation Tools (Map and Compass)
While modern GPS devices and smartphone apps are convenient, their reliance on batteries and signal makes them fallible. This is why traditional navigation tools, a physical map and compass, are a non-negotiable part of any day hike pack list. These classic tools provide a reliable, fail-safe method for finding your way, ensuring you can navigate safely even if your electronics fail. They are the ultimate backup plan, empowering you with the skills to orient yourself and stay on course in any situation.
A topographic map gives you a detailed, three-dimensional view of the terrain, showing elevation changes through contour lines, water sources, and trail systems. A quality baseplate compass works in tandem with the map, allowing you to orient yourself to North, take bearings to landmarks, and pinpoint your exact location. This combination is a powerful skill that every hiker should possess.
Choosing and Using Your Navigation Tools
When selecting your tools, look for a map specific to your hiking area. National Geographic Trails Illustrated maps are an excellent choice as they are waterproof, tear-resistant, and packed with useful trail information. For a compass, you don't need a complex one; a simple baseplate compass with a declination adjustment feature is perfect for most hikers.
Knowing how to use these tools is just as important as carrying them. Before you rely on them in the backcountry, practice in a familiar environment like a local park.
Here are some actionable tips for using a map and compass:
- Learn the Basics First: Familiarize yourself with map symbols, contour lines, and how to take a bearing before you hit the trail. Many outdoor retailers and clubs offer introductory navigation courses.
- Orient Your Map: The first step in navigation is always to orient your map. Align the edge of your compass with the map's north-south lines, then rotate the map and compass together until the needle points North.
- Keep Them Accessible: Don’t bury your map and compass at the bottom of your pack. Keep them in a side pocket or the pack's lid for quick and frequent reference to track your progress.
- Avoid Magnetic Interference: Remember to keep your compass away from metal objects like your phone, keys, or even certain belt buckles, as they can interfere with the magnetic needle and give a false reading.
Trusted brands like Suunto, Silva, and Brunton have been the gold standard in compass manufacturing for decades, offering reliable tools for everyone from beginners to search and rescue professionals.
4. First Aid Kit
While often overlooked, a well-stocked first aid kit is one of the most critical items on any day hike pack list. Even minor issues like a blister, scrape, or insect sting can quickly turn a pleasant day into a miserable one. Having the right supplies on hand allows you to address common trail injuries promptly, preventing them from escalating and ensuring you can continue your hike safely and comfortably. This isn't just about bandages; it's a compact, life-saving tool designed for the specific challenges of the outdoors.
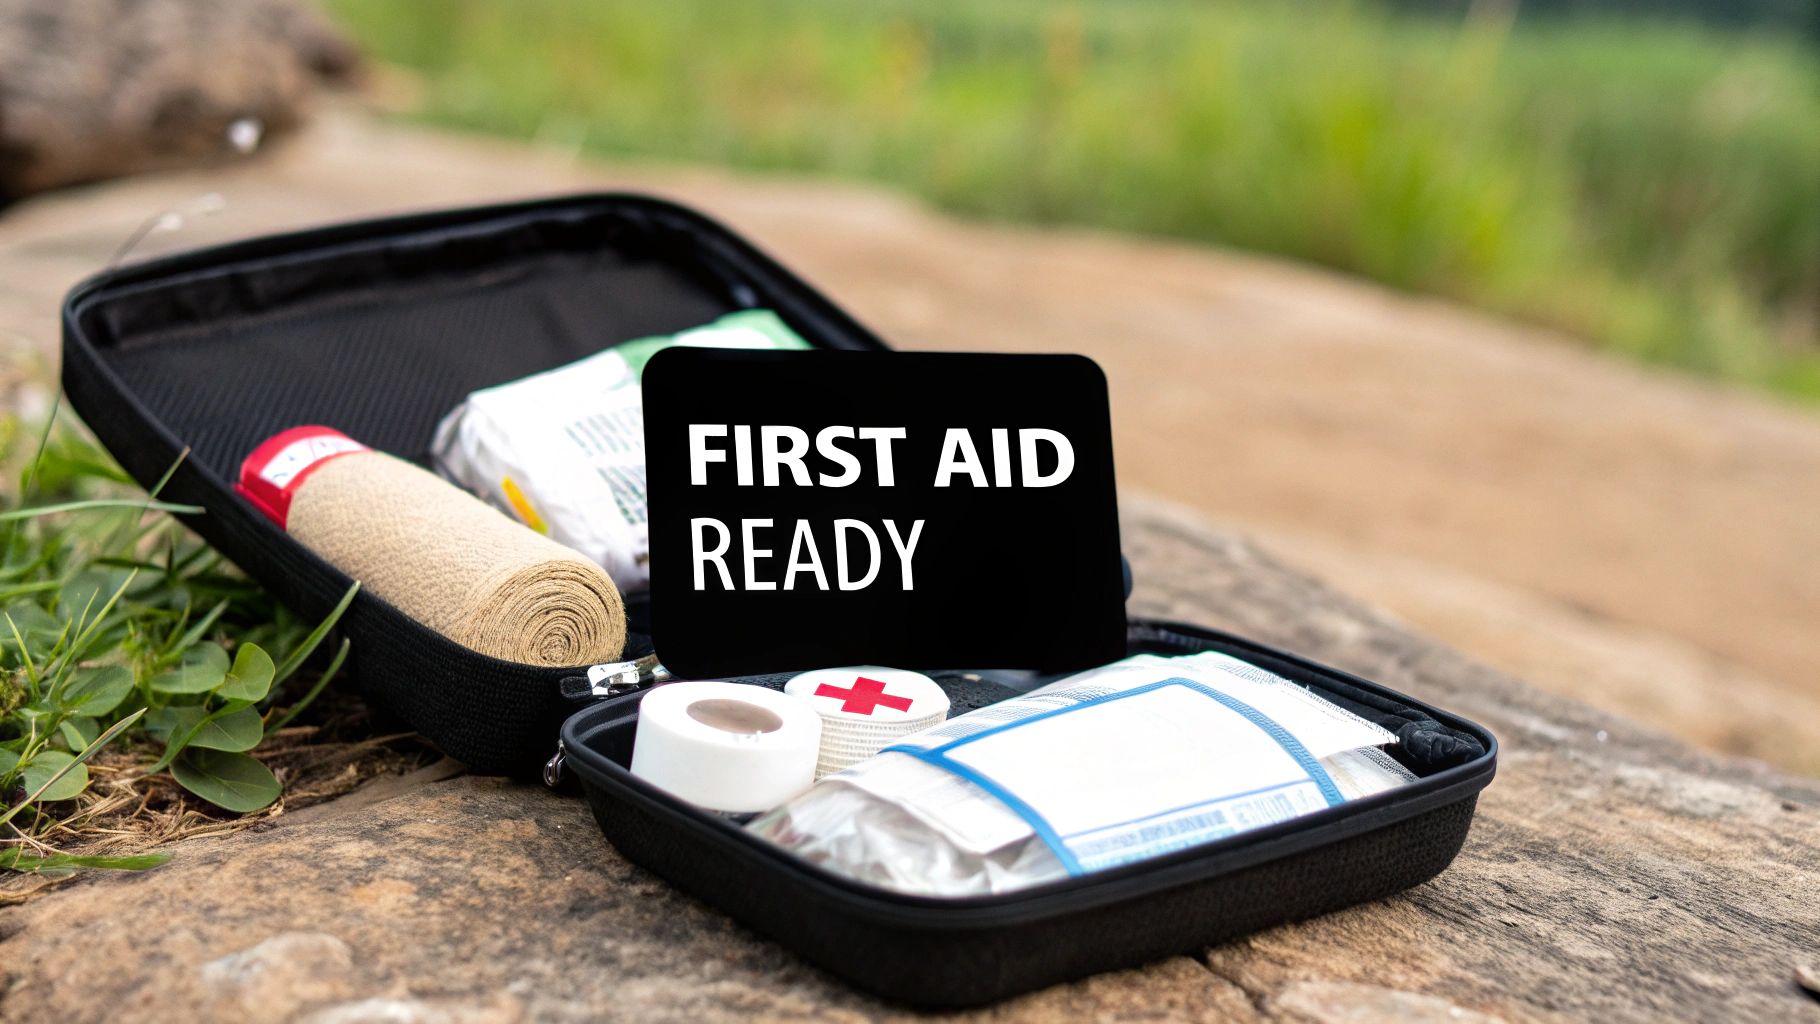
A dedicated hiking first aid kit goes beyond what you might keep in your car or bathroom cabinet. It’s tailored for issues like sprains, cuts from rocks or branches, allergic reactions, and blisters. These kits are lightweight and organized, ensuring you can find what you need quickly in a stressful situation. Organizations like the National Outdoor Leadership School (NOLS) and Wilderness Medical Associates emphasize that your most important tool is your knowledge, but having the right supplies is a close second.
Choosing and Using Your First Aid Kit
When selecting a kit, look for one specifically designed for hiking. A pre-made kit in the .5 to .7 liter range is typically sufficient for one or two people on a day trip. These provide a great starting point, containing essentials like adhesive bandages, antiseptic wipes, blister treatment, and pain relievers.
However, the best first aid kit is one you customize. Use a pre-made kit as your base and then add items based on your personal needs, the environment you'll be in, and your group size.
Here are some actionable tips for managing your first aid kit:
- Customize It: Always add personal medications you or your hiking partners require, such as an EpiPen or specific allergy medicine. Include extra blister care, like Moleskin, as this is one of the most common trail ailments.
- Know Your Gear: Familiarize yourself with every item in your kit before you need to use it. Knowing the purpose of a triangular bandage or sterile gauze pad ahead of time is crucial.
- Get Trained: Consider taking a Wilderness First Aid (WFA) course. These programs teach you how to handle common outdoor emergencies, making your kit exponentially more effective.
- Regularly Inspect: Before each season, check your kit for expired medications or supplies that need replenishing. Replace anything that's old, used, or damaged. For more on what to pack for health and safety on the go, check out these travel wellness must-haves on findtoptrends.com.
Trusted brands like Adventure Medical Kits and REI Co-op offer excellent, well-organized kits that are popular with everyone from casual hikers to seasoned guides.
5. Sun Protection (Hat, Sunglasses, Sunscreen)
One of the most underestimated yet critical components of any day hike pack list is a robust sun protection strategy. Sun exposure on the trail is often more intense than in urban environments due to higher altitudes and reflective surfaces like rock faces or water. A multi-pronged approach using a hat, sunglasses, and sunscreen is non-negotiable for protecting your skin and eyes from harmful UV radiation, preventing painful sunburns, and reducing long-term health risks.

This trifecta of gear works together to create a comprehensive shield. A wide-brimmed hat shades your face, neck, and ears, areas highly susceptible to burns. UV-blocking sunglasses protect your eyes from damage that can lead to cataracts, while sunscreen covers any remaining exposed skin. Forgetting this system can quickly turn a beautiful day outdoors into a painful recovery.
Choosing and Using Your Sun Protection
Your choice of protection should match the environment. For wide-open desert or alpine hikes, a hat with a 360-degree brim, like those from Sunday Afternoons, offers maximum coverage. For eyewear, look for sunglasses that offer 100% UV protection. Polarized lenses, a specialty of brands like Oakley and Julbo, are excellent for reducing glare from water and snow.
When it comes to sunscreen, choose a broad-spectrum, water-resistant formula with an SPF of 30 or higher. At higher altitudes, the sun's rays are stronger, so consider bumping up to SPF 50.
Here are some actionable tips for effective sun protection:
- Apply Early and Often: Put on sunscreen at least 20-30 minutes before you start hiking to allow it to absorb properly. Reapply it every two hours, or more frequently if you are sweating heavily.
- Cover Overlooked Spots: Don't forget to apply sunscreen to the tops of your ears, the back of your neck, your hands, and any part in your hair.
- Utilize UPF Clothing: For ultimate protection, consider wearing long-sleeved shirts and pants made with an Ultraviolet Protection Factor (UPF) rating.
- Protect Your Lips: Your lips are also vulnerable to sunburn. Use a lip balm with at least SPF 15 and reapply it regularly throughout your hike.
Trusted brands like Patagonia offer excellent UPF-rated apparel, while skincare companies such as Neutrogena provide reliable, trail-tested sunscreens perfect for any outdoor adventure.
6. Weather Protection (Rain Jacket)
Mountain weather is notoriously unpredictable, and a sunny forecast at the trailhead can quickly give way to wind, rain, or a sudden drop in temperature. That’s why a reliable rain jacket is a non-negotiable item on any day hike pack list. Far more than just an emergency poncho, modern hiking jackets are marvels of material science, designed to keep you dry from the outside while allowing sweat to escape from the inside, preventing that clammy feeling during exertion.
These technical shells serve a dual purpose: they block wind, which can steal body heat rapidly, and they provide a waterproof barrier against precipitation. This protection is critical for staying comfortable and, more importantly, for preventing hypothermia, which can be a risk even in moderate temperatures when you’re wet. Its lightweight and packable nature means there’s no excuse to leave it behind.
Choosing and Using Your Rain Jacket
When selecting your weather protection, look beyond simple water resistance. A truly waterproof and breathable fabric is key. Technologies like GORE-TEX are famous, but many brands have excellent proprietary materials that perform just as well. The goal is to find a jacket that shields you from a downpour without trapping you in a personal sauna.
Fit is another crucial factor. Your jacket should be large enough to comfortably fit over your other layers, like a fleece or mid-layer, without restricting your movement. Check for an adjustable hood, cuffs, and hem to seal out drafts and drips effectively.
Here are some actionable tips for your rain jacket:
- Prioritize Ventilation: Features like pit zips (zippers in the armpits) are invaluable for dumping excess heat during steep climbs without having to take your jacket off.
- Maintain Your Gear: The jacket's factory-applied DWR (Durable Water Repellent) coating wears off over time. Refresh it annually with a wash-in or spray-on treatment to keep water beading and rolling off the surface.
- Pack for Access: Don't bury your jacket at the bottom of your pack. Keep it in a top pocket or an easily accessible side pocket so you can grab it the moment the first drops fall. For more tips on smart packing, you can find a few helpful strategies for weather readiness on findtoptrends.com.
Trusted brands like Arc'teryx, Patagonia, and Outdoor Research offer premium, high-performance jackets, while companies like REI Co-op and Marmot provide fantastic value and reliability for all types of hikers.
7. Multi-tool or Knife
A small but mighty hero of your day hike pack list, a reliable multi-tool or knife is your pocket-sized problem solver. From slicing a block of cheese for a trailside lunch to performing an emergency gear repair, its utility is immense. This single, compact item can replace a handful of individual tools, saving you critical space and weight while preparing you for the unexpected.
These tools are designed for versatility and efficiency. A quality multi-tool combines essential implements like a sharp knife blade, pliers, scissors, and screwdrivers into one lightweight package. It's the go-to gadget for cutting tangled cordage, adjusting trekking poles, removing splinters, or making minor repairs to a finicky backpack buckle, ensuring small issues don't escalate into trip-ending problems.
Choosing and Using Your Multi-tool
When selecting your tool, the key is to balance functionality with weight. You don't need a heavy-duty model with 25 functions for a simple day hike. Focus on tools that include a sturdy locking knife blade, scissors, and perhaps a pair of pliers. This combination will handle the vast majority of trailside tasks you might encounter.
It’s crucial to be proficient with your tool before you need it in a pinch. Familiarize yourself with how to open each implement safely and efficiently. Remember that carrying a knife comes with responsibility; always practice proper knife safety and be aware of local regulations regarding blade length and carry laws, which can vary by park or region.
Here are some actionable tips for using your multi-tool:
- Prioritize Practicality: Choose a tool with functions you can realistically see yourself using. A simple Swiss Army knife with a blade, scissors, and tweezers is often more than enough.
- Practice at Home: Use your multi-tool for small tasks around the house. This helps you get comfortable with its features before you have to rely on it miles from the trailhead.
- Keep It Clean: After your hike, clean any dirt or debris from the joints and moving parts. A drop of lubricant will keep it operating smoothly for years to come.
- Secure and Accessible: Keep your multi-tool in an easily accessible pocket of your pack, not buried at the bottom. You'll be more likely to use it if it's within quick reach.
Iconic brands like Leatherman, Victorinox (Swiss Army), and Gerber have set the standard for quality and reliability, offering a range of models perfect for any hiker's needs.
Day Hike Pack Essentials Comparison
| Item | Implementation Complexity 🔄 | Resource Requirements ⚡ | Expected Outcomes 📊 | Ideal Use Cases 💡 | Key Advantages ⭐ |
|---|---|---|---|---|---|
| Hiking Backpack | Moderate - requires proper fitting and setup | Medium - ergonomic design, durable materials | Comfortable load distribution and gear access | Day hikes needing organized, durable gear carrying | Reduces fatigue, organized storage, hydration ready |
| Water Bottle or Hydration System | Low - simple to carry and use | Low - lightweight, leak-proof materials | Consistent hydration, temperature control | All hiking durations needing hydration | Prevents dehydration, hands-free options, reusable |
| Navigation Tools (Map and Compass) | High - requires skill and practice | Low - physical maps and compasses only | Accurate navigation without batteries | Navigation backup, off-grid hiking | Battery-free, accurate, enhances navigation skills |
| First Aid Kit | Low - easy to carry but requires knowledge | Low to Medium - compact medical supplies | Immediate injury treatment and emergency readiness | Managing minor injuries and emergencies on trail | Compact, lifesaving, prevents injury escalation |
| Sun Protection (Hat, Sunglasses, Sunscreen) | Low - simple gear and application | Low - wearable items and lotion | UV protection, glare reduction | Sunny, high-altitude, or long exposure hikes | Prevents sunburn, skin cancer risk, improves comfort |
| Weather Protection (Rain Jacket) | Moderate - selection for fit and breathability | Medium - technical materials and maintenance | Keeps dry and comfortable in wet/windy weather | Variable weather hikes requiring waterproof gear | Waterproof, breathable, packable, extends season |
| Multi-tool or Knife | Low to Moderate - multiple functions to learn | Low - compact metal construction | Versatile tool use for repairs, food prep, safety | Trail maintenance, emergencies, food preparation | Versatile, compact, durable, multi-functional |
Pack Smart, Hike Confidently, and Explore More
Mastering your day hike pack list is more than just a pre-trip chore; it's the foundational skill that unlocks countless successful adventures. By moving beyond a simple checklist and truly understanding the "why" behind each item, from your navigation tools to your first-aid kit, you transform your backpack from a container of gear into a system of preparedness. This guide has detailed the seven essential categories that form the backbone of a safe and enjoyable day on the trail.
Remember, the goal isn't just to carry "stuff." It's to carry confidence. When you know your pack contains the solution to a sudden downpour, a tricky navigation point, or a minor scrape, you free your mind to fully immerse yourself in the experience. You can focus on the stunning ridgeline views, the sound of birds in the canopy, and the feeling of the earth beneath your boots, rather than worrying about what could go wrong.
Key Takeaways for Your Next Adventure
This comprehensive day hike pack list emphasizes a proactive mindset. Think of your gear not just as individual items, but as an interconnected system designed to keep you comfortable and safe.
- Customization is Crucial: The list provided is a blueprint, not a rigid rulebook. Your perfect pack will evolve based on the season, the difficulty of the trail, the weather forecast, and your personal comfort level. Always adapt your gear to the specific hike you are undertaking.
- Practice Makes Perfect: Don't let your first time using a compass or a water filter be on the trail during an emergency. Practice with your gear at home or on a short, local walk. Familiarity builds efficiency and confidence when it matters most.
- Invest in Quality Where it Counts: While you don't need the most expensive version of every item, key pieces like a well-fitting backpack, a reliable rain jacket, and comfortable footwear are investments in your long-term enjoyment and safety on the trail.
Your Actionable Next Steps
Before you head out, take these final steps to ensure you're truly prepared. First, lay out all your gear using this list as a guide. Physically check each item off as you pack it. Second, try on your fully loaded pack. Walk around your house and adjust the straps for a comfortable, snug fit. A poorly adjusted pack can turn a great hike into a grueling one.
Ultimately, building the perfect day hike pack list is an empowering process. It marks your transition from a casual walker to a self-sufficient hiker, ready to responsibly and confidently explore the wild spaces that call to you. The wilderness is waiting with incredible rewards for those who arrive prepared. So, check your list, pack your bag, and get ready for your next great hike.
Ready to upgrade your gear or find the perfect essentials for your next trip? Explore the curated collections at FindTopTrends, where we sort through the noise to bring you top-rated and trail-tested outdoor products. From innovative hydration systems to durable backpacks, we make it easy to build your ideal day hike pack list.
Leave a comment


