


No products in the cart.

If you've looked at any modern mountain bike, or even a newer road bike, you've probably noticed that the old-style brakes gripping the wheel's rim are gone. In their place is a much smaller, more powerful-looking system down by the center of the wheel. That's a disc brake, and it has completely changed the game for bicycle stopping power.
So, How Do Bike Disc Brakes Actually Work?
Think about the brakes in your car. A disc brake on a bike works on the very same principle, just scaled down. It's a remarkably effective design that has become the gold standard for performance, and for good reason.
Instead of squeezing pads against the rim, a disc brake system uses a separate metal disc called a rotor that's bolted directly to the wheel's hub. When you pull the brake lever, a caliper (mounted to the bike's frame or fork) clamps down on that spinning rotor. Inside the caliper, a pair of brake pads creates powerful friction against the rotor, slowing you down smoothly and quickly.
Why This Setup is a Huge Leap Forward
The real magic of this system is its consistency and raw power. By moving the braking surface away from the dirty rim and closer to the center of the wheel, it's far less bothered by rain, mud, or grime from the trail. That means you get predictable braking when it matters most.
Here’s why moving the action to the hub is such a big deal:
- Reliable in Any Weather: Disc brakes couldn't care less if it's pouring rain or bone dry. They just work.
- Serious Power and Finesse: They give you way more stopping force, which allows for subtle, one-finger control—a lifesaver on sketchy, steep descents.
- Saves Your Rims: Because the pads never touch your wheel rims, they don't wear them out over time. This is a huge plus, especially if you have expensive wheels.
The core innovation here is separating the braking surface from the wheel rim. This simple change isolates the stopping system from the elements and from the structural job of the rim, creating a far more robust and dependable brake.
The Two Flavors: Mechanical vs. Hydraulic
When you start looking at bikes with disc brakes, you'll hear two terms thrown around: mechanical and hydraulic. They both clamp a caliper onto a rotor, but how they do it is what sets them apart.
-
Mechanical Disc Brakes: These are the old-school, straightforward option. They use a standard steel brake cable, just like rim brakes, to connect your lever to the caliper. Pull the lever, the cable pulls an arm on the caliper, and the pads get squeezed together. They're simpler, cheaper, and you can fix them on the side of a trail with basic tools.
-
Hydraulic Disc Brakes: This is the high-performance choice. Instead of a cable, they use a sealed system filled with a special hydraulic fluid. When you squeeze the lever, you're pushing fluid down a hose, which activates pistons in the caliper. Those pistons then push the pads against the rotor. The result is incredibly powerful, smooth, and controlled braking that requires very little hand effort.
Getting your head around this fundamental difference is the first step. Next, we'll dig into the pros and cons of each system to help you figure out which one is right for you.
Mechanical vs. Hydraulic: How They Work and Why It Matters
When we talk about disc brakes, we're really talking about two different ways of getting the job done: mechanical and hydraulic. Both systems have the same end goal—to clamp brake pads onto a spinning metal disc (the rotor) and stop your bike—but how they get there is completely different.
Think of it this way: a mechanical brake is like a classic tug-of-war. You pull a steel cable, and that cable pulls a lever on the brake. A hydraulic system is more like a high-tech water pistol. You squeeze a lever that pushes fluid through a hose, and that fluid pressure does all the heavy lifting.
This difference in approach is the key to everything, from stopping power to how often you'll be tinkering with your bike.
As you can see, it all boils down to how each type delivers on power and reliability. Let's dig into what that really means out on the road or trail.
The Workhorse: Mechanical Disc Brakes
Mechanical disc brakes are the tried-and-true veterans of the bunch. They work using a simple, robust principle: a steel brake cable runs from your brake lever down to the brake caliper. When you squeeze the lever, you're physically pulling that cable, which activates an arm on the caliper and forces the pads against the rotor.
It's a straightforward design, and that's its biggest asset. There are no special fluids or complex seals—just a cable and some moving parts. You can often fix a problem on the side of the trail with a basic multi-tool.
Here's why some riders swear by them:
- Simple to Fix: If a cable snaps on a long-distance tour, almost any bike shop on the planet can sort you out. This makes them a go-to for bike-packers and world travelers.
- Budget-Friendly: Mechanical systems are less expensive to produce, so they're a staple on entry-level and mid-range bikes.
- Easy to Tweak: You can adjust cable tension and pad alignment with simple barrel adjusters, just like on older rim brakes.
Of course, that simplicity has its downsides. The cable can stretch over time and get gunked up with dirt, which makes the brake feel a bit spongy and less responsive. They also need more frequent adjustments to keep them feeling sharp as the pads wear down.
The Powerhouse: Hydraulic Disc Brakes
Hydraulic systems are where modern braking technology really shines. Instead of a cable, they use a sealed tube filled with a special, non-compressible fluid (like mineral oil or DOT fluid). When you squeeze the lever, you're not pulling anything—you're pushing a piston that pressurizes the fluid.
That pressure travels instantly down the hose and activates pistons in the caliper, which clamp the pads onto the rotor with incredible force.
The cycling world has voted with its wallet here. Disc brakes now make up over 30% of the entire bike brake market, and powerful hydraulic systems command over 52% of that slice. In North America, which holds a 35.4% market share, their adoption has been especially quick, largely driven by e-bikes that demand serious stopping power.
Here’s why they’ve become the gold standard:
- Unmatched Stopping Power: The hydraulic fluid multiplies the force from your hand, giving you massive stopping power with just a light touch of one or two fingers.
- Incredible Control (Modulation): "Modulation" is all about how well you can control the braking force. Hydraulics let you feather the brakes with surgical precision, which is a game-changer for maintaining traction on loose gravel or technical descents.
- Set-It-and-Forget-It Feel: As the brake pads wear down, the pistons automatically move to fill the gap. This means the lever feels consistent day in and day out, with far fewer adjustments needed.
For a great example of a top-tier system, check out the Magura MT5e hydraulic disc brakes, a popular choice for high-performance e-bikes. Naturally, this level of performance comes with a higher price tag, and maintenance like "bleeding" the system to remove air bubbles requires special tools and a bit of know-how.
Mechanical vs Hydraulic Disc Brakes At a Glance
Feeling a bit overwhelmed by the details? This table breaks down the core differences between the two systems to help you see which one might be the right fit for your bike and riding style.
| Feature | Mechanical Disc Brakes | Hydraulic Disc Brakes |
|---|---|---|
| How It Works | A steel cable physically pulls the brake caliper arm. | Fluid pressure is used to push pistons and activate the pads. |
| Stopping Power | Good. Stronger than rim brakes but requires more hand effort. | Excellent. Effortless and powerful with one or two fingers. |
| Control & Feel | Can feel less responsive due to cable friction and stretch. | Superb modulation and a consistent, crisp feel at the lever. |
| Maintenance | Simpler, no special tools. Requires frequent cable adjustments. | More complex (bleeding). Pads are self-adjusting. |
| Field Repair | Easy. A spare cable and multi-tool can fix most issues. | Difficult. A fluid leak on the trail can be a ride-ender. |
| Best For | Touring, bike-packing, budget-conscious riders, commuters. | Mountain biking, e-bikes, performance road, anyone wanting the best. |
| Price | $$ | $$$ |
Ultimately, both systems are a huge upgrade over old-school rim brakes. Mechanical brakes offer reliable, easy-to-maintain performance, while hydraulic brakes deliver the absolute best in power and control.
Disc Brakes vs. Rim Brakes: Which is Right for You?
For the longest time, rim brakes were just… brakes. They were the default, the only real option for stopping your bike. Their design is beautifully simple: a couple of rubber pads squeezing against the wheel's rim. They're light, easy to figure out, and cheap. But then disc brakes on bikes showed up and started a debate that’s still going strong.
So, which one is actually better?
The real answer is, it depends. There’s no single "best" brake for everyone. The system that's perfect for a professional road racer trying to save every last gram would be a terrible choice for a mountain biker bombing down a muddy trail. It all comes down to matching the tech to your specific needs—how you ride, where you ride, and what you ride.
To make the right call, you need a no-nonsense look at what each system does well and where it struggles.
The Case for Modern Disc Brakes
Walk into a bike shop today, and you'll see disc brakes on almost every new, quality bike. There's a reason they've taken over. The performance benefits are huge, especially when the weather turns nasty or the terrain gets demanding. Think of them as the all-wheel-drive of braking systems—they just work, no matter what.
Here's why so many cyclists have made the jump:
- Unbeatable All-Weather Performance: This is the big one. The brake rotor is small and tucked away near the hub, far from the muck and water on the road. A wheel rim, on the other hand, gets soaked and dirty instantly. This means disc brakes deliver consistent, powerful stopping performance whether it’s a perfect sunny day or you’re riding through a downpour.
- They Handle Heat Like a Pro: On a long, screaming descent, you're on the brakes a lot, and that generates a ton of heat. With rim brakes, all that heat goes straight into the wheel rim and tire, which in a worst-case scenario can cause a dangerous tire blowout. Disc brakes use a rotor specifically designed to absorb and get rid of that heat, keeping your rims and tires safe.
- They Don't Wear Out Your Wheels: Rim brakes work by grinding away at the braking surface of your rims. Over thousands of miles, you're literally wearing your wheels out. Eventually, you have to replace them, and a good wheelset isn't cheap. Disc brakes solve this problem completely, making your wheels last much, much longer.
This kind of reliable stopping power is especially important for heavier bikes. If you're looking at an electric bike, for example, the braking system is a critical safety feature. The extra weight and speed of an e-bike pretty much demand the power of disc brakes, a point often highlighted in resources like this electric bike buying guide.
The Enduring Appeal of Rim Brakes
With all the hype around discs, it’s easy to think rim brakes are ancient history. Not so fast. For certain kinds of riding and riders, their classic, straightforward design still makes a lot of sense. They’re the minimalist’s choice—lean, efficient, and dead simple.
Here’s why you shouldn't count them out just yet:
- They're Lighter: No contest here. Rim brake systems are inherently lighter because they don't need heavy rotors, beefed-up hubs, or chunky calipers. If you're a competitive road racer or a climber counting every single gram, that weight savings can be a real advantage.
- Simple to Work On: Rim brakes are mechanically simple. You can see everything that's happening. Most adjustments can be done on the side of the road with a basic multi-tool, which is a massive plus if you like doing your own maintenance and want a fuss-free setup.
- Easier on the Wallet: They are cheaper to make, so they often come on more budget-friendly bikes. The initial cost is lower, and so are the replacement parts. A new set of rim brake pads will cost you a lot less than a set of disc pads.
The trade-off is pretty clear: Rim brakes give you simplicity and low weight, but you sacrifice performance in bad weather. Disc brakes deliver incredible power and reliability in all conditions, but they come with a bit more weight and complexity.
In the end, your riding style is the deciding factor. If you're a fair-weather roadie who's obsessed with weight, rim brakes are still a totally valid choice. But for pretty much everyone else—mountain bikers, gravel riders, commuters, or anyone who doesn't let a little rain stop them—the consistent, powerful performance of disc brakes on bikes makes them the undisputed modern champion.
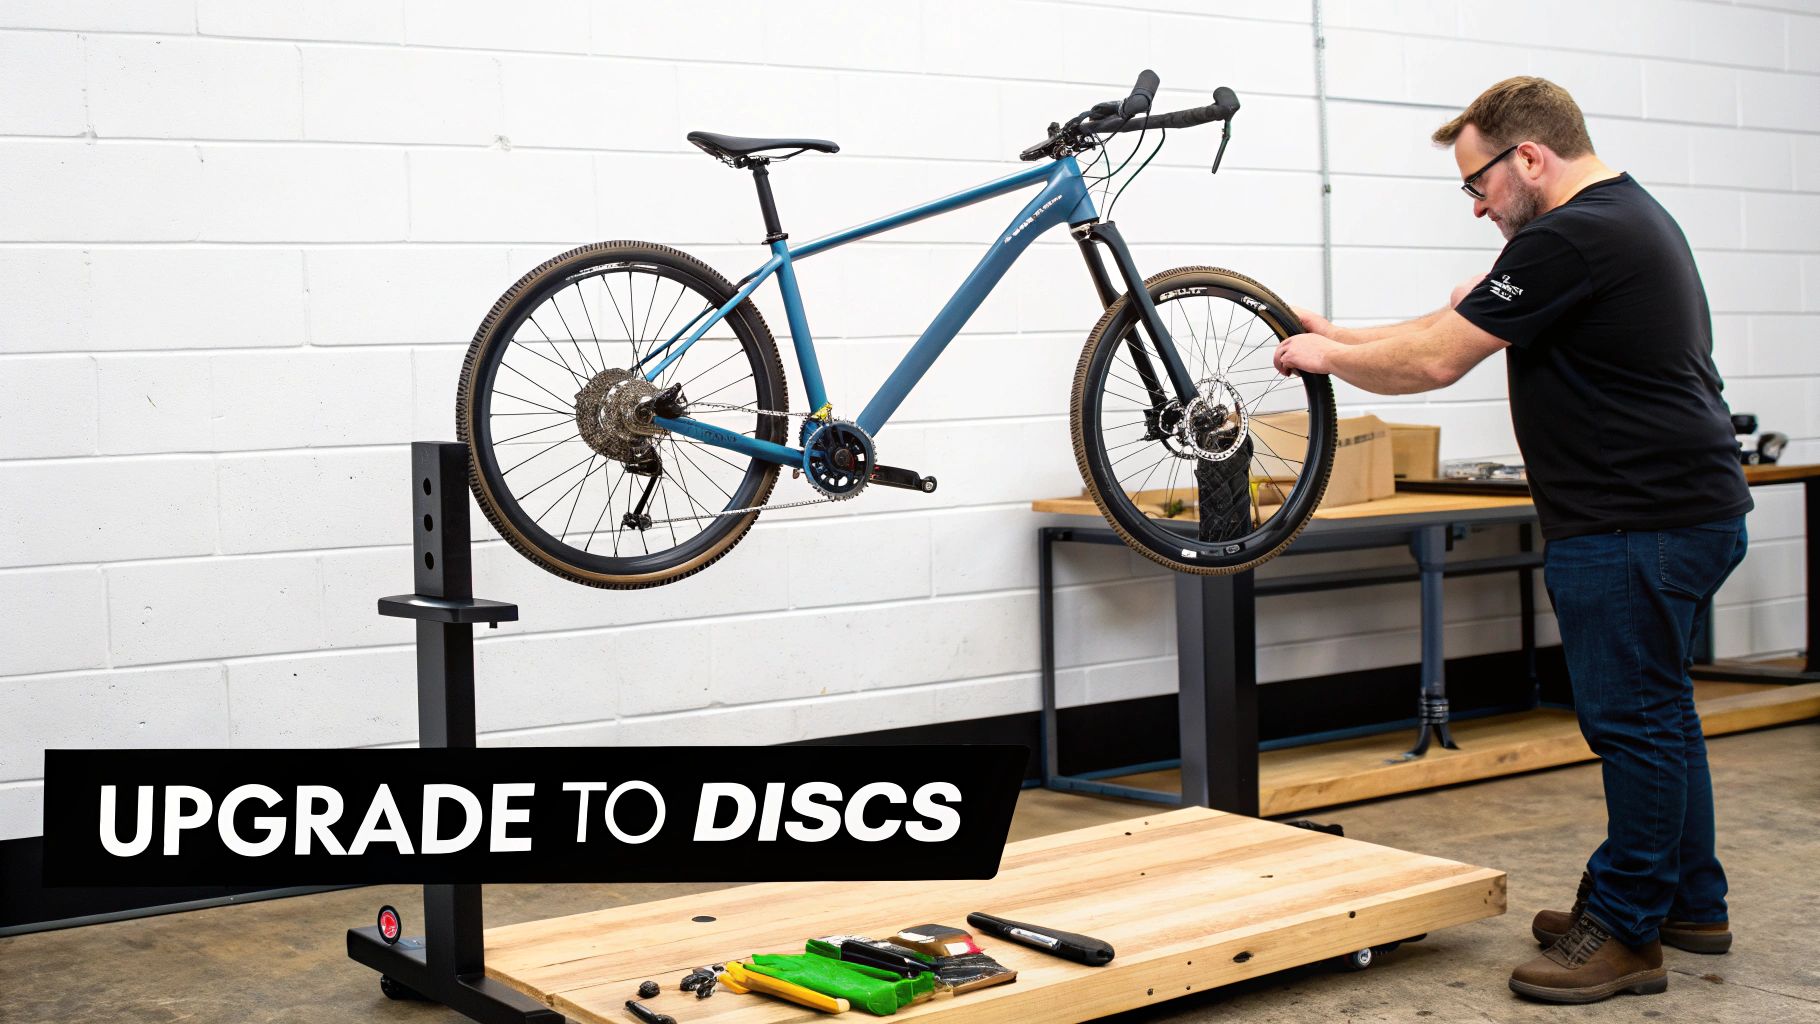
Can You Upgrade Your Bike to Disc Brakes?
So, you've heard all about the superior stopping power of disc brakes on bikes and now you're eyeing your trusty steed, wondering if you can just bolt a set on. It's a question I get all the time, but the answer isn't as simple as you might hope. Upgrading from old-school rim brakes to discs is less of a parts swap and more of a major bike surgery that hinges entirely on your bike's frame, fork, and wheels.
Before you even think about opening your wallet, you need to do a little detective work on your bike. The hard truth is that most bikes built for rim brakes just aren't designed to handle a disc brake conversion, at least not safely.
Check Your Frame and Fork First
The absolute deal-breaker for a disc brake conversion is whether or not your bike has the right mounting points. Disc brake calipers clamp down with incredible force, and they need to be bolted directly onto specially reinforced tabs on the frame (for the back wheel) and the fork (for the front).
Take a close look near where the wheels attach—the dropouts. You're looking for two small, threaded holes. These are the caliper mounts. You'll usually find one of two types:
- IS Mount (International Standard): Two holes that run parallel to the wheel's axle.
- Post Mount: Two raised posts that the caliper bolts right onto, facing forward.
If your frame and fork are smooth and have no mounts, that's pretty much the end of the road for an upgrade. Sure, you might find some weird aftermarket adapters online, but I'd steer clear. They can put a dangerous amount of stress on parts of your bike that were never meant to take that kind of load. Getting the fundamentals right is everything, which is why it's also important to understand how to choose the right bike frame size for a safe and comfortable ride.
Wheel and Hub Compatibility
Okay, let's say you got lucky and your frame has the mounts. What's next? Your wheels. A disc brake system needs a rotor (the metal disc), and that rotor has to be bolted onto the hub, which is the central part of your wheel that the spokes lace into.
If your wheels were designed for rim brakes, their hubs will be completely smooth, with nowhere to attach a rotor. This means a disc brake upgrade almost always requires buying a brand-new, disc-compatible wheelset.
This is the hidden cost that catches most people off guard, and it's often the most expensive part of the whole project. You'll need to make sure the new hubs can accept either a 6-bolt or a Center Lock rotor.
Upgrading from Mechanical to Hydraulic
Now, if your bike already came with mechanical disc brakes, you're in a much, much better spot. This is the easiest upgrade path by a long shot. Your frame, fork, and wheels are already set up for discs, so it's just a matter of swapping the components.
You can simply unbolt the mechanical calipers, ditch the old levers and cables, and install a shiny new hydraulic brake set. It's a fantastic way to get that smooth, powerful hydraulic feel without having to buy a whole new bicycle. The explosion of disc brakes on mountain bikes, now a market estimated at $1.5 billion, is a testament to their performance. That growth is all about riders demanding better control on tough trails, which is exactly where hydraulics shine. You can learn more about the booming mountain bike disc brake market and the tech driving it.
Keeping Your Brakes Running Smoothly: Maintenance and Troubleshooting
Your disc brakes are one part of your bike you really can't afford to ignore. While you might get away with a grimy chain for a while, your brakes demand regular attention to keep you safe and your rides quiet.
The good news? Most of the key maintenance jobs are surprisingly simple. You don't need a full workshop or years of experience—just a few basic tools and the right know-how can keep your brakes feeling brand new. Let's walk through the most common tasks that will make you a more confident home mechanic.

Keeping Things Clean and Quiet
What’s the number one cause of that ear-splitting brake squeal? Contamination. It's that simple. Even a greasy fingerprint on your rotor can be enough to start the noise. That's why regular cleaning is your best first defense.
Grab a clean rag and some isopropyl alcohol to wipe down your rotors. It’s crucial that you never use general-purpose degreasers or lubricants like WD-40 anywhere near your brakes—they will contaminate your pads in an instant, ruining them for good. Clean rotors mean quieter, more effective braking.
A clean braking system is a happy braking system. If you're dealing with noise or a sudden loss of power, contamination is the most likely culprit. Always start your diagnosis with a thorough cleaning.
Inspecting and Replacing Your Brake Pads
Think of your brake pads as a wear-and-tear item, just like your tires. They’re designed to wear down over time, and it’s on you to replace them before they’re completely gone. Letting them wear down to the metal backing plate will destroy your rotor and could lead to a catastrophic brake failure.
Most brake manufacturers suggest swapping pads when the friction material is down to about 1.5mm, or roughly the thickness of a dime. Get in the habit of giving them a quick visual check every few weeks.
Changing them is a quick job:
- Pop the wheel off to get easy access to the caliper.
- Pull the old pads out. They're usually held in by a small pin or clip.
- Wipe out the inside of the caliper with a clean rag to remove any brake dust.
- Carefully push the pistons back. Use a plastic tire lever to gently press the pistons flush back into the caliper body. This makes room for the fresh, thick pads.
- Slide the new pads in and secure them with the pin.
- Put the wheel back on and give the brake lever a few good squeezes to get the pistons and pads settled.
The Make-or-Break Step: Bedding In Your Brakes
You can't just throw in new pads and expect peak performance from the get-go. You have to "bed them in"—a process that creates a perfect mating surface between the pad and the rotor. It involves transferring a super-thin, even layer of pad material onto the rotor surface, which is what creates incredible friction and bite.
To do it right, find a safe, clear stretch of road or path. Get your bike up to a brisk pace, around 10-15 mph, then brake firmly and steadily until you slow to a walking speed. The key is to not lock up the wheel or come to a complete stop. Let go, get back up to speed, and repeat this about 15-20 times. You’ll literally feel the power building with each pass. Don't skip this—it makes a huge difference.
Quick Fixes for Common Headaches
Even well-maintained brakes can act up sometimes. Here’s how to tackle the most common issues.
- That Awful Squeal: If a good cleaning didn't solve it, your pads are almost certainly contaminated. You can try giving the pad surface and the rotor a light sanding to remove the contaminated layer. If that still doesn't work, it's time for new pads.
- Constant Rubbing: Hearing a faint "ching... ching... ching" as your wheel spins? That's your rotor hitting the pads. An easy fix is to loosen the two bolts holding the caliper to the frame just enough for it to wiggle. Squeeze and hold the brake lever tight, and while holding it, re-tighten the two bolts. This little trick perfectly re-centers the caliper over the rotor.
- Spongy Lever: If your hydraulic brake lever feels mushy and pulls all the way to the handlebar, you've got air bubbles in the line. That's your cue that the system needs a brake bleed. This involves pushing the old fluid and air out while introducing fresh fluid. It's a more advanced job, but bleed kits for every major brand are readily available and come with great instructions.
Making the Right Choice for Your Riding Style
So, how do you pick the right disc brakes? It really just boils down to knowing yourself as a rider. Forget the marketing jargon for a second and think about where you actually ride, how you ride, and what you need from your bike. It’s like picking the right tool for the job; you wouldn't bring a tiny hammer to a demolition site.
This isn’t just a minor detail—your choice here affects your control, your confidence on the bike, and what’s left in your wallet. The brakes that are perfect for a city commuter are worlds apart from what a downhill mountain biker needs. As we cover in our guide on how to choose a bike, your unique riding style should always be the starting point for your gear decisions.
Matching Brakes to Your Ride
Let's look at a few common riding styles to see how this plays out in the real world. Every cyclist has different priorities, and that changes which brake system makes the most sense.
-
The Daily Commuter: If you're riding to work every day, you just want something that works without fuss. Reliability is everything. A good set of mechanical disc brakes is often the perfect fit. They give you solid, all-weather stopping power and are dead simple to fix yourself, which means less time in the shop.
-
The Mountain Biker or Gravel Adventurer: Out on the trail, stopping power and fine-tuned control are what keep you safe and having fun. For these riders, hydraulic disc brakes are a must. They deliver incredible stopping force with just one finger, and the modulation is so good you can feather the brakes perfectly to maintain grip on loose, sketchy terrain.
-
The Long-Distance Tourer: This is where it gets tricky. Some long-haul cyclists swear by mechanical brakes because they’re so easy to fix in the middle of nowhere. Others prefer the fit-and-forget nature of a powerful hydraulic system, especially when coming down a long mountain pass with a fully loaded bike.
The bike disc brake market was valued at $2.5 billion and is projected to hit $7.6 billion by 2032. This isn't just a niche trend; it shows a massive shift across the cycling world, with riders everywhere—especially on e-bikes—demanding safer, more powerful braking.
Why Rotor Size Matters
Okay, one more piece of the puzzle: the size of the metal disc, or rotor. They come in different diameters, usually from 140mm to over 200mm. The rule of thumb is simple: a larger rotor gives you more stopping power and does a better job of getting rid of heat.
Think of it like using a longer wrench on a stuck bolt—you get more leverage, making the job easier. For heavier riders, e-bike owners, or anyone who loves flying down long hills, upgrading to larger rotors (180mm or 200mm) is a game-changer for performance and safety. Just make sure your other gear is compatible, too. For instance, there are even bike racks specifically designed for bikes with disc brakes to ensure everything fits together perfectly.
A Few Common Questions About Disc Brakes
Diving into the world of disc brakes on bikes can bring up a few questions, especially when you're trying to keep them running smoothly. Getting the right answers is the key to feeling confident with your bike's most important safety system. Let's walk through some of the things cyclists ask most often.
How Often Should I Replace My Brake Pads?
There’s really no magic number here. How long your brake pads last completely depends on how and where you ride. If you're constantly tackling hilly, muddy trails, you might wear through a set in just a few months. On the other hand, if you're a casual rider sticking to flat, dry pavement, you could easily get a year or more out of them.
The best way to know is to just look. Forget the calendar and check your pads visually.
A solid rule of thumb is to swap them out when the braking material wears down to about 1.5mm. That's roughly the thickness of a dime. Make it a habit to peek at them once a month, and you'll never be caught by surprise.
Can I Use Car Brake Fluid in My Bike Brakes?
Nope. Please, don't ever do this. It’s a surefire way to completely ruin your hydraulic brake system. Bike brakes are very particular and are designed for one of two specific types of fluid—and they absolutely cannot be mixed.
- DOT Fluid: This is what brands like SRAM and Hayes use. While it's technically the same family as car fluid, bike systems need specific grades like DOT 5.1.
- Mineral Oil: Shimano and Magura rely on this. It's a special formula that's way less harsh than DOT fluid.
Pouring the wrong stuff into your system will eat away at the delicate internal seals in your levers and calipers. The result? Total brake failure. Always double-check what your specific brake model requires and stick to it.
Why Are My Disc Brakes Squealing So Loud?
That ear-splitting squeal is almost always caused by one of three culprits. The first, and most common, is contamination. Even a tiny bit of oil or a greasy fingerprint on the rotor can seep into the pads and cause that horrible sound.
Try cleaning your rotor really well with some isopropyl alcohol. If that doesn't fix it, your pads are probably contaminated and will need to be replaced.
The other two possibilities are improper pad bedding—where new pads never got a chance to properly mesh with the rotor—or a simple alignment issue. If the caliper isn't perfectly centered, it can cause a high-frequency vibration that we hear as a squeal.
Ready to upgrade your gear or find the next essential for your ride? FindTopTrends has a curated selection of trending products for every cyclist and outdoor adventurer. Explore our collections and discover top-quality items.
Leave a comment


