


No products in the cart.

Setting up a second monitor is about more than just plugging in a screen. It's a fundamental shift in how you work, designed to cut down on the endless cycle of app-switching and give you dedicated real estate for complex tasks. This approach lets you multitask in a way that actually makes sense, boosting your focus and efficiency.
Why Dual Monitors Are a Productivity Game-Changer

Let's get past the obvious "more screen space" argument. The real magic of a dual monitor setup is how it reorganizes your entire workflow. Before I made the switch, my desktop was a chaotic jumble of overlapping windows. Now, I have designated zones for everything, which drastically reduces mental clutter and that constant, frustrating hunt for the right window.
This separation of tasks is where you’ll find the biggest wins.
- For developers: Keep your code editor on one screen and see the live preview update instantly on the other. No more tabbing back and forth.
- For data analysts: Have a massive spreadsheet filling your main monitor while you draft your report on the secondary one, without ever losing sight of the raw numbers.
Real-World Productivity Gains
This isn't just about feeling more organized; the impact on efficiency is real and measurable. Studies have shown that working with two screens can boost productivity by 30% to 50%. That's a massive improvement for anyone juggling multiple projects.
This setup supports a more focused state of work by creating distinct zones for different types of activities. For anyone looking to truly get the most out of their setup, digging into the principles of Deep Work can help you maximize that newfound concentration.
By dedicating screens to specific functions—like keeping your email and chat on one while your creative work lives on the other—you minimize context switching. This simple act of organization helps your brain stay locked on the task at hand, making big projects feel far more manageable.
Ultimately, this guide isn't just about connecting cables. It's about solving your biggest productivity headaches. Once you understand why this setup is so effective, you can build a workspace that actively helps you get more done with less friction.
Choosing the Right Monitors and Hardware
Before you start adding monitors to your cart, let's talk hardware. Diving in without a plan is a recipe for frustration and compatibility headaches. Think of this as your pre-flight check to make sure every piece of your new setup plays nicely together right out of the box.
The first thing most people look at is resolution. A 1080p (Full HD) monitor is a solid, budget-friendly choice, but upgrading to 4K (Ultra HD) is a game-changer. You get four times the pixels, which means text is razor-sharp and you have a massive canvas for creative or detailed work.
But crisp resolution is only part of the story. The technology inside the monitor—the panel—is what truly brings the image to life.
Understanding Monitor Panels and Specs
You'll generally come across two main types of monitor panels, each with its own strengths:
- IPS (In-Plane Switching): These are the go-to for designers, photographers, and anyone who needs dead-on color accuracy. They also have great viewing angles, so the picture looks good even if you're not sitting directly in front of it.
- VA (Vertical Alignment): If you want deep, inky blacks and high contrast, VA panels are fantastic. They’re excellent all-rounders for everyday work and watching videos.
Then there's refresh rate, measured in Hertz (Hz). A standard 60Hz display is perfectly fine for most productivity tasks. But once you experience the silky-smooth motion of a 120Hz screen—even just dragging windows around—it's hard to go back. For gamers, this is a must, and our guide on the best 4K gaming monitors digs deeper into why that matters.
Key Takeaway: For a fantastic balance of price, performance, and screen real estate, you can't go wrong with a pair of 27-inch 1440p (QHD) IPS monitors. A 60-75Hz refresh rate is the sweet spot for most professional and creative work.
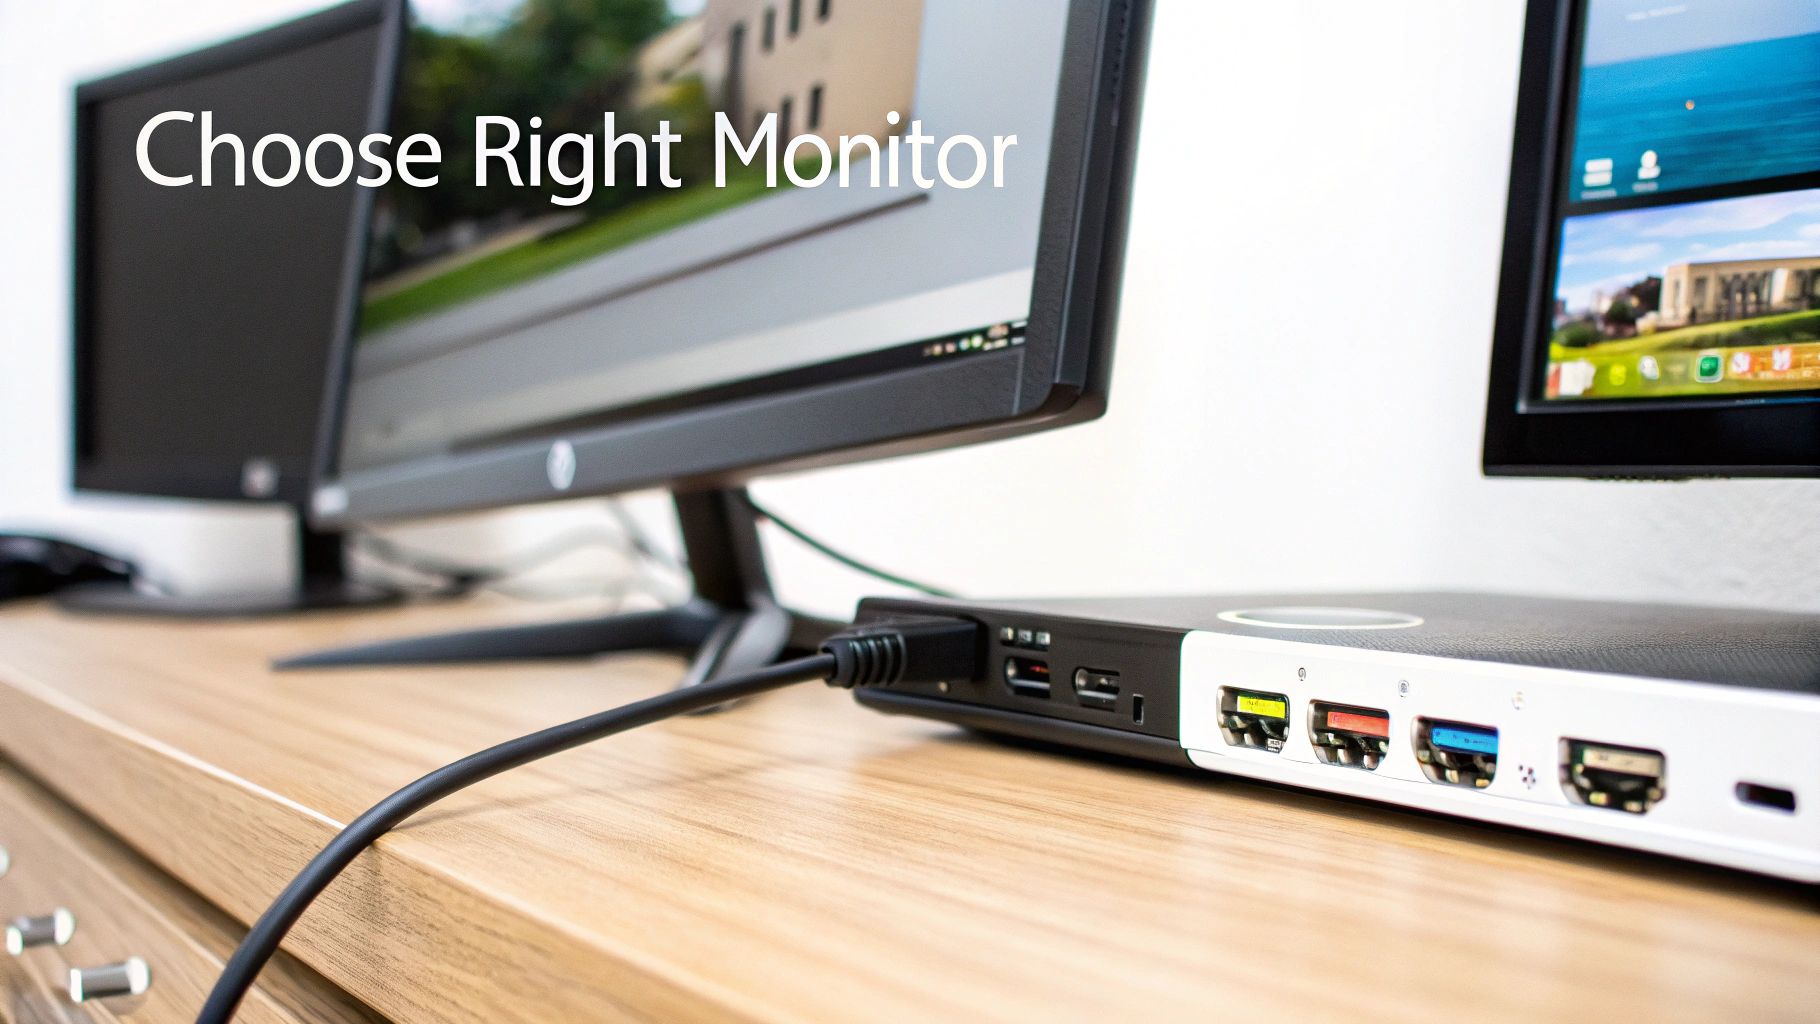
Demystifying Connectivity Ports
The ports on your laptop or desktop are the gatekeepers of your dual-monitor dreams. The very first thing to do is check your graphics card's specs to confirm it can even handle multiple displays. From there, it's all about matching the right cables to the right ports.
Here's a quick look at the connectors you'll likely be working with. Understanding what they do will save you from buying the wrong cable.
Monitor Connector Type Comparison
| Connector Type | Best For | Max Resolution/Refresh Rate (Typical) | Key Feature |
|---|---|---|---|
| HDMI | General use, TVs, consoles | 4K @ 60Hz (HDMI 2.0) | Ubiquitous and found on nearly every device. |
| DisplayPort | PC gaming, multi-monitor setups | 4K @ 120Hz+ (DP 1.4) | Higher bandwidth and supports daisy-chaining. |
| USB-C | Laptops, modern devices | Varies (matches DisplayPort) | Can carry video, data, and power in one cable. |
Getting the right connection is key to unlocking your monitor's full potential.
USB-C is quickly becoming the new default, and for good reason. A single cable can handle video, power, and data, which is why the monitor market is projected to hit around USD 47.12 billion by 2025. In fact, many companies now provide dual 27-inch USB-C monitors to their hybrid workers to create a simple, plug-and-play desk setup. You can read more about these and other computer monitor market trends on Mordor Intelligence.
To Match or Mismatch Your Monitors
So, should you buy two identical monitors? If you can, yes. A matched pair gives you a seamless, cohesive desktop where colors and brightness are perfectly consistent. It's the ideal setup, especially if you plan on dragging windows from one screen to the other.
But don't let a tight budget stop you. A mismatched setup can be incredibly practical. You could pair a new 4K monitor with an older 1080p one you already own. This works great when you relegate the secondary screen to things that don't need a premium display, like your email, Slack, or reference material. Your operating system is smart enough to manage the different resolutions just fine.
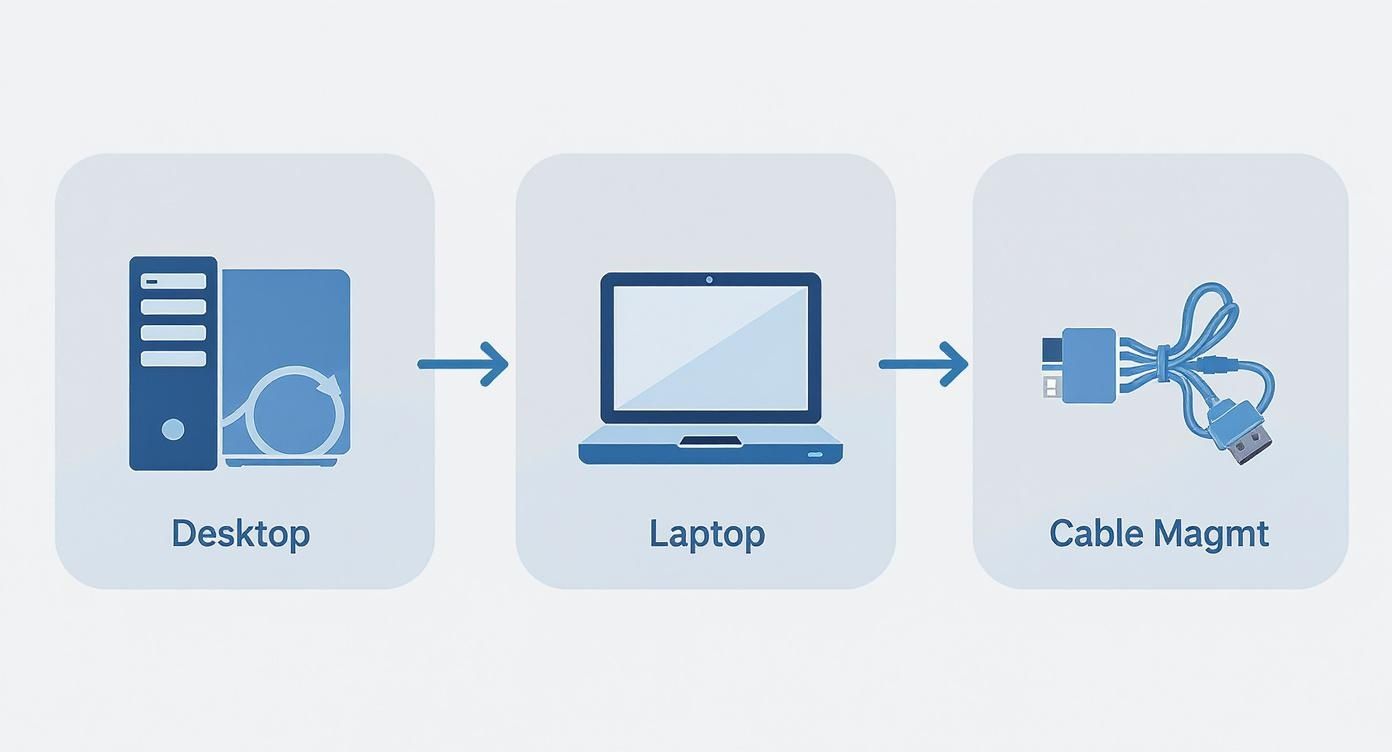
Getting Your Monitors Hooked Up
Alright, time to get our hands dirty. Connecting your monitors might seem like the most technical part of the whole process, but it’s really just a matching game. You're simply plugging the right cable into the right port. Let's look at the most common ways you'll do this.
The simplest scenario is a classic desktop setup. Most modern graphics cards are built for this, featuring at least two video outputs—usually a mix of HDMI and DisplayPort. All you have to do is run a cable from each monitor to its own port on the back of your PC. Power them on, and your computer should see them right away.
For Laptop Users: The Docking Station Is Your Best Friend
Laptops, especially the slim and light ones, are notoriously stingy with ports. This is where a good docking station or a high-quality USB-C hub becomes an absolute game-changer. Instead of plugging in four or five different cables every time you sit down, you connect everything—your monitors, keyboard, mouse, even your power cable—to the dock.
Then, a single USB-C or Thunderbolt cable runs from the dock to your laptop. That's it. It’s the ultimate setup for anyone who bounces between home and the office. You just grab your laptop and go, and when you come back, one plug brings your entire command center back online.
Think of a docking station as less of a convenience and more of a productivity hub. It’s what turns your portable laptop into a full-blown desktop powerhouse, eliminating the daily ritual of cable wrestling.
The Pro Move: Daisy Chaining
Ever heard of daisy-chaining? It's a slick way to connect multiple monitors using fewer cables, but it requires specific hardware. If your monitors support DisplayPort Multi-Stream Transport (MST), you can connect the first monitor to your computer like normal.
Then, you run a second DisplayPort cable from the "DP Out" port on that first monitor to the "DP In" port of the second monitor. It creates a super clean look with just one cable running back to your PC. Just be sure to check that both your computer and your monitors support it, as it’s not a universal feature.
Taming the Cable Monster
Once everything is connected, you'll probably be staring at a mess of wires. A tidy desk isn't just about aesthetics; it actually helps you focus. The good news is that wrangling those cables is cheap and easy.
Here are a few things I always keep in my desk drawer for cable management:
- Velcro Ties: Infinitely better than zip ties because you can reuse them. I use them to bundle cables running down a monitor arm or behind the desk.
- Cable Sleeves: Got a thick bundle of wires heading to a power strip? A simple neoprene sleeve zips them all up into one clean-looking tube. It makes a huge difference.
- Adhesive Cable Clips: These little guys are my secret weapon. They stick to the back of your desk or monitors and are perfect for routing a single stubborn cable exactly where you want it to go.
Spending just ten minutes on cable management will make your new setup feel complete and professional. It clears the clutter so you can clear your head and get to work.
Getting Your Displays Dialed In on Windows and macOS
https://www.youtube.com/embed/r8uVZB5NqrY
With your monitors all plugged in, you’re on the home stretch. The physical setup is done, but now you need to tell your computer how to actually use that extra screen space. This is where a little software configuration turns two separate displays into one seamless, powerhouse workspace.
The process is pretty straightforward, whether you're connecting directly to a desktop's graphics card or using a docking station to simplify your laptop setup.
Navigating Windows Display Settings
If you're on Windows, this part is a breeze. Just right-click on any empty space on your desktop and choose Display settings. This brings up the control panel where all the magic happens.
Is your second monitor not showing up? Don't panic. The first thing to try is the Detect button. Windows is usually good about finding new displays, but sometimes it needs a nudge.
Once both monitors are recognized, you’ll see them as two numbered boxes at the top of the settings window. Here’s what to do next:
- Arrange Your Screens: Click and drag these boxes to match how your monitors are physically set up on your desk. Getting this right is crucial for your mouse to move naturally from one screen to the other without getting lost.
- Set Your Primary Display: Decide which monitor will be your main screen—the one with the Start menu and your primary taskbar. Click on its box, scroll down a bit, and check the box that says, "Make this my main display."
- Extend Your Desktop: Look for the "Multiple displays" dropdown menu. You’ll almost always want to choose Extend these displays. This creates one giant desktop. The "Duplicate" option just mirrors one screen onto the other, which is really only useful if you're giving a presentation.
You can see how you can drag the numbered displays around to match your desk layout, which makes all the difference for a smooth workflow.
Mastering macOS Display Preferences
For the Mac users out there, the process is just as intuitive. Head to the Apple menu > System Settings, and then click on Displays. You’ll see a simple layout of your connected monitors.
Just like in Windows, you can drag the display icons around to mirror their real-world positions. The monitor showing the white menu bar at the top is your primary display. To change it, just click and drag that white bar over to the other monitor's icon. Easy as that.
Pro Tip for Mac Users: One default Mac behavior can feel a bit jarring. To create a truly unified workspace, go to System Settings > Desktop & Dock. Find the "Mission Control" section and uncheck the box for "Displays have separate Spaces." This little tweak makes your displays feel like one continuous desktop.
Fine-Tuning Resolution and Scaling
One of the great things about modern operating systems is how well they handle monitors with different specs. Got a fancy new 4K monitor next to your trusty old 1080p one? No problem.
In the display settings on both Windows and macOS, you can click on each monitor individually to adjust its resolution and scaling.
- Resolution: For the sharpest image, you should always try to run each monitor at its native resolution, which is usually marked as "Recommended."
- Scaling: If you're using a high-resolution display (like a 4K monitor), text and icons can look tiny. Bumping up the scaling to 125% or 150% makes everything much easier to read without losing that crisp 4K clarity.
Adjusting these settings for each screen is the key to a comfortable setup. For gamers, this is also where you’ll want to make sure your main gaming monitor is set to its highest refresh rate to get that buttery-smooth gameplay. To learn more about why that matters, check out our deep dive into what a gaming monitor refresh rate means for performance. Getting these settings just right is the final piece of the puzzle.
Optimizing Your Workspace for Comfort and Flow

A great dual monitor setup goes way beyond just the tech. It’s really about building a workspace where you can comfortably focus for hours without ending the day with a stiff neck or tired eyes. Get the ergonomics right, and your body will definitely thank you for it.
The main goal is simple: position your monitors to minimize physical strain. Start with your primary screen—the one you look at most—and place it directly in front of you. The top edge of the monitor should be at or just a hair below your eye level. This little adjustment is a game-changer for preventing the neck fatigue that comes from constantly tilting your head.
As for distance, a good rule of thumb is to keep your screens about an arm's length away. This is the sweet spot for reducing eye strain. If you catch yourself leaning in or squinting, try increasing the text size in your display settings before you start inching the monitor closer.
Fine-Tuning Your Physical Monitor Arrangement
How you actually place your monitors on the desk can make a surprisingly big difference in your workflow. A few common layouts have emerged over the years, and each one shines for different kinds of tasks.
- Side-by-Side: This is the classic, go-to arrangement, perfect for dragging windows from one screen to the other. It's fantastic when you're comparing documents or need to keep reference material visible while working on your main display.
- Stacked (Vertical): Placing one monitor on top of the other is brilliant for long, vertically-oriented tasks. Coders often swear by it for seeing more lines of code at once, and it’s great for writers who want to see an entire page without constantly scrolling. It also frees up a ton of horizontal desk space.
This is where a quality monitor stand becomes your best friend. The boom in home offices has thankfully led to a surge in great ergonomic stands that make these adjustments a breeze. For more ideas on dialing in your desk's comfort, you might find our guide on https://letsparty-au.myshopify.com/blogs/news/ergonomic-desk-accessories helpful.
Unleashing Your Workflow with Window Management Tools
Once your screens are physically in the perfect spot, the final piece of the puzzle is managing your applications across them. Manually dragging and resizing windows all day gets tedious fast. Window management tools are what elevate your setup from just "two screens" to a genuine productivity powerhouse.
These little utilities are like having a superpower for your desktop, letting you snap windows into perfect, predefined layouts with a simple keyboard shortcut.
Don’t underestimate the power of a clean digital workspace. Using window management tools to instantly organize your screens eliminates decision fatigue and lets you dive straight into your work. It’s the final touch that makes your dual monitor setup truly seamless.
Of course, for those long sessions at your desk, good posture is non-negotiable. It's worth considering an upgrade like an ergonomic desk chair with a leg rest to support your body and prevent fatigue. Back on the software side of things, Windows has a great built-in feature called Snap Assist. If you're on a Mac, an app called Magnet is a crowd favorite. Both let you quickly tile windows to fill halves or quarters of your screen, making it effortless to create the perfect workspace for whatever you're doing.
Troubleshooting and Common Questions
Even after following a guide, it's normal to hit a snag or two. I've been setting up multi-monitor workstations for years, and I've seen it all. Let's walk through some of the most common questions that pop up so you can get your setup running perfectly.
My Second Monitor Isn’t Being Detected—What Should I Do?
This is, without a doubt, the most frequent headache. But don't worry, the fix is usually pretty simple.
Before you dive into software settings, always check the physical stuff first. Is the video cable pushed in all the way on both the monitor and the computer? Seriously, give it a firm wiggle. Also, make sure the monitor is actually turned on and switched to the correct input source (e.g., HDMI 1, DisplayPort 2). It's easy to overlook.
If the cables are solid, your next stop is the display settings. In Windows, there's a handy "Detect" button that can often nudge the system into seeing the new screen. If that doesn't do the trick, the culprit is almost always an outdated graphics driver. I can tell you from experience that heading to the NVIDIA, AMD, or Intel website and grabbing the latest driver solves this problem over 90% of the time.
Pro Tip: After you update your drivers, give your computer a quick reboot. It's a simple step that lets the system properly recognize all its hardware from a fresh start, often fixing that stubborn detection issue.
Can I Use Two Monitors with Different Resolutions or Sizes?
Absolutely. Modern operating systems are built for this. You can easily pair a shiny new 4K monitor with an older 1080p one, and both Windows and macOS will let you set each display to its native resolution.
The only slight oddity you might notice is how windows change size when you drag them from one screen to the other, especially if you have different scaling settings. It’s not a dealbreaker by any means, but if you're aiming for a perfectly seamless visual flow, using two identical monitors is the way to go.
Do I Need a Docking Station for My Laptop?
This really boils down to two things: your laptop's ports and your personal workflow.
Take a look at your laptop. If it has a couple of video outputs—maybe an HDMI port and a USB-C port that supports DisplayPort—you can hook up two monitors directly. No extra gear needed.
However, if you're working with a newer machine that only has a couple of USB-C ports, or you just crave that clean, one-cable-to-rule-them-all setup, a docking station is a brilliant investment. It lets you connect everything—monitors, power, keyboard, mouse, you name it—with a single plug. It makes transitioning from on-the-go to a full-blown desktop a breeze.
Ready to build your ultimate workspace? Find all the latest tech and accessories at the best prices on FindTopTrends. Explore our curated collections today and stay ahead of the curve.
Leave a comment


