


No products in the cart.

Welcome to the world beyond just using sunlight—this is where you stop finding good light and start making it. Learning to use photography lighting is easily the biggest jump you can make to turn your snapshots into something truly special.
Why Your Next Step Is Mastering Light
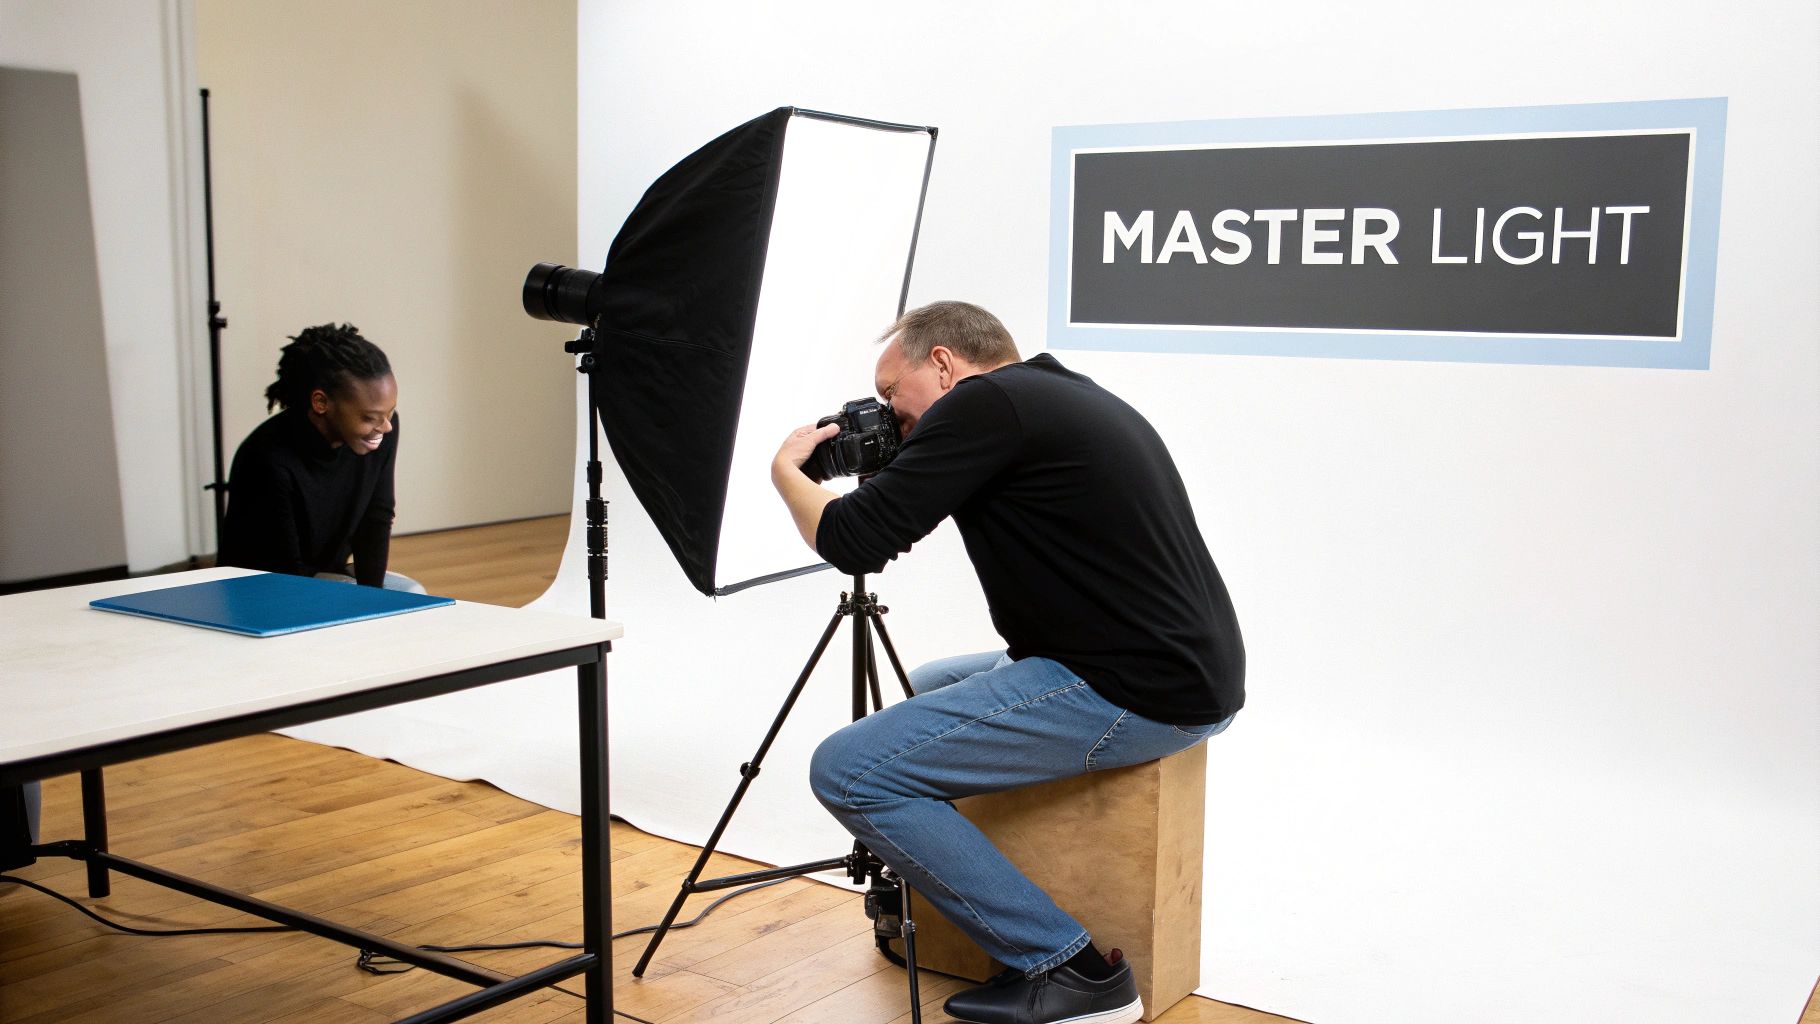
Relying on the sun is a fantastic way to learn, but let's be honest—it’s unpredictable. What do you do when the perfect moment happens on a dreary, overcast day? Or when you want to shoot a dramatic portrait indoors long after sunset? This is where shaping your own light comes in.
This guide is your roadmap. We’re going to pull back the curtain on all the essential gear, and I'll show you that you don't need a Hollywood budget to get started.
The good news is that the market for this equipment is huge and growing, projected to hit $23.76 billion by 2025. All that growth means there are more affordable, high-quality options for beginners than ever before. You can see the data for yourself on the photography lighting equipment market growth.
By learning to control light, you're no longer just capturing a scene—you're creating it. This is where your photography truly begins to find its voice.
By the time you're done here, you’ll have a solid plan for choosing and using your first lighting kit. We'll walk through everything from the absolute basics to practical setups, so you can feel confident investing in the right gear for your creative vision.
Understanding Your Light Source Options
Once you decide to move beyond just using sunlight, you open up a whole new world of creative control. The very first step is getting to know the two main types of artificial light you'll be working with: continuous light and flash.
Think of it this way: one is like a lamp, and the other is like a lightning strike. Each has its own superpower.
Continuous lighting is exactly what it sounds like—a light source that stays on the whole time. For beginners, this usually means an LED panel. The best thing about continuous light? What you see is what you get. You can watch the light and shadows change on your subject in real-time as you move the light or adjust its power, making it incredibly intuitive to learn.
Then you have flash, also called strobe lighting. This is that powerful, split-second burst of light. It's your personal, controlled lightning strike, perfect for freezing motion with tack-sharp precision. That quick pop of light is often way more powerful than what a similarly priced continuous light can produce, giving you the muscle to overpower harsh midday sun or create really dramatic, high-contrast shots.
Continuous vs. Flash: A Head-to-Head Look
So, which one is "better"? Neither. They're just different tools for different jobs. To really get a feel for them, let's put them side-by-side. Your choice will come down to what you're trying to accomplish with your photos.
| Feature | Continuous Lighting (e.g., LED Panel) | Flash Lighting (e.g., Speedlight/Strobe) |
|---|---|---|
| Power Output | Generally lower power for its size and cost. | Packs a massive punch in a short burst. |
| Learning Curve | Super easy for beginners; you see the results live. | Steeper learning curve; you need to take test shots. |
| Motion | Can cause motion blur if your subject moves. | Amazing for freezing fast-moving action. |
| Video Use | Perfect for video, since it's always on. | Can't be used for recording video. |
| Battery Life | Can be a battery hog since it's constantly on. | Very efficient; a single charge can last for hundreds of shots. |
As you explore what's out there, you'll find all sorts of specialized tools. For example, there are even unique film photo light options designed to create a specific aesthetic for certain projects.
Choosing Your Starting Point
Okay, so where do you begin? Here’s a simple breakdown to help you decide:
- Shooting both video and stills? Start with continuous LED lighting. Its flexibility for hybrid shooters is a game-changer.
- Mainly focused on portraits? A flash (like a speedlight or strobe) will give you more power and creative control for sculpting light on people.
- Into product or food photography? Continuous light is often the go-to here. Being able to see your adjustments instantly makes it much easier to get everything just right.
Your first light doesn't lock you in for life. Most professional photographers own and use both types of lighting, sometimes even on the same shoot. The goal is to start with the tool that solves your most immediate creative challenge.
Your First Photography Lighting Kit Checklist
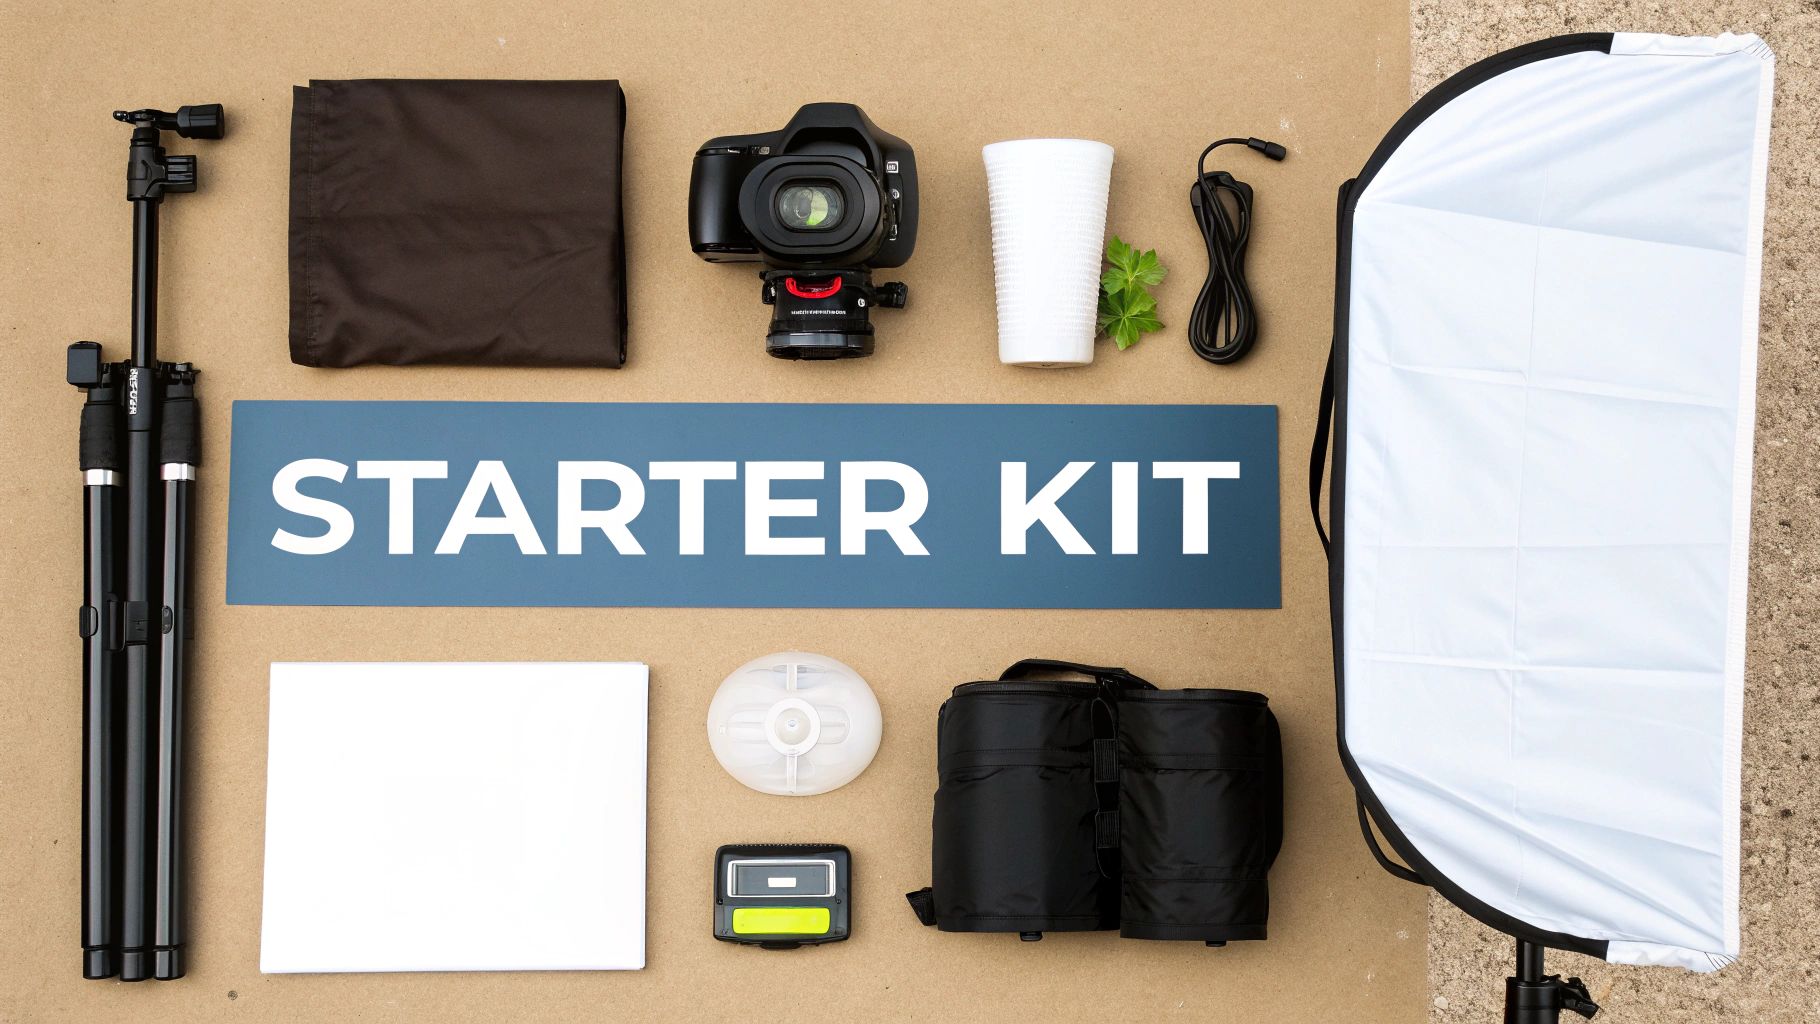
Dipping your toes into artificial light can feel like you're learning a whole new language, but trust me, putting together your first kit is way easier than it seems. I’m going to break down the essential photography lighting equipment for beginners into four core components. Think of them as the building blocks that will let you create incredible, professional-looking images wherever you are.
Each piece of gear has a specific job to do, but they all work together to give you total creative control over the final image. Let’s walk through what each item does in simple, practical terms so you can build your setup with confidence.
The Light Source: Your Creative Engine
This is the heart of your whole setup—the piece of gear that actually makes the light you'll be shaping. As a beginner, you’ll typically be choosing between two main options, and each has its own clear advantages.
- Speedlight: This is a small, portable flash that can pop right onto your camera’s hot shoe or be used off-camera. It’s incredibly versatile, won’t break the bank, and is an absolute game-changer for photographers who need to stay mobile.
- Studio Strobe (or Monolight): A much more powerful, all-in-one flash unit that either plugs into a wall or uses a beefy battery pack. While it’s not something you’d toss in a backpack, it delivers a huge punch of light and recycles almost instantly, making it perfect for studio portraits or product shots.
Recent advances in LED technology have also made them a popular choice, since they run cool and are super-efficient, making portable kits more powerful than ever.
Light Modifiers: The Secret to Beautiful Light
A bare flash bulb is harsh. It creates ugly, unflattering light with distracting, hard-edged shadows. Light modifiers are what you attach to your flash to soften, shape, and control that light. Honestly, they are probably the most important part of your kit for getting that polished, professional look.
A classic beginner mistake is obsessing over the power of the flash while completely ignoring the modifier. Always remember: the quality of your light comes from how you shape it, not just how bright it is.
Here are the two must-have modifiers to get you started:
- An Umbrella: This is your best friend for creating broad, soft light that can fill a large space. Umbrellas are cheap, they set up in seconds, and they come in two main flavors: a shoot-through (translucent) for beautifully diffused light, and a reflective one (with a silver or white interior) for a punchier, more directed beam.
- A Softbox: Think of this as a black box with a white diffusion panel on the front. It gives you far more controlled, directional soft light than an umbrella. It’s perfect for sculpting flattering light in portraits and is a non-negotiable tool in nearly every pro's bag.
Light Stands: Your Unsung Heroes
You absolutely need a secure way to hold your lights and modifiers right where you want them. A sturdy light stand isn't just a piece of gear; it's a critical piece of safety equipment. Don't cheap out here—a falling light can smash your expensive equipment or, even worse, injure someone.
Look for stands that are stable, have a wide base, and can easily support the weight of your light and whatever modifier you put on it. Air-cushioned stands are a fantastic feature for beginners, as they prevent your light from crashing down if you accidentally loosen a knob too quickly.
Triggers: Getting Your Flash Off the Camera
To truly unlock creative lighting, you have to get your flash off your camera. A wireless trigger system is the magic that makes this happen. It’s a simple two-part system: a transmitter that slides into your camera’s hot shoe and a receiver that connects to your flash.
When you press the shutter button, the transmitter instantly tells the receiver to fire the flash. This simple setup gives you the freedom to place your light anywhere you want—to the side of your subject, behind them, or anywhere else your creativity leads.
If you're building a complete setup from the ground up, you might find our guide on the best photography starter kit for beginners helpful for seeing how all these components fit into the bigger picture.
Choosing the Right Lighting Kit for Your Goals
There’s no magic "best" lighting kit out there, because the perfect setup is all about what you want to shoot. A portrait photographer needs something completely different from someone shooting food for their blog. So, instead of grabbing a generic kit, let's figure out how to match the gear to your creative vision.
This way, you’re investing in tools you'll actually use and get excited about, which is the fastest way to grow as a photographer. We'll walk through three common paths for beginners and suggest a practical starting point for each one. Think of these as blueprints you can tweak to fit your own style and budget.
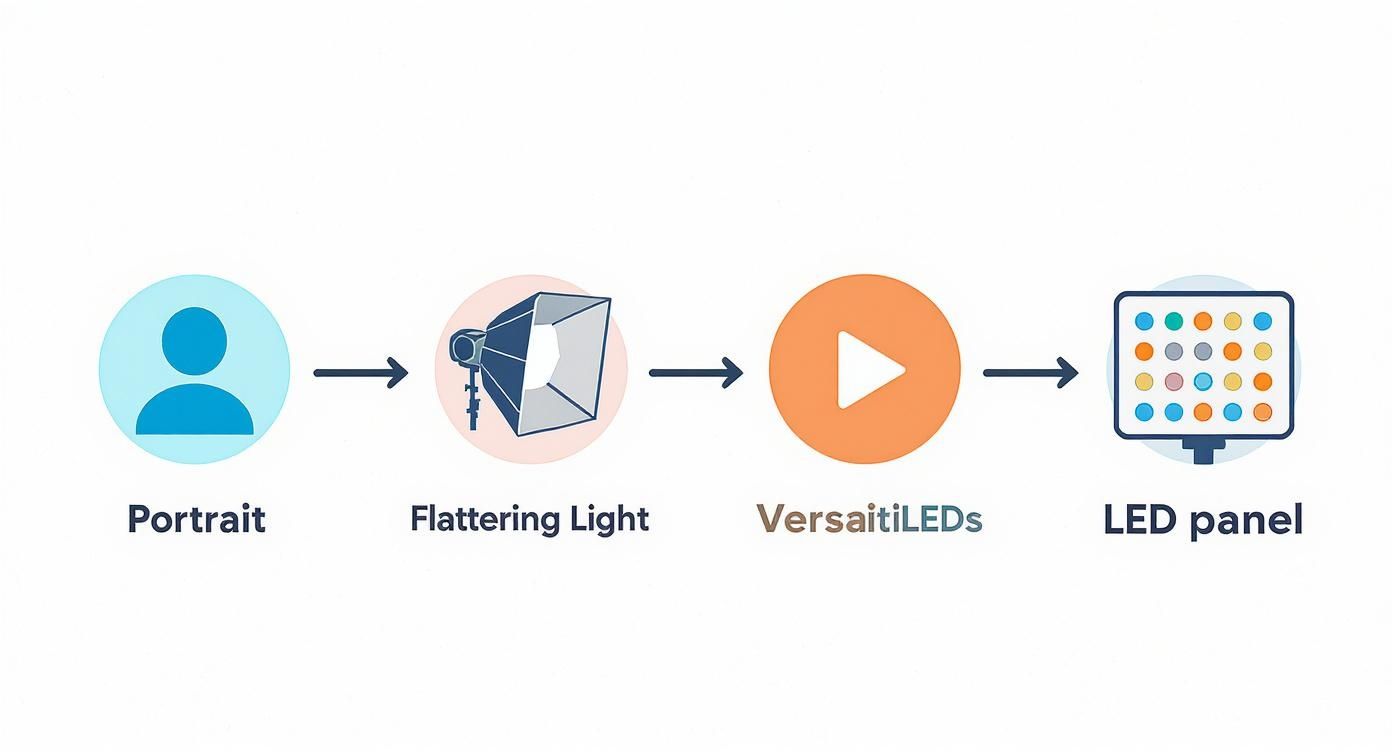
For the Aspiring Portrait Photographer
If you love taking pictures of people, your main job is to create soft, flattering light. Harsh shadows can be really unforgiving, highlighting every skin texture and creating a look most people don't love. Your first kit should be all about diffusion and control.
For this, a flash-based system is almost always the best place to start. The quick burst of power from a flash, even a small one, lets you overpower the existing light in a room and take complete creative control. You become the one in charge of the light, not the sun or a weird-colored ceiling lamp.
-
Your Starter Kit:
- Light Source: One manual speedlight. They’re portable, surprisingly affordable, and have more than enough power for killer single-person portraits.
- Modifier: A big shoot-through umbrella or a medium-sized softbox. Both will soften the light beautifully. Umbrellas are super easy, while softboxes give you a bit more control over where the light goes.
- Essentials: A solid light stand and a set of wireless triggers to get that flash off your camera—that's where the magic really happens.
This simple one-light setup is the backbone of countless professional portraits. You can create dramatic, classic, and gorgeous photos without a complicated or expensive system.
For the Product and Food Photographer
When you’re shooting still life—whether it's products for an online store or a delicious plate of food—what you see needs to be what you get. Precision is everything. You'll be making tiny, one-inch adjustments to your light to perfect a reflection or carve out a shadow just right.
This is where continuous lighting is a total game-changer.
Being able to see how the light changes in real-time as you move it around saves a massive amount of guesswork. It's why LED panels are the go-to for this kind of work. They just make sense. If you're just starting, knowing the best lighting for product photography can really help you nail down your gear choices from the get-go.
-
Your Starter Kit:
- Light Source: One bi-color LED panel. The "bi-color" part is key, as it lets you adjust both the brightness and the color temperature (from warm to cool) with the turn of a dial.
- Modifier: Most LEDs have some diffusion built-in, but a small softbox designed for LED panels can give you even softer, more polished light.
- Essentials: A light stand, and don't forget a white foam core board from a craft store. It’s the cheapest, most effective tool for bouncing light back into your scene to fill in dark shadows.
For the Hybrid Stills and Video Creator
If you're creating content for YouTube, TikTok, or a blog, you’re probably jumping between photos and videos all the time. Your gear needs to be just as flexible as you are. For hybrid creators, there is one clear winner: continuous LED lighting.
For a creator who switches between capturing a portrait and recording a video clip, LEDs are the only tool that can do both jobs effectively without having to swap out your entire setup.
-
Your Starter Kit:
- Light Source: One or two bi-color LED panels. Starting with two lights gives you a classic key-and-fill setup, which is the foundation of good video lighting.
- Modifier: The diffusion panels that come with most LEDs are a great starting point and often all you need.
- Essentials: Two light stands. The good news is that many beginner-friendly LED kits come with stands included.
Beginner Lighting Kit Ideas by Photography Style
Feeling overwhelmed? No problem. Use this table to find the best starter kit based on what you plan to shoot, with realistic cost estimates to get you started.
| Photography Style | Recommended Light | Essential Modifier | Est. Starter Cost |
|---|---|---|---|
| Portraits | 1 Manual Speedlight | Shoot-Through Umbrella or Softbox | $150 - $250 |
| Product / Food | 1 Bi-Color LED Panel | Built-in Diffusion / Small Softbox | $100 - $200 |
| Video / Hybrid | 2 Bi-Color LED Panels | Built-in Diffusion | $150 - $300 |
Remember, these are just starting points! The goal is to get a simple, effective kit that lets you start creating right away.
By matching your gear to your goals, you're making a smart investment in your creative journey. If you want a broader look at all the gear you might need as you grow, check out our complete guide to photography equipment for beginners.
Three Simple Lighting Setups You Can Try Today
Alright, enough with the theory. The best way to really get lighting is to start using it. Let's roll up our sleeves and put some of that new gear to work.
These three classic setups are the building blocks for countless professional photos, and they’re surprisingly easy to pull off. Each one uses minimal equipment but delivers predictable, beautiful results. We'll start with a classic, dramatic portrait, then move to a flattering beauty setup, and finally tackle the workhorse for products and video.
Setup 1: The One-Light Rembrandt
Named after the master painter himself, Rembrandt lighting is famous for creating a small, inverted triangle of light on the cheek opposite the main light source. It’s moody, it’s dramatic, and it’s a fantastic way to learn how light and shadow play together. All you need is one flash and a modifier.
- Position Your Subject: Start by having your subject sit so they are facing about 45 degrees away from the camera.
- Place Your Light: Now, take your key light (your flash in a softbox or with an umbrella) and place it high and to one side, angled down towards your subject. A good starting point is the side of their face that’s turned more towards you.
- Adjust and Shoot: This is where the magic happens. Move the light stand up and down, or closer and farther, until you see that iconic little triangle of light pop onto their shadowed cheek. The goal is for the triangle to be no wider than their eye and no longer than their nose.
As you can see, different goals—whether it’s a portrait, a product shot, or a video—will point you toward different tools. For that soft, flattering portrait light we just created, a softbox is your best friend.
Setup 2: The Clamshell
This is a secret weapon for beauty and headshot photographers. Clamshell lighting produces a clean, gorgeous light that wraps around the face, minimizing harsh shadows under the chin and eyes. It gets its name because you’re essentially sandwiching your subject's face between a top light source and a bottom reflector.
- The Top Light: Place your key light (a speedlight in a softbox is perfect for this) directly in front of and just above your subject, aimed down at their face.
- The Bottom Reflector: Now, place a reflector in your subject's lap or on a low stand, angled up to catch the light from above. This bounces a soft light back into their face, filling in any shadows under their chin and nose. Simple, but so effective.
Pro Tip: The reflector you choose makes a difference. A silver reflector kicks back a bright, punchy fill light, while a white reflector gives a much softer, more subtle effect. Experiment to see which you prefer!
Setup 3: The Basic Three-Point Setup
Welcome to the foundation of lighting for just about everything else. Three-point lighting is the standard for video interviews, clean product shots, and any scene where you need total control. It might sound complex, but each of the three lights has a very specific job.
- The Key Light: This is your main light, the brightest of the bunch. Place it off to one side of your subject to create the primary illumination and define the shape of your subject with shadows.
- The Fill Light: Position this second, less powerful light on the opposite side. Its only job is to "fill in" the dark shadows created by the key light, which lets you control the overall contrast of the image.
- The Backlight (or Rim Light): This one goes behind your subject, pointing back towards them (and away from your camera). It creates a subtle, bright outline around their hair and shoulders that cleanly separates them from the background, adding a ton of depth.
Once you’ve got these three setups in your back pocket, you’ll have a versatile toolkit for almost any situation you encounter. This kind of control is especially vital when shooting in tricky low-light conditions. To learn more about tackling those challenges, check out our guide on the best camera for night photography, where creating your own light can be a total game-changer.
Protecting Your Investment and Staying Safe
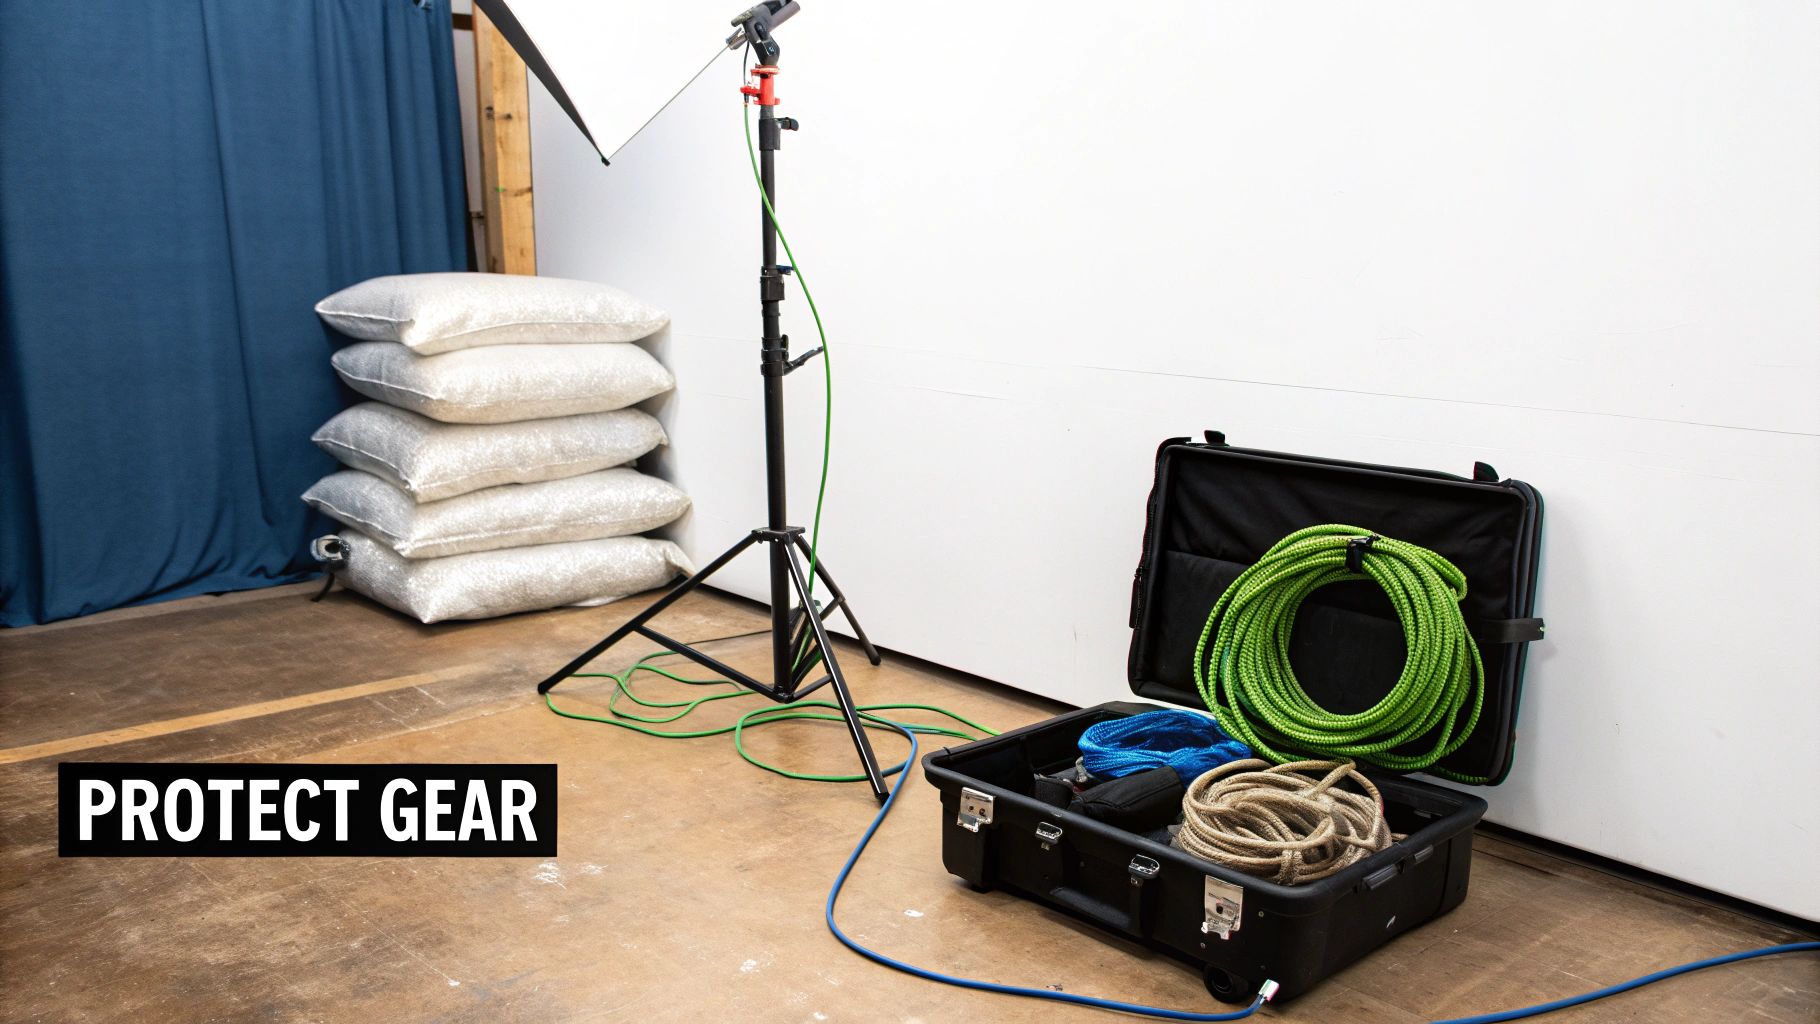
It’s easy to get caught up in the creative side of things, but remember that your new lighting kit is a real investment. A little bit of care goes a long, long way in making sure your gear is ready to go for years to come. Thinking about safety and maintenance from day one protects your equipment, your clients, and you.
If you take only one piece of safety advice, let it be this: always secure your light stands. Seriously. A top-heavy light and modifier can tip over with the slightest nudge. It’s the number one rookie mistake, and it’s an expensive one to make.
A simple sandbag draped over the leg of your light stand is the cheapest insurance you can buy. It’s a non-negotiable part of any setup that prevents broken bulbs, damaged gear, and even injuries.
Basic Gear Maintenance
You don't need to be a technical wizard to keep your kit in great shape. Just building a few good habits into your workflow will make all the difference.
- Proper Cable Care: When you're packing up, resist the urge to wrap cords tightly around your elbow and hand. Instead, learn the "over-under" coiling method—it prevents the internal wires from twisting and breaking.
- Battery Health: For strobes with rechargeable battery packs, try not to store them completely empty or at 100% for months on end. The sweet spot for long-term storage is around a 50-60% charge, which helps preserve the battery's overall lifespan.
- Modifier Storage: Your softboxes and umbrellas came with carrying cases for a reason! Tossing them in a corner invites dust, rips, and bent rods. Keep them tucked away in their sleeves when they're not on a stand.
Common Beginner Lighting Questions Answered
Stepping into the world of photography lighting can feel a bit like learning a new language. You're bound to have questions, and that's a good thing! Let's clear up a few of the most common hurdles for beginners so you can start building your kit with confidence.
Do I Really Need a Light Meter?
Short answer: Nope. While a dedicated handheld light meter is a fantastic tool for pros who need absolute precision, it's overkill when you're just starting out.
Your camera already has a very capable light meter built right in. More importantly, it has a histogram. Think of the histogram as the ultimate truth-teller for your exposure—it’s a simple graph showing you exactly how the light is distributed in your shot. Learning to read your histogram is a far more valuable skill early on, and it won't cost you an extra cent.
Umbrella vs. Softbox: What's the Difference?
This is the classic fork in the road for a new photographer. The biggest difference between them comes down to one word: control.
An umbrella is like an open fire hydrant—it sprays soft light everywhere. It's brilliant for quickly and easily lighting up a big space, but that light spills all over the place, which can sometimes wash out the mood you're trying to create.
A softbox, on the other hand, is like a window with blinds. It also produces gorgeous, soft light, but you can aim it precisely. This directionality gives you the power to sculpt the light, create dramatic shadows, and really shape the look and feel of your portraits or product photos.
Can I Mix Different Gear Brands?
For the most part, yes! But there's one major catch.
Light stands, umbrellas, softboxes, and most other modifiers are pretty universal. You can usually mix and match these without a second thought. The tricky part is the electronics: flashes and their wireless triggers.
While you can put a Canon speedlight on a Nikon camera and fire it in manual mode, the wireless trigger systems are almost always brand-specific. To make sure your camera can talk to your off-camera flash without any headaches, you absolutely need to buy triggers that are made for your specific camera and flash brand.
At FindTopTrends, we curate the best photography equipment to get you started on your creative journey. Explore our collection of beginner-friendly lighting kits and accessories by visiting us at https://findtoptrends.com.
Leave a comment


