


No products in the cart.

If you're just getting into hiking, knowing what gear to buy can feel like a huge hurdle. But here's the secret: you only need to get three things right at the start. Focus on good footwear, a pack that actually fits, and a way to know where you're going. Nailing these three basics is the difference between a miserable first hike and one that gets you hooked for life.
Starting Your Hiking Journey the Right Way
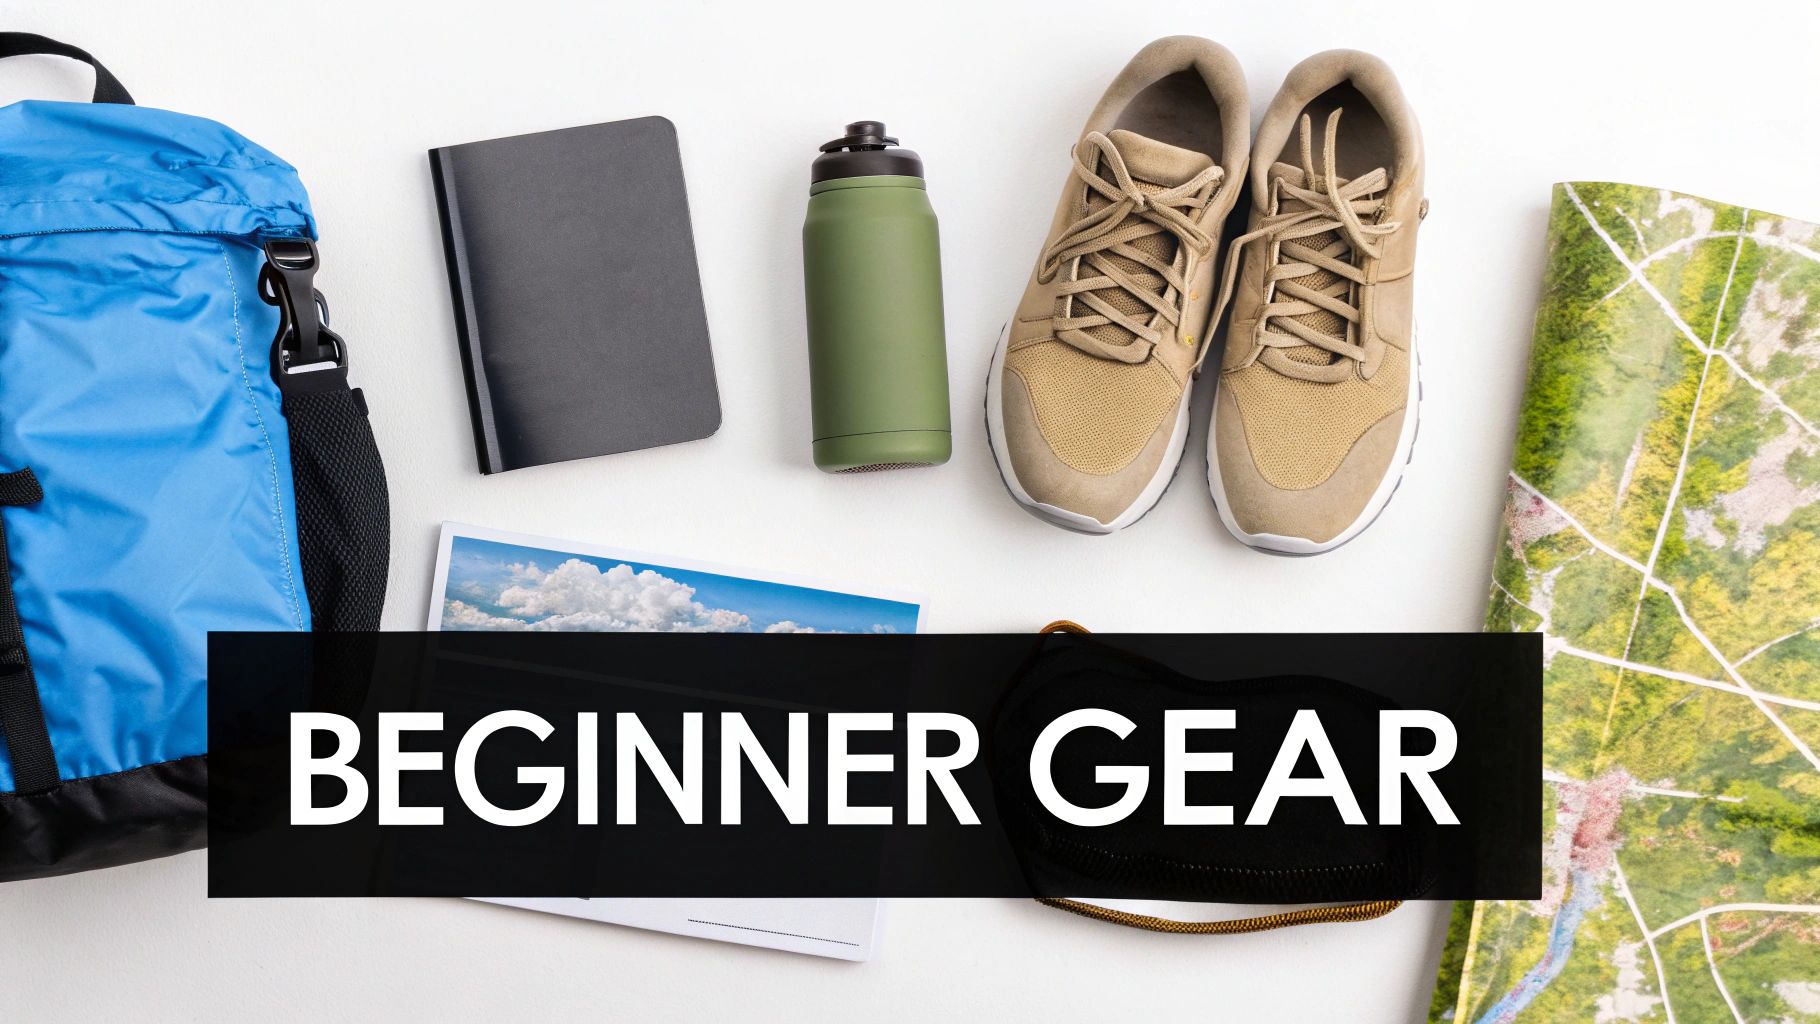
Welcome to the trail! It's easy to get overwhelmed by the sheer amount of hiking gear out there, but you don't need a mountain of expensive equipment to get started. This guide is all about cutting through the noise and showing you exactly what you need for safe, comfortable, and fun day hikes.
We’ll focus on building a solid beginner kit with smart, multi-purpose items that give you the best bang for your buck. Think of this as your personal roadmap to gearing up, helping you sidestep rookie mistakes and invest in gear that will actually serve you well.
And honestly, there's never been a better time to jump in. The global hiking gear market has ballooned to USD 25.62 billion in 2024 and is expected to climb to USD 37.75 billion by 2033. This boom—fueled in part by a 20% increase in first-time outdoor adventurers after the pandemic—means there are more high-quality, budget-friendly options than ever before. You can dig into more of these market trends over at Straits Research.
Understanding the Core Gear Essentials
Before we get into specific recommendations, let's talk about the why. Every single item you carry should have a clear purpose tied to your comfort, safety, or convenience on the trail. A hiker who understands their gear is a confident and prepared hiker.
To kick things off, here’s a quick-glance table of the absolute non-negotiables for your first few hikes. This is your cheat sheet for what really matters when you're just starting out.
Key Takeaway: The goal isn't to buy everything at once. It's to build a foundational kit that works for local trails and grows with you as your ambitions do.
This smart approach saves you money and ensures you don't end up with a closet full of gear you never use. Let’s break down these foundational pieces.
Beginner's Essential Hiking Gear Checklist
This table covers the absolute must-haves for any new hiker. These items form the core of a safe and enjoyable day on the trail.
| Gear Category | Primary Function | Why It Matters |
|---|---|---|
| Footwear | Protection, support, and traction | Prevents blisters, slips, and foot fatigue, which are the most common hike-enders for beginners. |
| Backpack | Carrying essentials comfortably | A well-fitted pack distributes weight properly, allowing you to carry water, food, and safety items without strain. |
| Clothing | Temperature regulation and weather protection | The right layers keep you dry and comfortable, preventing dangerous conditions like hypothermia or heat exhaustion. |
| Navigation | Knowing your location and route | Essential for safety, preventing you from getting lost even on well-marked trails where a wrong turn is possible. |
| Hydration & Food | Fueling your body | Proper hydration and nutrition maintain your energy levels and cognitive function, crucial for making good decisions. |
| Safety Items | Emergency preparedness | Items like a first-aid kit, headlamp, and sun protection are your safety net for unexpected situations. |
Getting these basics covered will give you the confidence to hit the trail and start exploring.
Building Your Foundation: Footwear and Clothing
Let's start with the two things that will make or break your day on the trail: what’s on your feet and what’s on your back. Getting these right is the foundation for everything else.
Think of your footwear as the tires on your car. You wouldn't take a sports car with slick racing tires off-roading, right? The same logic applies here. Taking flimsy sneakers on a rocky, muddy trail is just asking for trouble. The right shoes are a non-negotiable investment that gives you the grip, support, and protection you need to move confidently.
Your clothing, on the other hand, is your personal climate control system. Wearing the wrong fabric—I'm looking at you, cotton—can quickly turn a beautiful day into a miserable, and even dangerous, experience. Let's break down how to choose the right gear for these two crucial categories so you can build a solid setup for any adventure.
Choosing the Right Hiking Footwear
Your feet are your most important asset out there. Seriously. One bad blister can cut a hike short and ruin a trip. That’s why picking the right footwear is less about comfort and more about a critical safety decision. The market is flooded with options, but they mostly boil down to three main types.
- Trail Runners: Think of these as running shoes on steroids. They’re light, flexible, and breathe incredibly well, which makes them perfect for moving quickly on well-maintained trails. Their aggressive tread gives you way more grip than your average gym shoes.
- Hiking Shoes: A solid step up in durability. These are low-cut shoes that offer more stiffness and support than trail runners. They often come with features like protective toe caps and rock plates, giving you great protection on moderately rough terrain without the weight of a full boot.
- Hiking Boots: These are the big guns, offering the most support and protection. Hiking boots usually have mid- or high-cut designs that wrap around your ankle, which is a lifesaver on uneven, rocky, or steep ground where an ankle twist is a real risk. They're also your best bet for carrying a heavier pack or hiking in wet, sloppy conditions.
The good news is, the footwear market is booming, which means beginners have access to fantastic options that don't cost a fortune. For travelers and outdoor adventurers, apparel and footwear are the top gear categories. Modern trail runners can offer up to 20% more cushioning than street shoes, and advanced moisture-wicking layers can reduce sweat by 50%. With 55% of sales happening online in 2024, finding great deals on brands like Merrell—famous for its impressive zero-break-in blister technology—is easier than ever. You can explore more hiking industry trends to see how gear is evolving for modern hikers.
The Art and Science of Layering
Once your feet are sorted, it’s time to dial in your clothing. The weather in the mountains can flip on you in an instant, going from sunny and warm to cold, windy, and wet without much warning. The secret to staying comfortable through it all is layering. This isn’t about throwing on one huge, bulky jacket. It's a smart system of thinner garments that work together to manage moisture and trap heat.
Key Concept: The whole point of layering is to stay dry. Dry from your own sweat on the inside, and dry from rain on the outside. A dry hiker is a warm and comfortable hiker.
This system is built on three core layers, and each one has a specific job. You can add or shed layers as you heat up or cool down, giving you total control over your body temperature.
Breaking Down the Three-Layer System
Understanding what each layer does is the key to building a clothing kit that actually works.
-
The Base Layer (Your Second Skin): This is the layer right up against your skin. Its one and only job is moisture management. As you hike, you sweat. This layer pulls that sweat away from your skin and pushes it to the outer surface where it can evaporate. This wicking process is why you must avoid cotton and instead choose synthetics like polyester or natural fibers like merino wool.
-
The Mid Layer (Your Insulation): Worn over your base layer, the mid layer’s job is simple: trap your body heat to keep you warm. It works best when protected from wind and rain. Think fleece jackets, down vests, or puffy jackets with synthetic insulation. How thick your mid layer needs to be just depends on how cold it’s going to be.
-
The Outer Layer (Your Weather Shield): This is your fortress against the elements. Often called a shell, it protects you from wind and rain, both of which can suck away your body heat alarmingly fast. A good outer layer needs to be both waterproof and breathable. This lets sweat vapor from your inner layers escape while completely blocking any rain from getting in. Look for jackets made with materials like Gore-Tex or similar waterproof-breathable fabrics.
By combining these three simple layers, you create an incredibly versatile system that can adapt to almost any weather you'll face on a day hike.
Choosing Your Pack and the Ten Essentials
Think of your backpack as more than just a bag—it's your portable command center on the trail. It's the one piece of gear that holds everything you need to stay safe, comfortable, and ready for whatever the hike throws at you. Nailing your pack choice and knowing what to put inside it are two of the most critical skills you'll learn as a new hiker.
A poorly chosen or badly fitted pack can ruin a day out. It's a one-way ticket to sore shoulders and an aching back. The goal is to find a pack that fits your body like a glove, smartly shifting the weight off your delicate shoulders and onto your hips, which are built to handle a load.
Finding Your Perfect Hiking Backpack
Walking into an outdoor store and seeing a wall of backpacks can feel overwhelming, with all the talk of liters and torso lengths. But don't worry, it's simpler than it looks. For day hikes, you'll be looking at packs in the 18 to 28 liter range. That's the sweet spot for carrying a day's worth of gear without feeling like you're hauling a suitcase.
- 18-22 Liters: These are perfect for shorter trips (think 1-4 hours) in predictable weather. They’ll easily hold your water, some snacks, and a light jacket.
- 22-28 Liters: This is a more versatile size. It gives you enough breathing room for extra layers, more food, a proper first-aid kit, and other essentials, making it ideal for longer day hikes or when the weather looks iffy.
But here’s the most important thing: volume doesn't matter if the fit is wrong. A pack that doesn't fit your body will feel ten times heavier because all the weight hangs directly off your shoulders. A great pack, on the other hand, uses its hip belt to transfer about 80% of the weight to your hips.
To get that perfect fit, you need to know your torso length. This is simply the distance from that bony bump at the base of your neck (your C7 vertebra) down to the level of your hip bones. Any decent outdoor store can measure this for you in a minute, but you can also do it at home with a friend and a soft tape measure. Once you have that number, you can match it to the pack’s size (like small, medium, or large).
What Are the Ten Essentials?
Okay, you've got the pack. Now, what do you put in it? This is where the Ten Essentials come in. This isn't just a random checklist someone made up; it's a time-tested safety system designed to help hikers deal with unexpected trouble. Whether it's a sudden storm, a wrong turn, or a minor injury, these items have your back.
The Ten Essentials are your safety net. You might not touch every item on every single hike, but when you do need one, you'll be incredibly glad it's there. Think of it as a fundamental part of hiking responsibly.
The "ten" doesn't refer to ten specific items, but rather ten systems or categories, which gives you a lot of flexibility.
Here's a look at how your clothing layers—a key part of your "Insulation" essential—work together.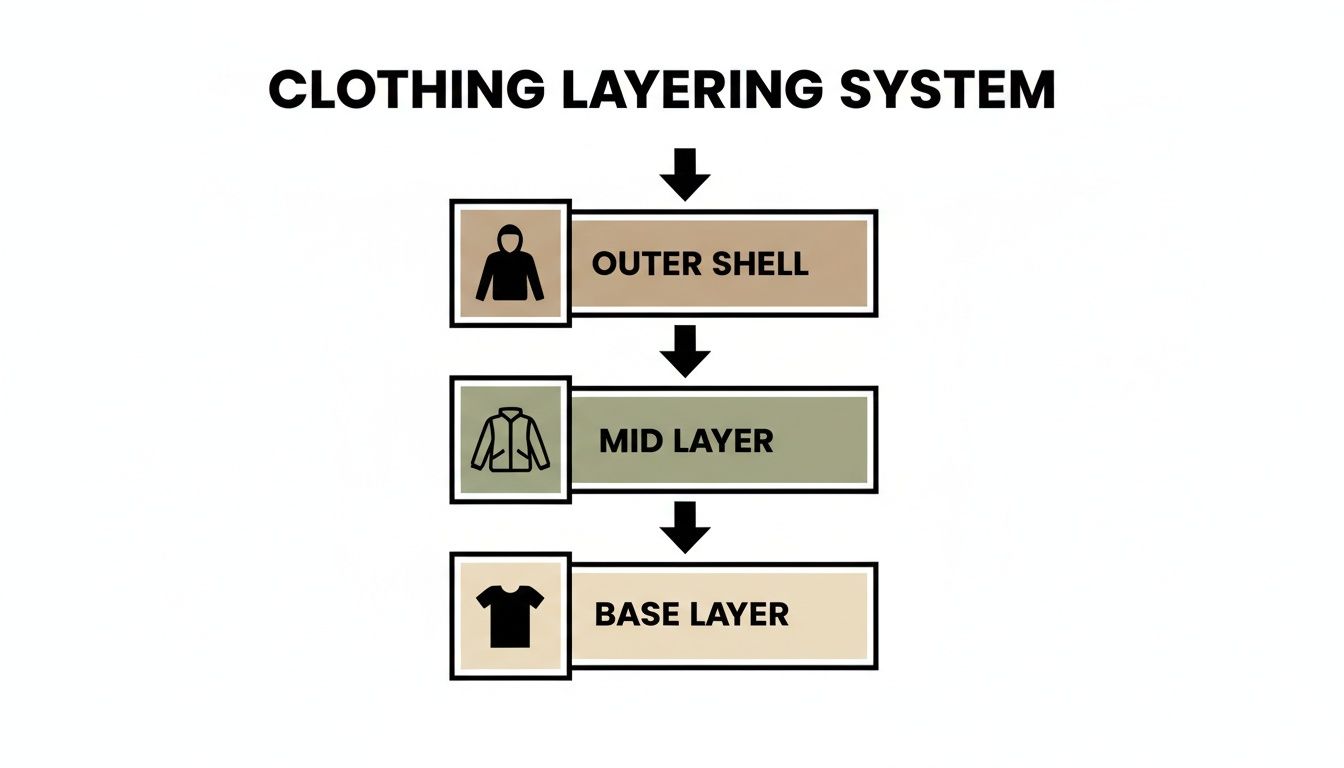
This layering approach is what lets you adapt to changing conditions by adding or removing layers to manage warmth and moisture.
A Practical Checklist for Beginners
Here’s a breakdown of the Ten Essentials system, tailored for a beginner's daypack without breaking the bank:
-
Navigation: Your phone is a great tool, but never your only one. Download offline maps from an app like AllTrails before you lose service, and always carry a portable power bank. A simple, cheap compass is a fantastic, no-fail backup.
-
Headlamp: This is non-negotiable. Hikes often take longer than we think, and getting caught in the dark is no joke. A basic LED headlamp is inexpensive and absolutely essential.
-
Sun Protection: Sunscreen, a good pair of sunglasses, and a hat are your best friends on the trail, even on cloudy days. Sunburn isn't just painful; it can lead to serious exhaustion.
-
First-Aid: You can grab a pre-made hiking kit or easily build your own. Make sure it has what you need for common issues, especially blister treatment (moleskin is a miracle worker), assorted bandages, antiseptic wipes, and some basic pain relievers.
-
Knife/Multi-Tool: You don't need a giant survival knife. A simple multi-tool is incredibly handy for everything from cutting a piece of cheese for lunch to making a quick gear repair.
-
Fire: In a true emergency, fire means warmth and signaling. Just pack a lighter, some waterproof matches, or a simple fire starter in a waterproof bag.
-
Shelter: For a day hike, you're not carrying a tent. An ultralight emergency bivy or a reflective "space blanket" is all you need. It weighs almost nothing and could be a lifesaver if you're forced to spend an unexpected night outside.
-
Extra Food: Always pack more food than you plan to eat. A couple of extra high-energy bars, some trail mix, or a salty snack can make all the difference if your hike goes long.
-
Extra Water: Carry more than you think you'll need. A good rule of thumb is to have at least an extra liter. Or, better yet, bring a lightweight water filter so you can safely refill from streams and lakes.
-
Extra Clothes: Weather can turn in an instant. Always pack an extra insulating layer that you aren't wearing when you start. A sudden downpour or temperature drop can lead to hypothermia, and that spare fleece or puffy jacket in your pack is your primary defense.
Staying Found with Navigation and Safety Gear
One of the biggest anxieties that keeps people off the trail is the fear of getting lost. But here's the thing: with a few simple tools and a little know-how, that fear can be replaced with the confidence to explore. Think of your navigation and safety gear as a complete system designed to keep you safe, found, and, most importantly, having a great time out there.
A good way to look at it is like planning a road trip. Your phone is the amazing co-pilot with live traffic updates, but you'd never start a cross-country drive without a paper map in the glove box, just in case.
Your Navigation Toolkit: Digital Meets Old-School
For anyone just starting out, navigation tools really fall into two buckets: modern digital devices and the classic map and compass. Both are fantastic, and the smartest hikers know how to use them together.
Your smartphone is an absolute powerhouse. Apps like AllTrails or Gaia GPS let you download detailed trail maps to use even when you have zero cell service. They pinpoint your location in real-time, which is a massive confidence booster. The only real catch? Batteries die, especially when the GPS is running constantly.
On the flip side, you have the trusty map and compass. These tools are beautifully simple and completely bulletproof. They don't need charging, they can't lose a signal, and they won't break if you drop them. Learning to use them takes a little practice, but their total reliability makes them the ultimate backup plan.
This blend of old and new is why the market for navigation gear is projected to grow at a 7.18% compound annual growth rate through 2030. Tech-savvy beginners are embracing these tools, and it's paying off—GPS watches have been shown to slash incidents of lost hikers by a whopping 35%. Affordable devices like the Garmin eTrex 22x often come preloaded with trails, making them a great starting point. You can read more about the growth of the hiking gear market and what's driving it.
Comparing Navigation Tools for New Hikers
Choosing the right navigation method can feel a bit overwhelming, but it's all about picking the right tool for the job. This table breaks down the most common options to help you decide what belongs in your pack.
| Navigation Tool | Pros | Cons | Best For |
|---|---|---|---|
| Smartphone App | Easy to use, real-time tracking, offline maps available. | Drains battery quickly, can be fragile, screen is hard to see in bright sun. | Day hikes on well-marked trails, as a primary tool with a backup. |
| GPS Device | Rugged, long battery life, highly accurate. | Can be expensive, requires learning the device interface. | Multi-day trips, off-trail exploration, and serious hikers. |
| Map & Compass | 100% reliable, no batteries required, lightweight. | Requires skill and practice to use effectively. | Everyone, as an essential and non-negotiable backup. |
| GPS Watch | Convenient, tracks fitness stats, quick-glance navigation. | Small screen, limited battery life compared to dedicated GPS. | Trail runners and hikers who want all-in-one functionality. |
Ultimately, the best strategy is redundancy. Your phone is a great primary tool, but having a physical map and compass—and knowing how to use them—is what truly prepares you for the unexpected.
The Golden Rule: Always Have a Backup
If you take one thing away from this section, let it be this: redundancy is your best friend. This is especially true when it comes to navigation and safety.
Key Takeaway: Never, ever rely on a single device for navigation. Your phone can be your main tool, but you absolutely must have a non-electronic backup (map and compass) and a way to keep your phone alive (a portable power bank).
A small, lightweight power bank is a non-negotiable item for any hiker. It weighs next to nothing but can recharge your phone multiple times, ensuring your digital maps are there for you when you need them most.
More Than Just a Map: Your Safety Essentials
Knowing where you're going is only half the battle. A few other key items can turn your daypack into a genuine safety kit, giving you the tools to solve small problems before they escalate.
- Headlamp: Hikes often take longer than planned. A simple headlamp is a lightweight, inexpensive tool that becomes absolutely essential if you find yourself on the trail after dark.
- First-Aid Kit: You don't need a massive paramedic bag. A small, pre-made kit with basics for blisters (moleskin is a lifesaver!), cuts, and scrapes is all you need for most day hikes.
- Multi-Tool or Knife: This is your all-purpose problem solver. From slicing an apple for a snack to making a gear repair, you'll be surprised how often you reach for it.
Picture this: you twist an ankle just a mile from your car as the sun starts to dip below the horizon. Your headlamp lets you see the trail to limp back safely, and your first-aid kit has what you need to manage the immediate injury. These simple, lightweight items are your personal safety net. They give you the power to handle common trail mishaps with confidence.
Fueling Your Adventure with Food and Water
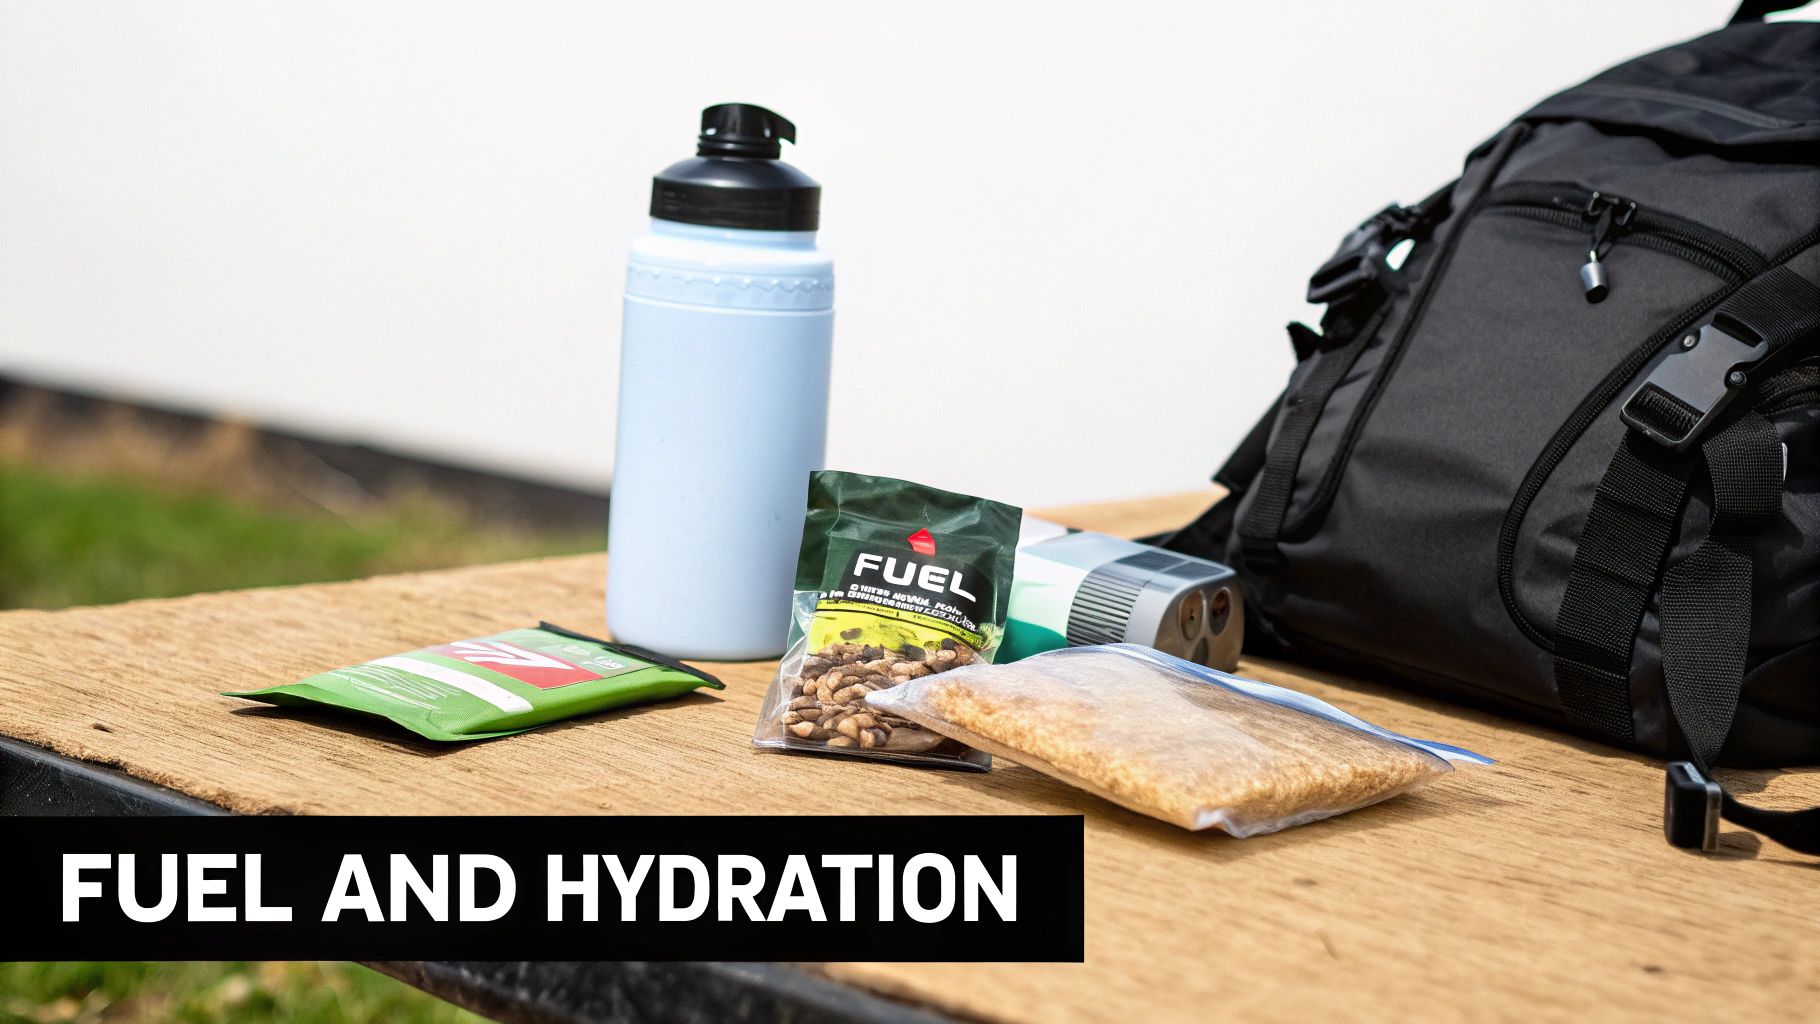
Think of your body like a car engine. You wouldn't start a road trip on an empty tank, right? The same logic applies to the trail. Your body needs the right fuel—food and water—to power you up that mountain. Skimping on either is one of the quickest ways to turn an amazing day into a miserable slog.
Proper hydration and nutrition aren't just about feeling good; they are core safety items and an essential part of your best hiking gear for beginners. Staying hydrated keeps your energy up, your muscles working, and your mind sharp. Dehydration is sneaky and can lead to headaches, fatigue, and worse, so you have to stay ahead of it.
Mastering On-Trail Hydration
The golden rule of hiking hydration is to drink before you’re thirsty. By the time you feel that parched sensation, you’re already behind. The goal is to sip water consistently all day long. A good starting point is to plan on carrying about half a liter of water for every hour of moderate hiking.
When it comes to carrying that water, you’ve got two main choices, and both have their loyal fans.
- Water Bottles: They’re simple, tough as nails, and super easy to clean and refill. You can’t go wrong with a classic Nalgene bottle; it’s affordable, virtually indestructible, and a perfect first bottle for any new hiker.
- Hydration Reservoirs: You might know these as bladders. They’re flexible bags that slide into a special sleeve in your backpack, with a hose that comes over your shoulder. They're fantastic because they make it incredibly easy to sip water constantly without ever stopping to dig a bottle out of your pack.
Beginner's Tip: Whatever you choose, always start your hike with your bottles or bladder completely full. It is always, always better to finish a hike with extra water than to run out when you’re still miles from the car.
It’s also smart to have a backup plan for getting more water. That crystal-clear stream might look inviting, but it can be full of nasty microbes that will absolutely ruin your week. Always carry a lightweight water filter or purification tablets. It's a non-negotiable piece of safety gear.
Choosing Smart Hiking Foods
For trail food, the game is all about packing the most energy for the least weight and hassle. You want things that are packed with calories, won't spoil, and are easy to munch on while you're walking.
Hiking torches through calories, so you need to refuel often to keep your energy levels from dipping. A good rhythm is to eat a small snack every 60 to 90 minutes. This little-and-often approach helps you avoid "bonking"—that sudden, awful energy crash that leaves you feeling totally wiped out.
Building Your Trail Menu
Here are a few no-cook, trail-tested favorites that are perfect for stuffing in your daypack:
- Trail Mix: It's a classic for a reason. A good mix of nuts, seeds, dried fruit, and maybe some M&Ms gives you a perfect blend of fats, proteins, and quick-burn carbs.
- Energy Bars and Chews: These are literally designed for this. Look for bars that have a good mix of carbohydrates for instant fuel and some protein to help you feel full longer.
- Jerky: A fantastic lightweight source of protein and salt, which is crucial for replenishing what you lose when you sweat.
- Nut Butter Packets: These single-serving pouches are pure, calorie-dense gold. They're an incredibly efficient way to carry energy and taste great on crackers or an apple.
Learning to pack the right fuel is a skill that pays off. It’s what gives you that sustained power to push up the last steep section and really enjoy the view from the top.
Common Beginner Mistakes and How to Avoid Them
We’ve all been there. Every seasoned hiker has a story about a lesson they learned the hard way—usually involving blisters, being miserably cold, or running out of snacks far from the car. The goal here is to help you learn from our mistakes, not your own.
A little bit of foresight can be the difference between a fantastic day out and a slog you can't wait to end. Most beginner blunders aren't dramatic; they’re small things that add up. But with a bit of planning, you can sidestep them entirely and start your hiking journey with confidence.
Key Insight: The vast majority of trail troubles boil down to a lack of preparation. A simple gear check and a few minutes of planning will save you from most of the common headaches.
Forgetting to Break in Your Boots
It's so tempting. You get a brand new pair of hiking boots, and you just want to get them on the trail immediately. Please, don't do this. This is the single fastest way to get horrible, hike-ending blisters.
- The Mistake: Taking brand-new, stiff boots straight out of the box and onto a long trail.
- The Fix: Think of it like getting to know a new friend. Wear your boots around the house for a few days, then on short walks around the neighborhood. Let them soften up and mold to your feet before you ask them to carry you for miles.
Wearing Cotton Clothing
That soft cotton t-shirt feels great when you’re getting dressed, but it’s your worst enemy on the trail. As soon as you start to sweat, cotton acts like a sponge, soaking up moisture and clinging to your skin. It takes forever to dry, leaving you clammy and cold, which can be genuinely dangerous in cooler weather.
This is where the phrase "cotton kills" comes from. Instead, always opt for materials designed for performance:
- Synthetics like polyester and nylon are champs at wicking sweat away from your skin to keep you dry.
- Merino Wool is nature's wonder-fabric; it breathes, wicks moisture, and even keeps you warm when it gets wet.
Skimping on Water and Food
It’s so easy to underestimate how much fuel your body burns on a hike. You might pack just enough for the distance you think you’ll cover, but what if you take a wrong turn, the trail is harder than expected, or you just want to hang out at that beautiful viewpoint a little longer?
Running out of energy or water is no joke. Always pack more food than you think you’ll need—an extra energy bar or two weighs almost nothing but can be a lifesaver. For water, carry at least a half-liter more than you anticipate or, even better, bring a lightweight water filter as a bulletproof backup. This simple habit is a hallmark of the best hiking gear for beginners because it's all about being prepared.
Got Questions About Hiking Gear? We've Got Answers.
Even with a solid guide, a few questions always linger before you pull the trigger on your first set of gear. Let's tackle some of the most common ones we hear from hikers just starting out, so you can make those final decisions with confidence.
Do I Really Need to Shell Out for Expensive Hiking Boots?
Honestly? Nope. For most beginners who are sticking to well-maintained trails, a good pair of trail running shoes is often a better, more comfortable choice. They're lighter, way more flexible, and don't require the long, painful break-in period that traditional boots often do. Your feet will thank you.
Now, hiking boots definitely have their place. Once you start venturing onto more rugged, unpredictable terrain, that's when they really shine. The stiffer soles protect you from sharp rocks, and the high ankle support can be a lifesaver. It’s less about the price tag and more about matching the shoe to your foot and the trails you plan to hike.
How Heavy Should My Daypack Actually Be?
A solid rule of thumb for a day hike is to keep your pack weight at or below 10% of your body weight. For most of us, that lands a fully loaded pack somewhere between 10 and 20 pounds. That’s plenty of capacity for your water, snacks, a rain jacket, and the Ten Essentials, all without putting a ton of strain on your back and shoulders.
You’ll get a feel for what’s essential and what’s just dead weight as you get more hikes under your belt. Experienced hikers call this a "shakedown," and it’s all about fine-tuning your pack to be as light as possible.
What's the One Piece of Gear I Absolutely Can't Skimp On?
Ask ten veteran hikers this, and you'll probably get the same answer from nine of them: your footwear. Nothing—and I mean nothing—will end a hike faster than miserable feet. Blisters, sore arches, or bruised toes can turn a picture-perfect day into a genuine ordeal.
If you’re going to invest your time and money anywhere, put it into finding boots or shoes that fit you like a glove. Go to a real store, try on different brands, and walk around in them for a bit. Every other piece of gear is secondary to what’s on your feet.
Can I Just Use My Phone for GPS?
Your phone is a fantastic navigation tool, especially with all the great apps that let you download maps for offline use. But it should never, ever be your only one. Phones break, batteries die, and cell service is a luxury you just can't count on in the backcountry.
Always have a backup. A simple, bombproof combo is a physical map and a compass, along with a portable power bank to keep your phone juiced up. That little bit of redundancy is your safety net, making sure you can always find your way back.
At FindTopTrends, we're all about finding the best gear to make your adventures awesome without draining your wallet. Find your perfect beginner hiking setup and get out there! Check us out at https://findtoptrends.com.
Leave a comment


